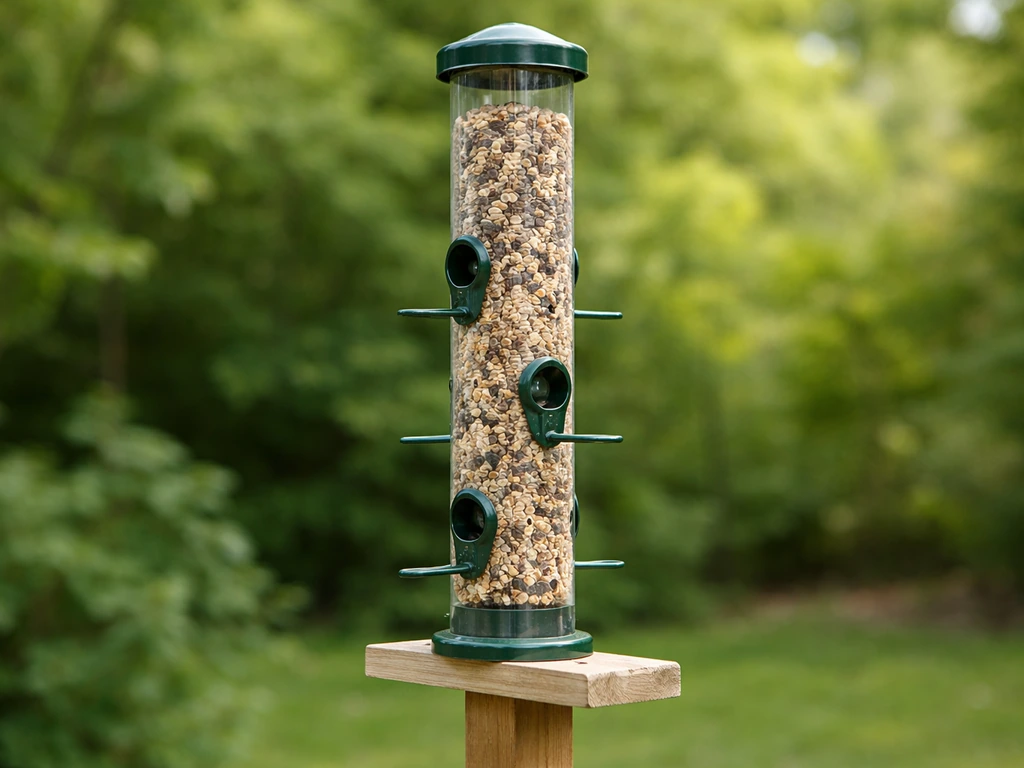
You can rain-proof a bird feeder by adding an overhanging roof or dome cover that sheds water away from the seed ports. The simplest version is a screw-on rain guard made from a sheet of polycarbonate or plywood cut wider than your feeder and angled to divert rain. For most existing feeders, you can build and attach one in under an hour with basic hand tools. For homemade feeders, you can design the cover right in during the build. Either way, the goal is the same: keep rain from soaking the seed, because wet seed grows mold fast and mold can be genuinely toxic to birds.
How to Make a Rain Proof Bird Feeder Rain Guard Cover

Marcus Brennan
24 Apr 2026
Why wet seed is a real problem, not just a nuisance
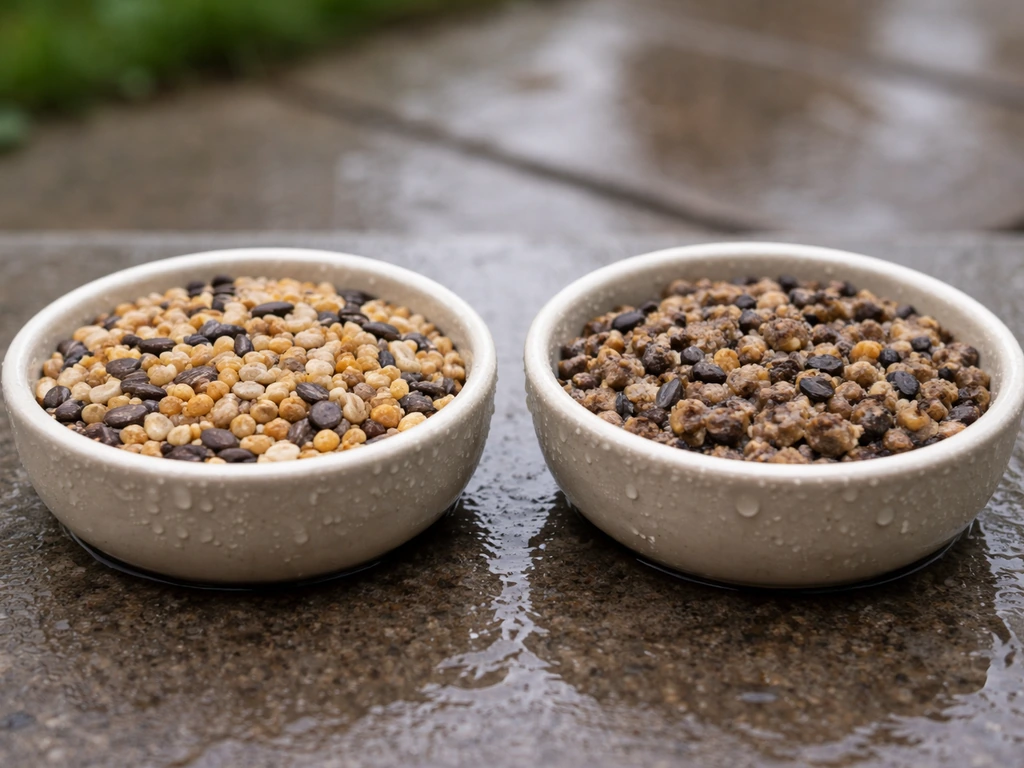
Wet seed clumps, then sprouts, then molds. That progression can happen in as little as 24 to 48 hours during humid or rainy weather. The mold you really want to avoid is Aspergillus, which produces toxins that are genuinely harmful to birds. The tricky part is that clumped or matted seed is already in early-stage mold territory even before you see any fuzzy patches or discoloration. By the time it smells musty, you should have already thrown it out.
There is also the drainage problem. Most feeders have small drain holes at the base, but those holes clog with seed husks and droppings fast. When rain water pools at the bottom and mixes with seed and droppings, you get a wet slurry that is the perfect incubator for bacteria and mold. A rain guard does not replace good maintenance, but it does dramatically reduce how much rain gets in to begin with. The U.S. Fish and Wildlife Service specifically points out that even a well-designed feeder can be compromised by driving rain entering through feeding ports, which is why a physical overhang matters.
If you check your feeder after a rainstorm and find wet, clumped, or moldy seed, discard it immediately. In a r/birdfeeding thread about a wet, moldy feeder, a user reports finding mold and notes that wet conditions and damp seed can drive mold growth, so molded seed should be removed right away blank" rel="noopener noreferrer">discard it immediately. Do not try to dry it out and reuse it. Refill with fresh seed only after the feeder is clean and fully dry.
Pick your rain-proofing style before you build anything
There are three main approaches, and the right one depends on your feeder type and how much time you want to spend. Each one actually works; they just work best in different situations.
| Style | Best For | Rain Protection Level | Build Complexity |
|---|---|---|---|
| Add-on rain guard (flat or angled roof) | Existing hanging or platform feeders | Good for overhead rain | Easy, 30-60 min |
| Dome or bell cover | Hanging tube or hopper feeders | Excellent, covers all angles | Easy-moderate, 1-2 hrs |
| Integrated shed roof (built-in) | New homemade wood or bottle feeders | Excellent, sheds wind-driven rain too | Moderate, part of full build |
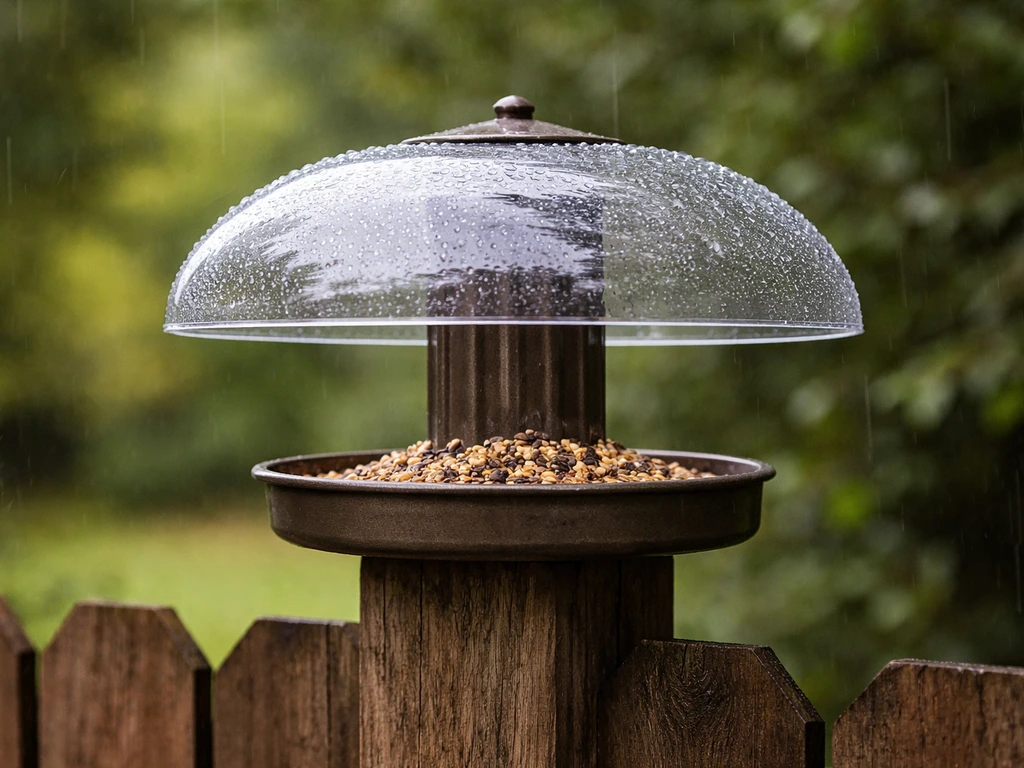
A flat or angled rain guard is a board or sheet mounted above the feeder with a few inches of overhang on all sides. It is the fastest fix and works well for straight-down rain. A dome or bell-shaped cover wraps around the feeder from above and deflects rain even when the wind is pushing it sideways. Commercial versions like the Brome weather guard run about 13 inches in diameter and 2 inches tall, which gives you a useful benchmark for sizing your DIY version. An integrated shed roof is built as part of the feeder itself with a steep pitch and generous overhang, making it the most effective option for wind-driven rain.
What you need to build a rain guard or cover
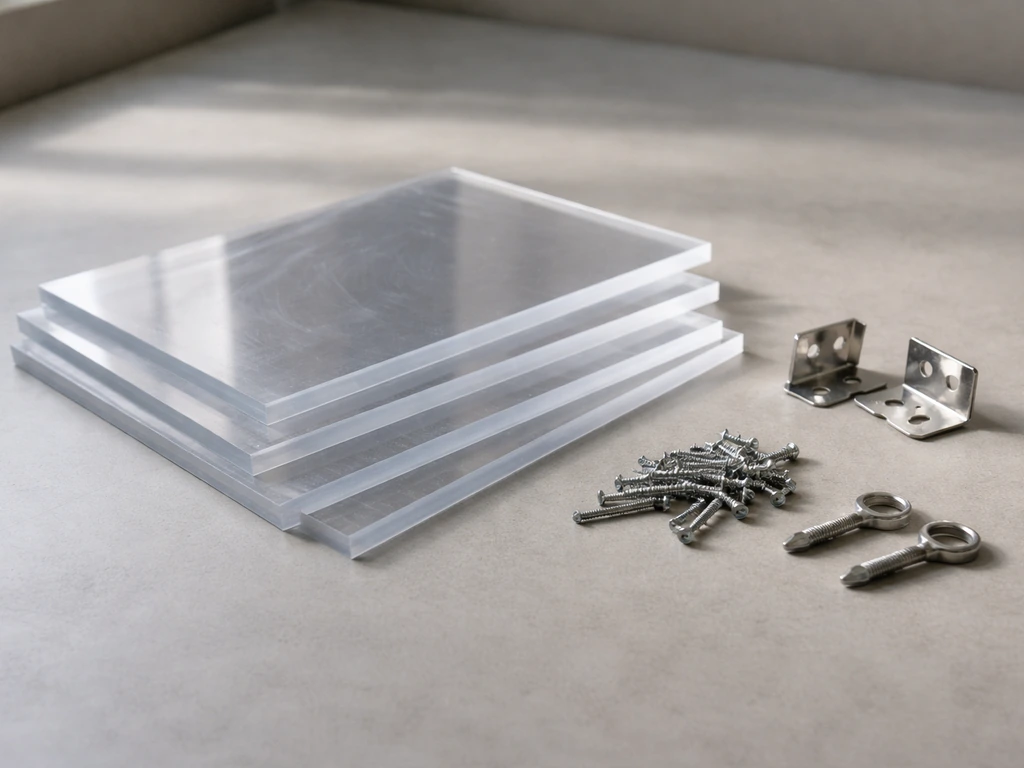
You probably already have most of this. The material list is intentionally short and budget-friendly.
Materials
- Clear polycarbonate sheet or acrylic sheet (about 14 x 14 inches for a dome guard, or cut to feeder width plus 4-6 inches of overhang on each side for a flat guard) — clear material lets light through so birds do not feel shadowed
- Exterior-grade plywood (1/4 inch or 1/2 inch) as a cheaper alternative to polycarbonate for a flat or pitched guard
- Stainless steel screws or galvanized screws (1 inch and 1.5 inch lengths)
- Waterproof wood glue if building in wood
- Heavy-duty zip ties or S-hooks for attaching to existing hangers
- Eye bolt or center hook for hanging the guard above the feeder
- Drill with a 1/4-inch bit for drainage and ventilation holes
- Sandpaper (80 grit) to smooth any cut plastic edges
- Exterior wood sealant or paint if using plywood
Tools

- Jigsaw or circular saw for cutting wood or polycarbonate sheets
- Drill and drill bits
- Ruler and pencil
- Sandpaper or a file for smoothing cut edges (sharp plastic edges can injure birds)
- Screwdriver
- Tin snips if you're repurposing a plastic container lid
One material note: clear polycarbonate is the best all-around choice. It is lightweight, weather-resistant, cuts cleanly with a jigsaw, and you can find it at most hardware stores in small sheets. Lowe's sells it pre-cut. Acrylic works too and looks great, but it is a bit more brittle. Plywood is heavier but cheap, and it works well for flat or pitched guards as long as you seal it properly. If you are going the plywood route and want more detail on sealing, the topic of waterproofing wooden bird feeders is worth a read on its own.
Build an add-on rain guard for an existing feeder
This is the version to build today if you already have a feeder and just need to protect it. If you also want to keep doves from monopolizing the seed, you can tailor the design for a dove-proof bird feeder setup too dove proof bird feeder. If you want to go a step further, check out this guide on how to make a bird proof chicken feeder so pests stay out too protect it. The finished product is a flat or slightly angled cover that mounts above your existing feeder using a chain, hook, or short threaded rod.
- Measure your feeder at its widest point. Add at least 4 inches to each side to get your guard dimensions. For example, a 6-inch wide tube feeder needs a guard at least 14 inches across. A platform feeder that is 12 x 8 inches needs a guard at least 20 x 16 inches.
- Cut your polycarbonate or plywood sheet to size. If using polycarbonate, score with a utility knife and snap it, or cut with a jigsaw set to a slow speed to avoid cracking. Sand or file all cut edges smooth right away.
- Drill a center hole sized for your eye bolt or hook. This is what the guard hangs from.
- Drill four to six 1/4-inch ventilation holes near the edges of the guard. These prevent moisture from getting trapped between the guard and the feeder, which would just create a damp greenhouse effect.
- If you want a slight pitch to help water run off faster, attach a small wooden strip (about 1/2-inch thick) along one edge on the underside of the guard before mounting. This tilts the guard 5 to 10 degrees and makes rain sheet off to one side cleanly.
- Thread your eye bolt through the center hole and tighten with a washer and nut on the underside.
- Hang the guard from your existing hook or bracket, then hang the feeder below it using a second S-hook or chain. The gap between the bottom of the guard and the top of the feeder should be 3 to 5 inches so birds can fly in freely but the overhang still blocks angled rain.
- Check alignment: look at the feeder from the side and confirm the guard extends past the feeder on all sides. If one side is short, reposition the feeder on its hanging chain.
Total time is about 30 to 45 minutes if you are cutting polycarbonate, and under 30 minutes if you already have a scrap piece of material the right size. The most common mistake is cutting the guard too small. Bigger is almost always better here.
Integrating a rain cover into common homemade feeder types
If you are building a feeder from scratch, this is the time to design rain protection right into the structure rather than bolting it on afterward. Here is how to handle the most common homemade feeder builds.
Wood platform or hopper feeder
Build the roof with a pitch of at least 30 to 45 degrees, which is steep enough to shed water quickly. Cut two triangular gable pieces and two rectangular roof panels. Make the roof panels extend at least 3 to 4 inches past the feeder walls on all sides. Use waterproof wood glue plus screws at every joint. Seal all exterior surfaces with exterior wood sealant or exterior paint before final assembly. You can also laminate a clear polycarbonate sheet over the top roof panel the way Lowe's describes in their DIY feeder guide, which keeps the roof light-tight while letting rain run off cleanly. Drill two to four 1/4-inch holes just below the roof line on each gable end to allow air exchange and prevent trapped moisture from condensing inside.
Plastic bottle or milk jug feeder
For a 2-liter bottle feeder, the cap end naturally faces up and gives you something to work with. Cut a circular disc from a polycarbonate or plastic container lid (a large yogurt or deli container lid works well) so it is about 4 to 5 inches wider in diameter than the bottle at its widest point. Punch a center hole, run a wire or zip tie through the bottle cap and the disc, and position the disc about 2 to 3 inches above the feeding holes. This creates a small umbrella effect. Seal the cap threads with silicone caulk so rain does not run down the wire into the bottle neck.
For a milk jug feeder, cut your feeding windows low on the sides of the jug so the shoulder of the jug (the widest, most sloped part above the windows) acts as a natural rain deflector. Keep the cap on and sealed. The handle and jug shoulder together divert most overhead rain away from the openings.
Tube-style PVC or rolled-plastic feeder
Cut a polycarbonate disc slightly larger than the tube diameter and mount it at the top using an eye bolt through the center. The disc should overhang the tube edge by at least 2 inches all around. Add a second smaller disc at the bottom as a seed tray, with a few 1/4-inch drain holes drilled near the edges. The top disc sheds rain, and the drain holes in the tray handle any water that sneaks through.
Where and how to hang your feeder to maximize rain protection
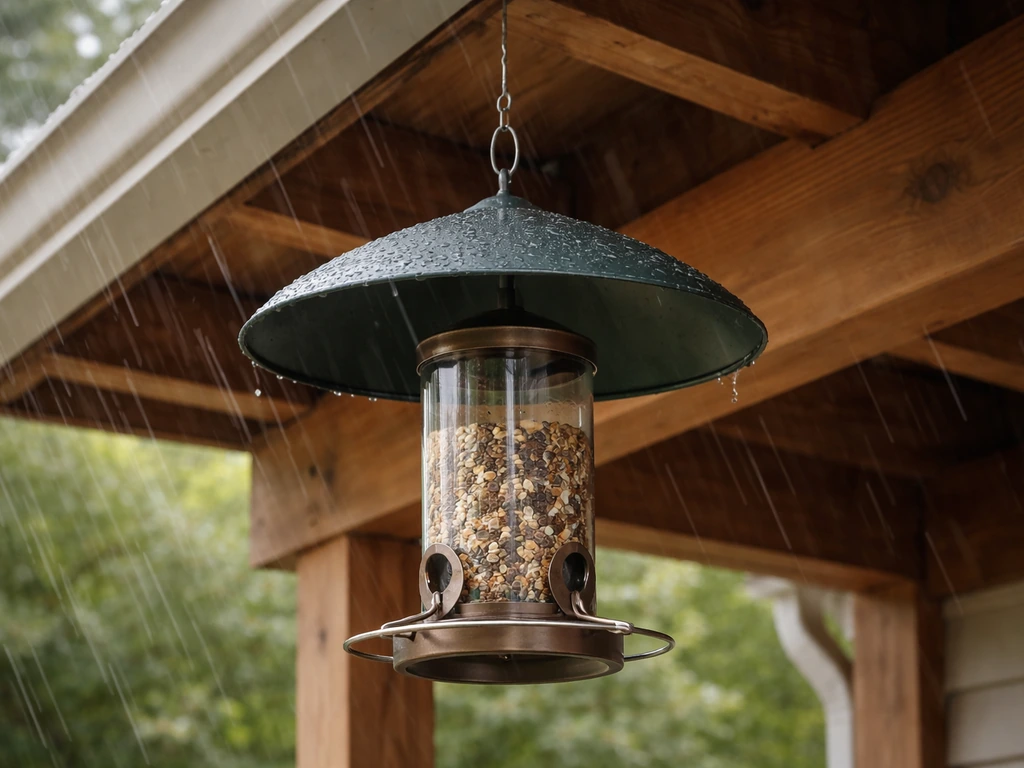
The rain guard handles overhead rain well, but wind-driven rain is a different problem. Placement does a lot of the heavy lifting there.
- Hang the feeder under the eave of a porch, shed, or garage overhang when possible. Even 12 to 18 inches of overhead structure dramatically reduces the amount of wind-blown rain that reaches a feeder.
- Position the feeder so its back faces the direction of your prevailing wind. In most of North America, that means the feeder's back faces west or southwest. This means the closed back of the feeder, not the feeding ports, takes the brunt of driven rain.
- Avoid open, exposed locations like the center of a lawn on a tall shepherd's hook with no surrounding shelter. These spots get the full force of horizontal rain no matter how good your rain guard is.
- If you are using a pole-mounted platform feeder, hang a secondary dome or cone rain guard directly above the feeder on the pole, rather than just relying on the feeder's own roof.
- Keep the feeder at least 3 to 4 feet away from nearby tree branches or structures that can drip collected water onto it after rain stops.
Canopy height matters too. If you are hanging a dome-style guard, position it so birds have 4 to 6 inches of clearance between the feeder perches and the bottom edge of the dome. Less than that and larger birds will not bother, or they will knock the feeder around trying to land.
Keeping the feeder clean and dry over time
A rain guard reduces the problem but does not eliminate maintenance. Wet weather, high humidity, and bird droppings mean you still need to check the feeder regularly. Clemson’s Home and Garden Information Center also recommends cleaning seed feeders at least every two weeks, and more often when there are many visitors or rain. Here is a simple checklist to follow through rainy seasons.
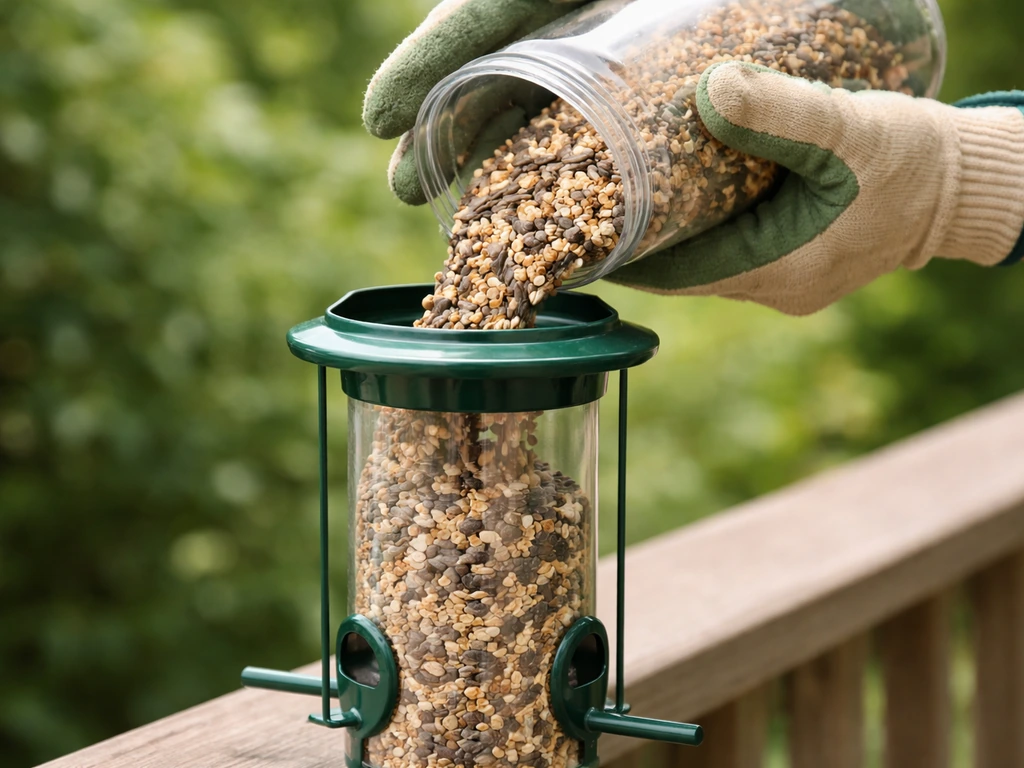
- Check seed every 2 to 3 days during rainy or humid weather. Look for clumping, matting, or any musty smell. If you see or smell anything off, remove and discard all the seed.
- After rain, give the feeder a gentle shake to knock loose any seed that is starting to stick at the bottom. This is especially important for tube feeders where damp seed can compact and block the ports.
- Widen drainage holes periodically if they start to clog with seed husks. A 1/4-inch drill bit clears them out in seconds.
- Clean the feeder every 1 to 2 weeks during wet weather (every 3 to 4 weeks in dry conditions). Soak it for about 10 minutes in a diluted bleach solution (9 parts water to 1 part chlorine bleach) or a white vinegar solution. Scrub with a stiff brush, rinse thoroughly, and let it dry completely in the sun before refilling. Never mix bleach with ammonia.
- Inspect your rain guard or cover every month for cracks, warping, or gaps where the fasteners attach. Polycarbonate holds up well but can crack at screw points if you overtighten. Plywood guards should be checked for swelling or peeling sealant.
- Reapply exterior sealant to any wood components at the start of each rainy season.
- In winter, check that ice or snow accumulation on the guard is not overloading the hanger. Clear snow off dome-style guards after heavy snowfall.
One thing that surprises a lot of people: a feeder that looks clean from the outside can have a layer of mold on the inside surfaces where seed residue has built up. Get a feeder cleaning brush with a long handle so you can scrub the interior walls of tube feeders and hopper compartments, not just the exterior. That interior scrub is where most of the real cleaning happens.
Between cleaning and a well-fitted rain guard, most feeders will stay in good shape through even a wet spring or fall. The investment of an hour to build a cover now saves you the frustration of constantly dumping ruined seed and potentially harming the birds you are trying to feed. Cornell Wildlife Health Lab also emphasizes that blank" rel="noopener noreferrer">preventing aspergillosis in wild birds means reducing access to moldy feed, and that treatment is difficult while prevention is important. If you are also dealing with bears, pair this rain guard with a how to make a bear proof bird feeder plan so the seed stays protected from both weather and animals bear-proof bird feeder pole. If you also want to block other common pests, you can use the same rain-cover approach in a how-to plan for making a bird-proof dog feeder how to make a bird proof dog feeder. If you also want to stop squirrels and other animals from getting to the seed, plan for a bear-proof bird feeder pole alongside your rain cover.
FAQ
Will a rain guard also prevent condensation and humid air from causing mold inside the feeder?
Yes, you can make a feeder too water-resistant in a way that increases condensation. If your cover fully seals the top without any air exchange, warm humid air can get trapped and condense on the inside surfaces. For DIY guards, add small ventilation gaps near the top (or use a design with open sides plus a solid overhead overhang) so moisture can escape instead of collecting under the cover.
What signs mean the seed is unsafe even if I do not see fuzzy mold?
When you check after a storm, look for soft clumps, a musty smell, seed that sticks together in mats, or a visible residue layer on interior walls. If any of that is present, discard it rather than trying to “air it out,” because early-stage mold can exist before obvious fuzzy growth. Replace with fresh seed only after the feeder is scrubbed and completely dry.
Should I seal all seams and drain holes when I add a rain guard?
Avoid sealing the drain openings with glue, tape, or heavy caulk. If your feeder has drain holes, keep them open and clear. A rain guard is meant to reduce the amount of water reaching the bottom, but if water does get in, drainage still matters to prevent a wet slurry from forming.
How large should the overhang be, and how do I measure it correctly?
For overhead rain, bigger overhang is usually better because it blocks splash-back and wind-driven droplets. A practical rule is to extend the guard beyond the feeder openings on every side, not just the top. If you are using an existing screw-on guard, measure the full footprint where water can land, then cut the guard slightly larger than that area.
Can I dry wet or moldy seed and reuse it to save money?
Do not rely on “drying” to salvage moldy seed. Mold can be embedded in residue and husk material, and drying does not remove the risk. The safer approach is to throw out the compromised seed, then clean the feeder interior thoroughly and let it dry before refilling.
Will rain-proofing change how birds land, and can it make the feeder less usable?
Yes, but placement must be consistent. If you adjust the dome or canopy so birds have the recommended clearance (about 4 to 6 inches between landing surfaces and the bottom edge), you can reduce knock-around that opens gaps for rain. Also, keep the feeding ports oriented so the overhang sheds water away from the openings during local prevailing winds.
How often should I clean the feeder during rainy weather, and what do people usually miss?
Clean more often in two situations: after a long rainy spell and when you notice slow draining or a lingering wet look inside. The easiest mistake is only wiping the exterior, which leaves residue on interior surfaces. Use a long-handled feeder brush to scrub inside compartments, then rinse and fully dry before refilling.
What is the best rain-guard style for sideways, wind-driven rain?
For wind-driven rain, the biggest improvement is reducing side exposure, not just adding a flat shield. Choose a dome-style or integrated shed roof, and mount it securely so it cannot shift. If your guard uses a scrap board or polycarbonate sheet, make sure it is rigid enough that wind does not flex the edge toward the feeding ports.
If I use polycarbonate, will wind lift or deform the guard over time?
Lightweight materials can be a problem on windy mounts if the guard catches gusts. Polycarbonate is a good choice because it is rigid for its weight, but you still want secure mounting hardware. If the guard wobbles, re-mount it with a more stable attachment method (for example, a chain plus a fixed top position or a sturdier bracket) rather than just tightening one loose screw.
Can I combine a rain-proof design with a dove-proof or bird-proof design without reducing bird traffic too much?
Yes. Even with a rain guard, you can tune the design to reduce access by larger birds and some doves by changing how the feeding openings are shaped and where they sit under the overhang. However, make one change at a time and observe for a few days, because overly restrictive openings can also discourage smaller target species from feeding.
Next Articles
How to Make a Tube Bird Feeder Step by Step
Step-by-step how to make a tube bird feeder with materials, safe mounting, maintenance, and fixes for leaks and clogs.
How to Put Bird Seed in a Bird Feeder Step by Step
Step-by-step guide to add bird seed to hopper, tube, platform, and suet feeders, avoiding spills and jams.
How to Refill a Coconut Bird Feeder Fast and Clean
Learn how to refill a coconut bird feeder fast, clean, and mess-free, with feeding, cleaning, and pest-proof tips.