You can build a solid popsicle stick bird feeder in about 30 to 45 minutes using craft sticks, wood glue or a hot glue gun, some twine, and a handful of basic supplies you likely already have at home. If you are looking for ideas beyond popsicle sticks, a DIY bird feeder plan can show you other build styles and materials too. The finished feeder works as an open platform style, which means it holds sunflower seeds, mixed seed, or millet and welcomes a wide range of backyard birds including sparrows, finches, and chickadees.
Popsicle Stick Bird Feeder Instructions: Step by Step

Marcus Brennan
3 May 2026
What you'll need before you start
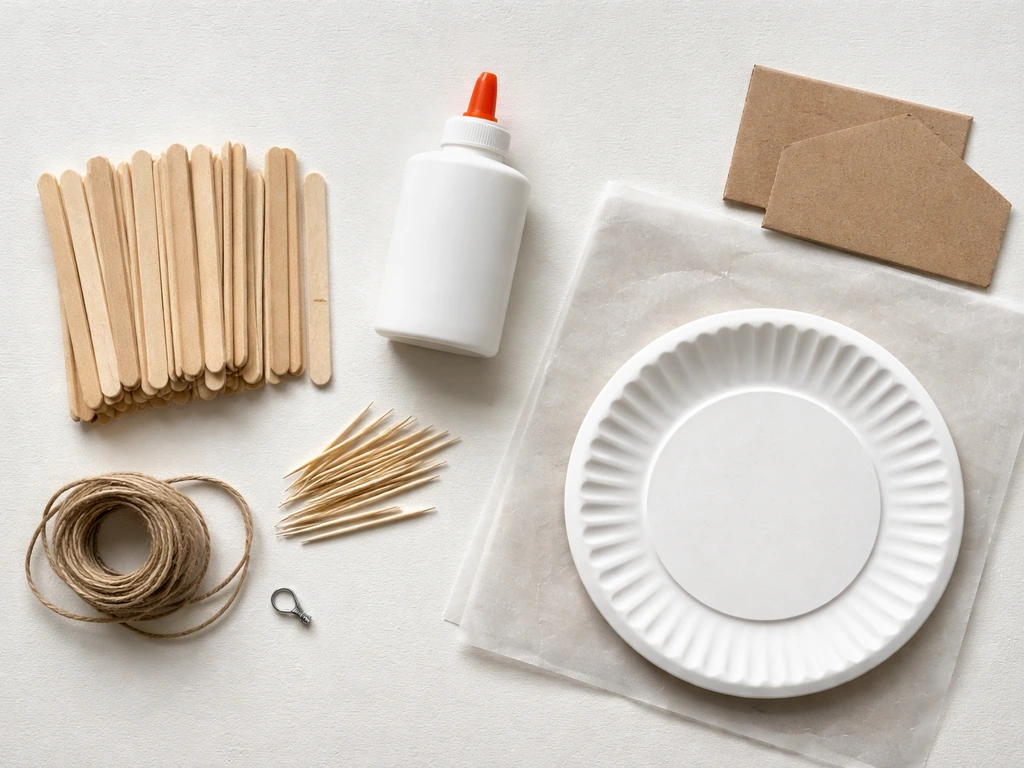
One of the best things about this project is that the materials cost almost nothing. You can grab a large bag of craft sticks (standard popsicle sticks) from any dollar or craft store, and everything else is probably sitting in a drawer already. Here's the full checklist.
- 50 to 60 standard popsicle sticks (craft sticks), plus extras for mistakes
- Elmer's glue or a hot glue gun with glue sticks — hot glue dries faster and holds better outdoors
- One wooden dowel or thick pencil (about 4 to 5 inches long) for the perch
- Strong twine, jute cord, or paracord (about 18 to 24 inches) for hanging
- Small screw eye or S-hook (optional but helpful for hanging from a branch or hook)
- Scissors or a craft knife
- Paper plate or wax paper to work on (keeps glue off your table)
- Sandpaper, fine grit (optional, just to smooth any rough edges before birds land)
A quick note on glue: Elmer's white glue works, but it takes longer to dry (plan on overnight drying time before hanging). A hot glue gun cuts that wait down to a few minutes per layer. If kids are building this with you, Elmer's is safer. If you're building solo and want it done today, go with hot glue.
Step-by-step popsicle stick feeder build
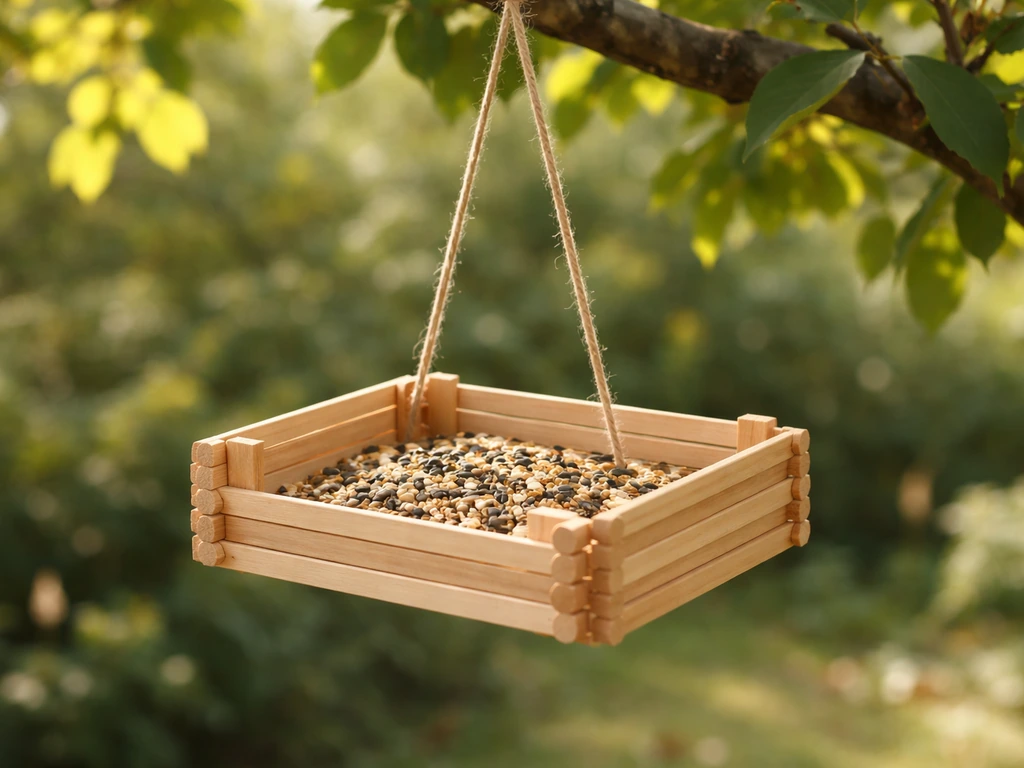
This design builds a flat-bottomed platform feeder with raised side walls to keep seed from rolling off. It's beginner-friendly, takes less than an hour to assemble, and dries into a surprisingly sturdy little structure.
Step 1: Build the base
Lay 12 popsicle sticks side by side horizontally on your paper plate or wax paper, pressing them flush together with no gaps. Spread a thin, even layer of glue across the entire top surface. Then lay two more sticks perpendicular across the top, one near each end, and press them down firmly. This locks the base together like a raft. If you're using hot glue, run a bead along each stick before pressing. Let this layer dry completely before moving on. This base is the floor of your feeder, so don't rush it.
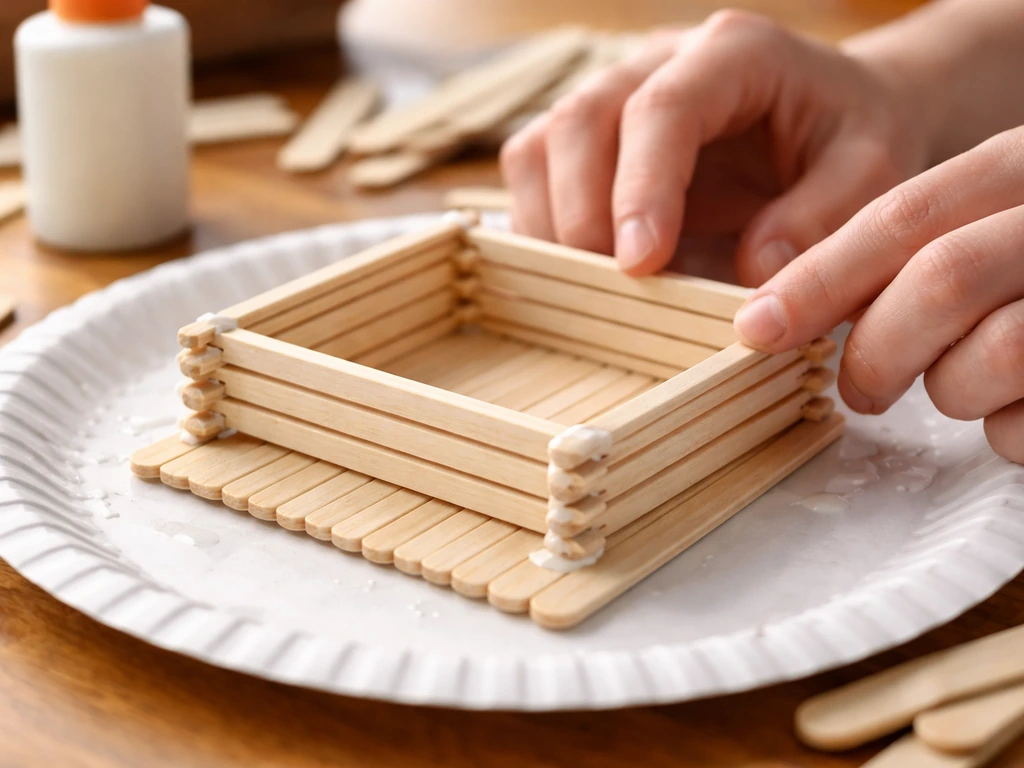
Step 2: Build the side walls (log cabin style)
Once the base is dry, flip it over so the cross-support sticks are on the bottom. Now you'll stack the walls. Place two sticks parallel on opposite edges of the base, then two more sticks perpendicular on top of those, overlapping at the corners like a log cabin. Keep stacking, gluing each layer at the corners and letting each course set before adding the next. Aim for 4 to 6 layers high on all four sides, that's roughly 1.5 to 2 inches of wall height, which is enough to hold seed without blocking birds' view of the food.
Step 3: Build the roof (optional but protective)
A roof keeps rain off your seed, which massively reduces mold and waste. To make one, repeat the base-building process from Step 1 using 10 to 12 sticks, but make it slightly larger than your feeder footprint so it overhangs the sides by half an inch or so. Glue two more sticks diagonally across the top center to form a gentle ridge, then prop each side slightly to create a simple pitched roof. Attach the roof to the top of the walls with four small vertical sticks acting as corner posts, leaving the sides open so birds can fly in and out easily.
Step 4: Attach the hanging loop
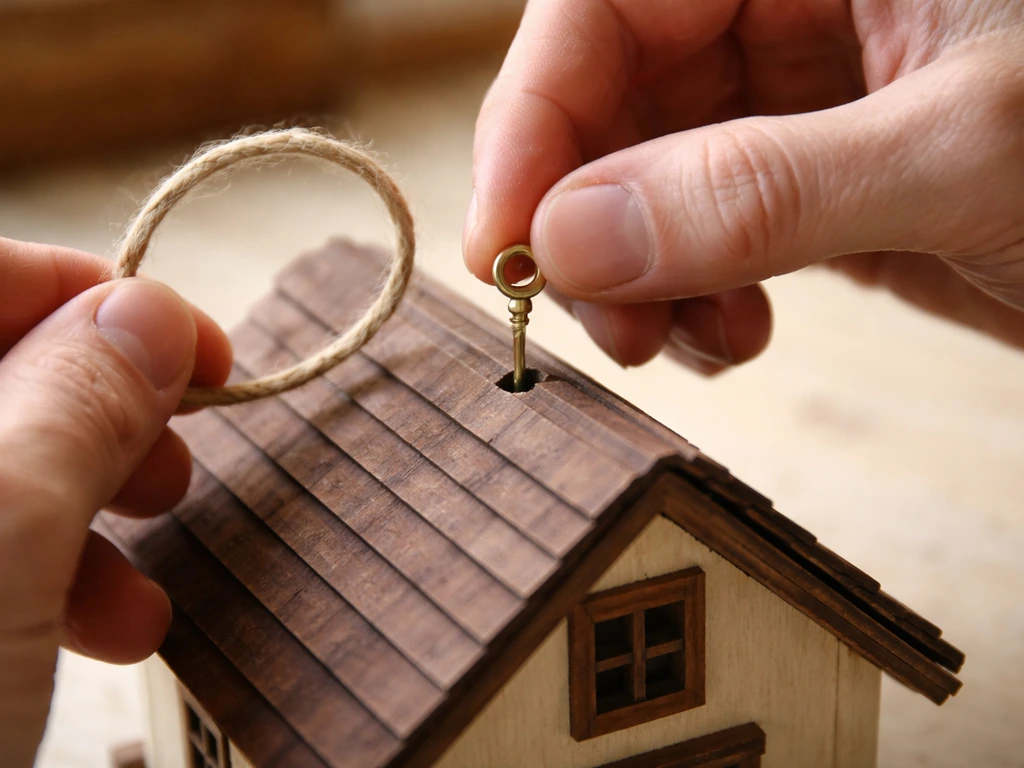
Before the roof is fully set, press a small screw eye into the center ridge of the roof (a pre-drilled hole with a toothpick makes this easier). Alternatively, tie your twine around the two corner posts on the roof and knot it above the peak, leaving a loop of about 12 inches for hanging. If you skip the roof, glue two sticks in an X shape on top of the walls and thread twine through the center. Whichever method you use, tug the connection firmly before hanging the feeder, it needs to hold the weight of wet seed and a bird or two.
Adding a perch and making the seed platform work
A popsicle stick feeder is essentially a platform feeder by design, a flat, raised surface onto which bird food is spread. That flat base already does most of the work. To add a perch, glue a wooden dowel or thick pencil horizontally across the front wall of the feeder, centered and sticking out about 2 inches on each side. Let it dry thoroughly before you load the feeder with seed, since a bird landing on a loose perch will knock seed everywhere and probably won't come back.
For seed selection, stick to sunflower seeds (hulled or in-shell), mixed wild bird seed, or white proso millet in this style of feeder. Avoid nyjer (thistle) seed in an open platform like this, nyjer needs very small, specific feeding ports to prevent it from spilling out immediately, so it's wasted in an open design. A small handful of seed is enough to start; you want birds to clean it up every day or two so stale or wet seed doesn't accumulate.
Where and how to hang the finished feeder
Placement matters more than most first-time builders expect. Get this part right and birds will find the feeder within a few days. Get it wrong and you'll either scare them off or create a squirrel buffet.
Distance from windows
Here's the counterintuitive part: placing your feeder very close to a window is actually safer for birds than hanging it at a medium distance. Position it either within 3 feet of the nearest window or more than 30 feet away. In the 3-foot zone, birds can't build up enough speed to seriously injure themselves if they do tap the glass. In the danger zone between 3 and 30 feet, they're flying fast when they hit. I hang my popsicle stick feeders right off a window hook, they're light enough for it, and birds get comfortable with the proximity surprisingly quickly.
Distance from shrubs and squirrel deterrence
Place the feeder at least 10 feet from the nearest shrub or dense cover to reduce ambush opportunities for cats and other predators. Humane World also recommends positioning feeders at least 12 feet away from grass and shrubs that can serve as cat cover, and using predator guards on poles when possible position feeders at least 12 feet away from grass and shrubs that can serve as cat cover. For squirrels, keep in mind they can leap roughly 6 feet straight up, so if you're hanging from a tree branch or post, make sure any baffle or cone guard is positioned so squirrels can't bypass it. A popsicle stick feeder is lightweight and easy to bat around, so squirrel-proofing the mounting point is more important here than with heavier feeders.
How to actually hang it
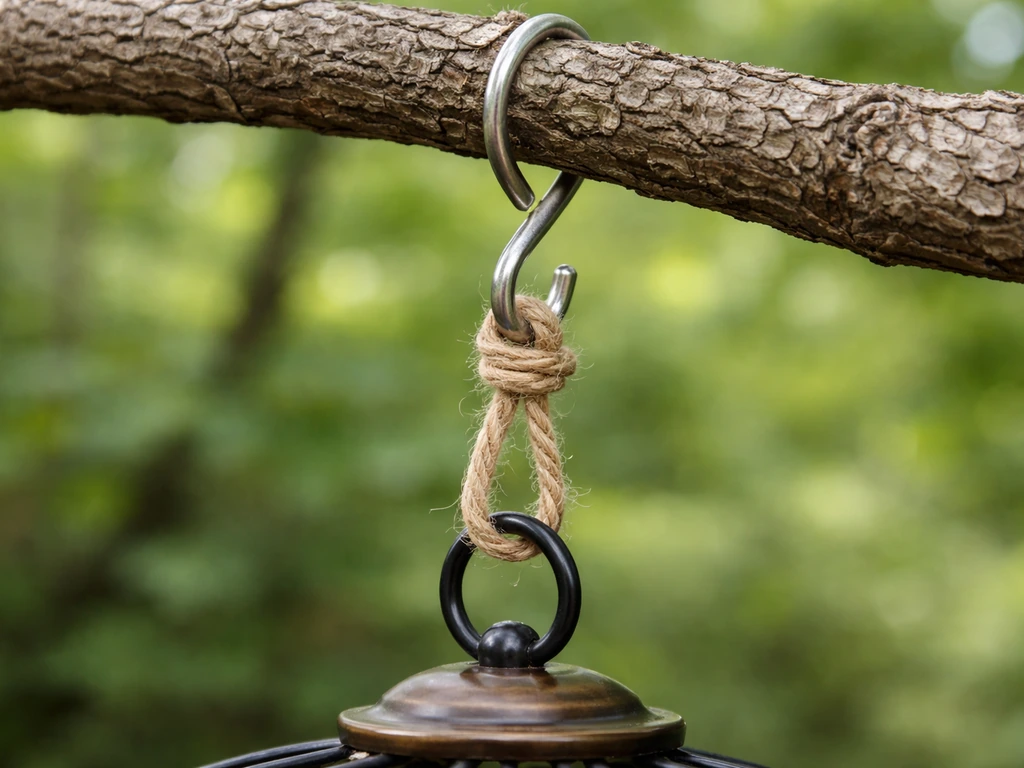
Use an S-hook or small carabiner clip to attach the twine loop to a branch, shepherd's hook, or window hook. This makes it easy to take the feeder down for cleaning without untying anything. If you used twine directly from the feeder, tie it to a fixed point with a simple slip knot you can loosen quickly. One thing to watch: loose twine ends that birds could mistake for nesting material. Trim any frayed ends short and tuck them in. The U.S. Fish and Wildlife Service specifically warns that stringy materials can become a choking hazard if birds try to eat or pull at them.
Troubleshooting after setup
Most problems with popsicle stick feeders show up in the first week. Here's what to look for and how to fix it.
| Problem | Likely Cause | Fix |
|---|---|---|
| Feeder swings and spins excessively | Single-point hang with no stabilizer | Add a second tie-off point lower on the feeder body, or hang between two anchor points |
| Seed falls out the sides | Walls too low or gaps in corners | Add 2 more stick layers to raise walls, and fill corner gaps with a fresh bead of glue |
| Feeder feels wobbly or flexes | Glue not fully cured before loading seed | Take it down, let it dry another 24 hours, and reinforce corner joints with hot glue |
| Squirrels destroying the feeder | Feeder too accessible from nearby branch or surface | Move the hanging point, add a cone baffle above the hang point, and clear nearby launch points |
| Birds aren't visiting after several days | Too much nearby disturbance or wrong seed | Move to a quieter spot, switch to sunflower seeds, and be patient — it can take 1 to 2 weeks |
| Seed clumping or getting wet | No roof overhang, or feeder in a rain-exposed spot | Add or extend the roof overhang, move under a partial shelter like eaves or a tree canopy |
One failure I see constantly: builders skip the corner reinforcement on the log cabin walls. When the feeder gets wet (and it will), those corners are the first thing to separate. A quick pass with hot glue on every corner joint before you hang the feeder saves a lot of rebuilds later.
Keeping it clean and knowing when to rebuild
A popsicle stick feeder is simple enough that cleaning takes about 5 minutes. The challenge is committing to a regular schedule, because a dirty feeder can spread disease among birds even when it looks fine to you.
Cleaning routine
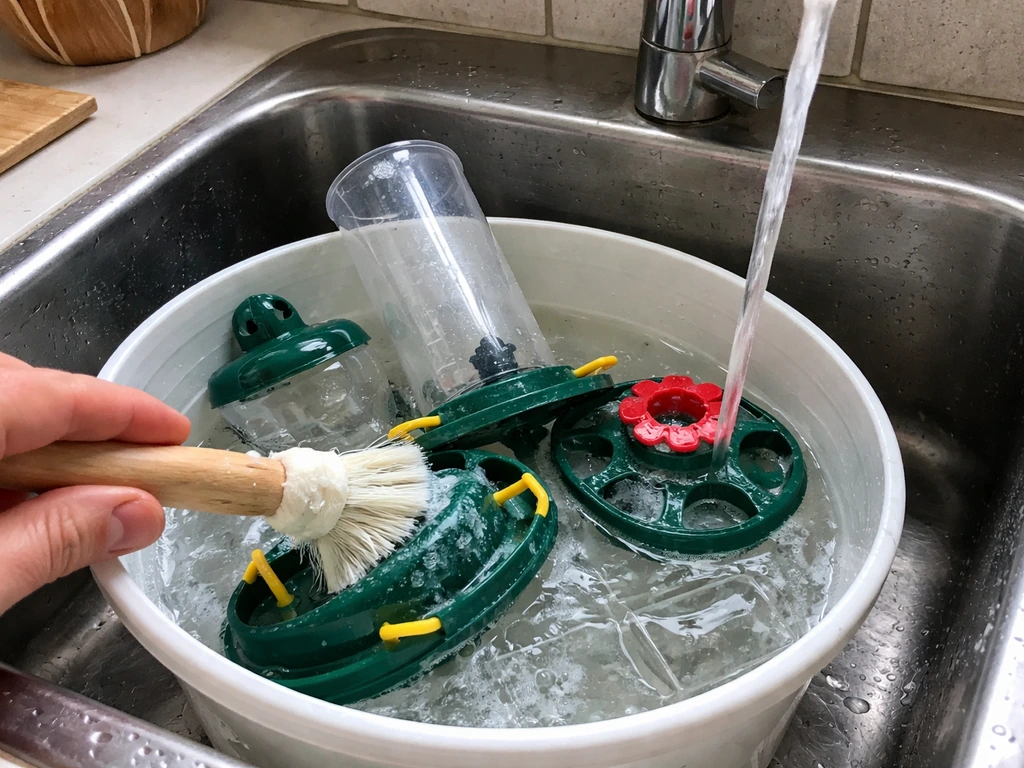
Clean your feeder every two weeks under normal conditions. Mix a solution of 9 parts water to 1 part bleach, scrub all surfaces with a stiff brush, rinse thoroughly with clean water, and let the feeder air dry completely before refilling with seed. Do not put wet seed into a damp feeder, that combination creates mold almost immediately. If there are reports of sick or dying birds in your area, bump your cleaning schedule to once a week and remove uneaten seed more frequently.
Monthly deep checks
Once a month, look closely at the structure itself. Press gently on the corners and walls to check for soft spots where moisture has gotten into the glue joints. Wiggle the perch to make sure it's still firmly attached. Check the twine or hanging cord for fraying. If you find any of these, take the feeder down and repair before rehinging. A feeder that falls while a bird is on it can injure the bird.
When to replace rather than repair
Popsicle stick feeders are not forever fixtures, and that's fine, they're meant to be fun and low-cost builds. If the base is warping, the walls are separating in multiple spots despite re-gluing, or you're seeing dark mold staining that won't scrub out, it's time to build a fresh one rather than patch the old one. Most well-maintained popsicle stick feeders last one full season (3 to 6 months) before needing replacement. Think of it as a seasonal project. If you enjoy this style of build, you might also want to try similar low-cost recycled-material feeders like tin can designs or tetra pack builds, the same hanging and maintenance principles apply across all of them. If you want a different recycled option, you can also make bird feeders with yoghurt pots using similar hanging and cleaning basics how to make bird feeders with yoghurt pots. If you want to go one step further, learn how to make bird feeder with tetra pack using the same hanging setup and cleaning routine. If you want a different look after this seasonal popsicle stick build, a tin can bird feeder DIY can follow many of the same hanging and cleaning principles tin can designs.
Your next steps right now
Here's exactly what to do next to get this project finished and birds visiting within the week.
- Gather your popsicle sticks and glue — if you're using Elmer's, start today so the base has time to dry overnight before you add the walls
- Build the base first and let it cure fully before adding wall layers
- Reinforce all corner joints with an extra bead of hot glue even if they look solid
- Attach a screw eye or tie your twine loop before the roof fully sets so you're not fighting a hardened structure later
- Choose your hang location using the window proximity rule (within 3 feet or beyond 30 feet) and check for nearby squirrel launch points
- Add a small amount of sunflower or mixed seed — not a full load — and check it daily for the first week
- Set a phone reminder for a two-week cleaning date so you don't forget
That's really the whole project. The build itself is forgiving, the materials are cheap enough that you can redo a section without stress, and once it's hanging in the right spot with the right seed, birds will figure it out on their own. For a foolproof tire bird feeder, use this same idea of adding a solid base and a secure hanging setup, then adjust the materials to fit a tire form tire bird feeder how to make. If you want a different style, you can also learn how to make a Lego bird feeder with a similar approach popsicle stick feeder. Just give them a few days.
FAQ
Can I use regular craft paint or wood stain on a popsicle stick bird feeder?
You can, but wait until the feeder is completely dry after cleaning and sealing. Avoid paints that smell strongly or can flake, and skip products labeled for indoor use only. A simple approach is to leave the glue areas unpainted and, if you want color, use a thin, fully cured, non-toxic exterior finish so birds do not peck at soft or chalky coatings.
How do I stop the glue joints from failing when the feeder gets wet?
Do two things: reinforce every corner joint before hanging, and use a thin, even glue layer rather than thick blobs. Thick glue can separate as it dries and as it repeatedly expands and contracts with moisture. Also let each wall “course” set fully before stacking the next layer so the structure cures as a solid unit.
What if my feeder floor warps or bows after drying?
Warpage usually comes from moving the base too soon or from uneven glue coverage. If it bows, remove seed and let it air dry flat in a sheltered, dry area for a day. If the base still rocks, rebuild the base using the same stick count and make sure the raft-like cross layer is perfectly flush on top before gluing.
What is the safest way to attach the twine so it does not tangle birds?
Use an S-hook or small carabiner to connect the hanging loop to a fixed point, then keep the feeder’s hanging cord taut and trim any frayed ends. If you knot twine directly, make the slip knot easy to loosen and tuck loose tails so they cannot hang down where birds could chew or pull at them.
How much seed should I add so it does not go stale?
Start with a small handful, then top up lightly rather than filling deeply. In warm weather, birds often clean faster but the exposed seed still spoils, especially if rain gets in. A good rule is to remove any wet or visibly clumped seed when you refill, so you always have fresh, dry food.
Will this feeder attract squirrels, and how can I reduce that?
It often will, because it is a lightweight open platform that squirrels can reach and bat. Mount it high enough that they need to work for it, keep it away from launch points, and consider a simple baffle or positioning so squirrels cannot leap from nearby branches directly onto the feeder. The key is improving the mounting area, not just tightening the twine.
What should I do if birds stop using the feeder after I hang it?
Give it a few days and avoid moving it around repeatedly. Keep it within the recommended window-distance range and place it away from dense cover so birds feel safe. If no activity after a week, try switching seed type to sunflower or millet, since some local birds prefer those immediately in new feeders.
How do I clean between visits if I do not want to do a full bleach scrub every time?
Do quick spot cleaning by removing old, wet seed and brushing off visible debris, then let the feeder dry fully before refilling. Save the bleach-and-scrub cycle for your scheduled deep clean, because frequent bleach soaking is harder on the glue over time and can increase warping if the feeder is not fully dried.
Can I use this feeder in winter or during snow?
Yes, but protect against repeated freeze-thaw cycles. Keep it sheltered from direct rain and reduce how often you refill if snow is melting on the tray, because wet seed accelerates mold. Also inspect corners and the hanging loop more often in cold wet weather, since glue joints can loosen after repeated moisture exposure.
When should I replace the feeder instead of repairing it?
Replace it if you see dark mold staining that will not scrub out, if multiple walls keep separating after re-gluing, or if the base no longer sits flat. If a perch feels even slightly loose after tightening or re-gluing, rebuild, because a falling perch can injure a bird that lands or clings to it.
Next Article
How to Make a Tube Bird Feeder Step by Step
Step-by-step how to make a tube bird feeder with materials, safe mounting, maintenance, and fixes for leaks and clogs.