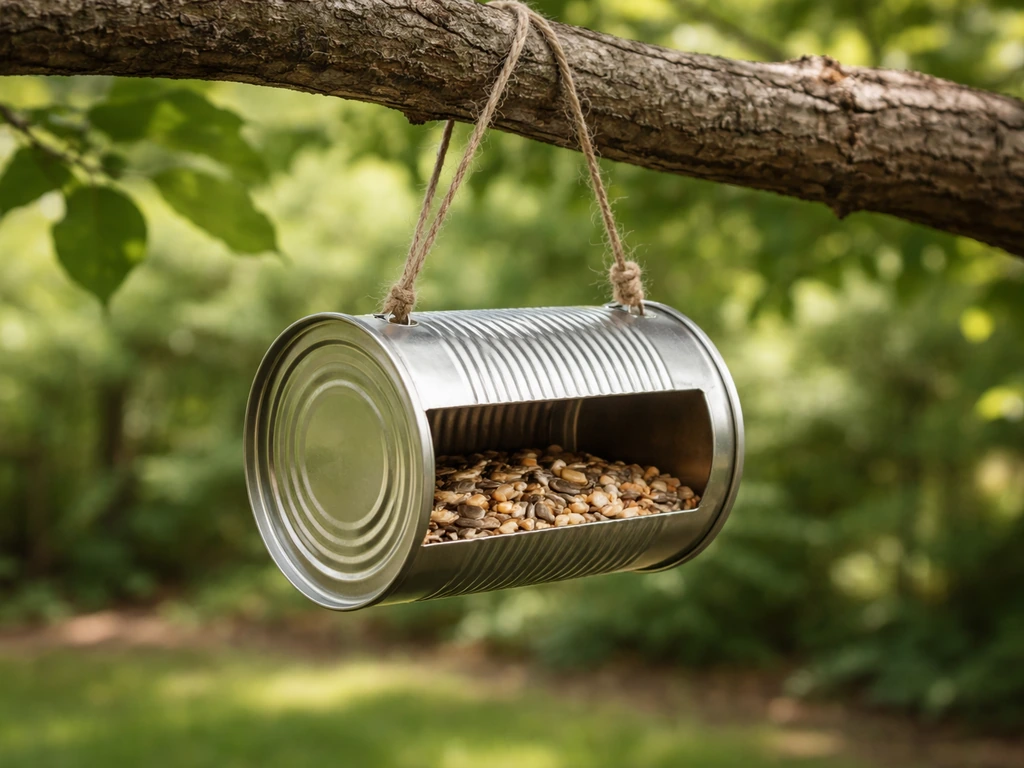
You can build a working tin can bird feeder in about 30 minutes using a clean food can, some wire or twine, a nail, and a wooden dowel or stick for a perch. If you want an extra-practical approach, look for guides that share tips on how to make a bird feeder that match your space and the birds you’re trying to attract tin can bird feeder. The hardest part is making the sharp edges safe, and once you know how to handle that, the rest is straightforward. Whether you want the simplest possible feeder you can hang today or a sturdier version that holds up through rain and wind, a tin can is genuinely one of the best recycled materials for the job.
Tin Can Bird Feeder DIY: Step-by-Step Guide for Setup

Marcus Brennan
5 May 2026
Choosing a tin can that's actually safe for birds
Not every can in your recycling bin is a good candidate. The two things that matter most are the size and the interior coating. Standard 15 oz (425g) food cans work well for tube-style seed feeders, while larger 28 oz or #10 cans give you more room for a platform-style design or for attracting bigger birds like jays and doves. Coffee cans with a plastic lid are a great bonus since the lid becomes a built-in rain guard.
Many modern food cans have a thin BPA-free epoxy lining on the inside. This is generally considered inert and safe once the can is washed, but if you want to be cautious, you can sand the interior lightly or just make sure no seed is touching any flaking or rusting coating. Avoid cans that show heavy internal rust or ones that previously held strongly acidic foods like tomatoes, as those can degrade the lining unevenly. Plain steel vegetable or bean cans are the safest starting point.
The most important safety step is dealing with the cut edge at the open end. A raw tin edge is genuinely sharp and can injure birds' feet or your own hands during maintenance. You have a few good options: use a safety can opener that rolls the edge down instead of cutting it, use pliers to fold the edge inward, or line the rim with a thin bead of food-safe silicone sealant and let it cure fully before hanging. The silicone approach is the easiest for beginners and takes less than 10 minutes.
What you need before you start
Here's the full materials list for both the simple and more robust versions covered in the build section below. Most of this is either free from your recycling bin or available at a hardware store for under a few dollars.
- One or more clean tin cans (15 oz, 28 oz, or #10 size depending on your goals)
- Safety can opener or smooth-edge can opener (or pliers and patience)
- Food-safe clear silicone sealant (optional but recommended for edge protection)
- A hammer and a sturdy nail (for punching drainage and hanging holes)
- Galvanized or stainless steel wire, 14 or 16 gauge (for hanging loops that won't rust)
- A wooden dowel, thick twig, or 1/4-inch diameter wooden chopstick (for the perch)
- Waterproof exterior paint or spray paint (optional, for decoration and rust prevention)
- Clear waterproof sealant or polyurethane spray (for the outside of the can)
- Needle-nose pliers and wire cutters
- A wooden board or scrap plywood (for the more robust tray design)
- Sandpaper, 120 grit (to smooth any rough spots)
- Dish soap and a scrub brush (for initial cleaning of the can)
How to build it: simple version and more robust version
The simple hanging tube feeder (under 30 minutes)
- Wash the can thoroughly with hot soapy water and let it dry completely.
- Use your safety can opener or pliers to eliminate or fold down the sharp cut edge on the open end.
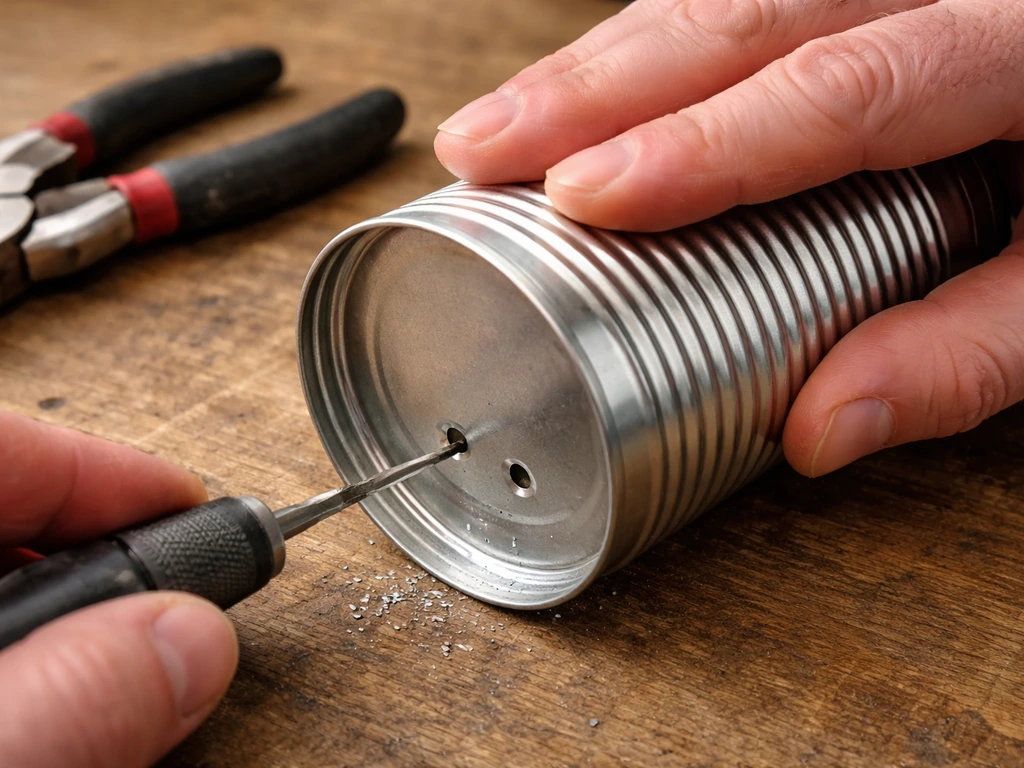
- Punch two small drainage holes in the bottom of the can using a hammer and nail. This prevents water buildup inside.
- Punch two holes near the closed bottom of the can, directly opposite each other, about half an inch from the edge. Thread your wire through these holes and twist a secure hanging loop at the top.
- Punch a small hole about an inch from the open end on one side of the can, then punch a matching hole directly opposite. Push your dowel or thick twig through both holes to create a perch that sticks out about 3 inches on each side.
- Apply a thin bead of silicone sealant around the open rim if you haven't already folded or smoothed the edge. Let it cure for at least 4 hours before use.
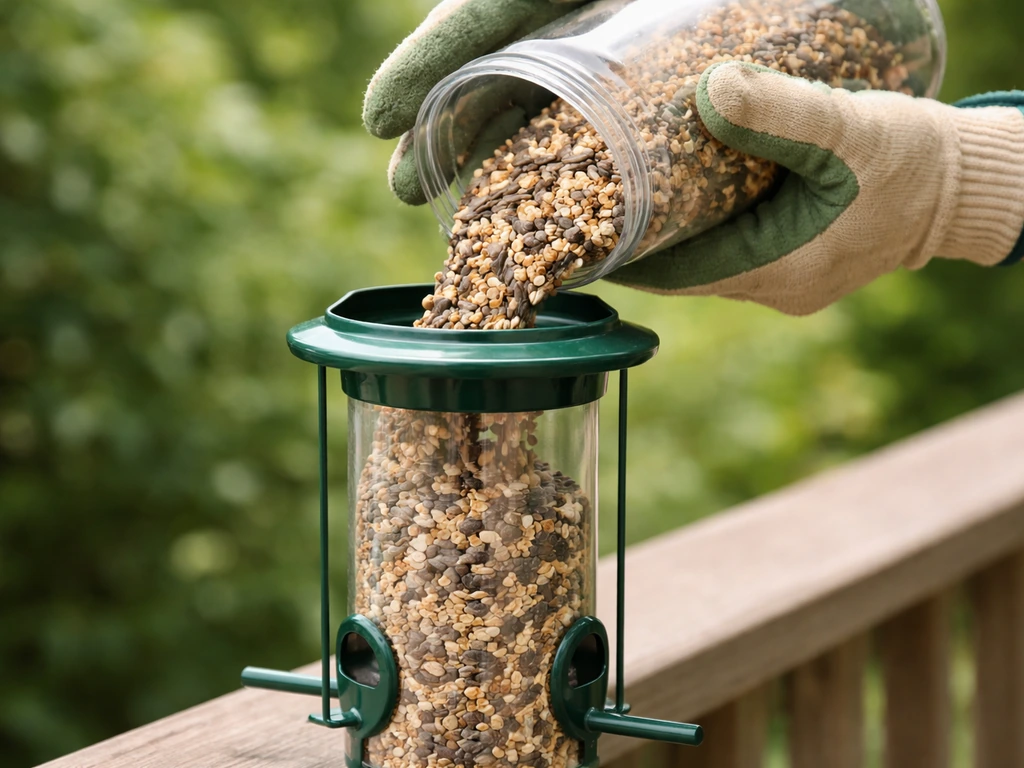
- Fill the can about two-thirds full with birdseed, hang it, and you're done.
That's it for the quick version. Birds will access the seed from the open end, and the perch gives them somewhere to land and feed comfortably. If you want something more playful, you can also adapt the same feeder idea into a LEGO version with a stable base and safe seed access openings. This design works best in sheltered spots since the open end faces outward. If you hang it at a slight downward angle (open end tilted down about 10 to 15 degrees), seed stays toward the back and rain doesn't flood the can as easily.
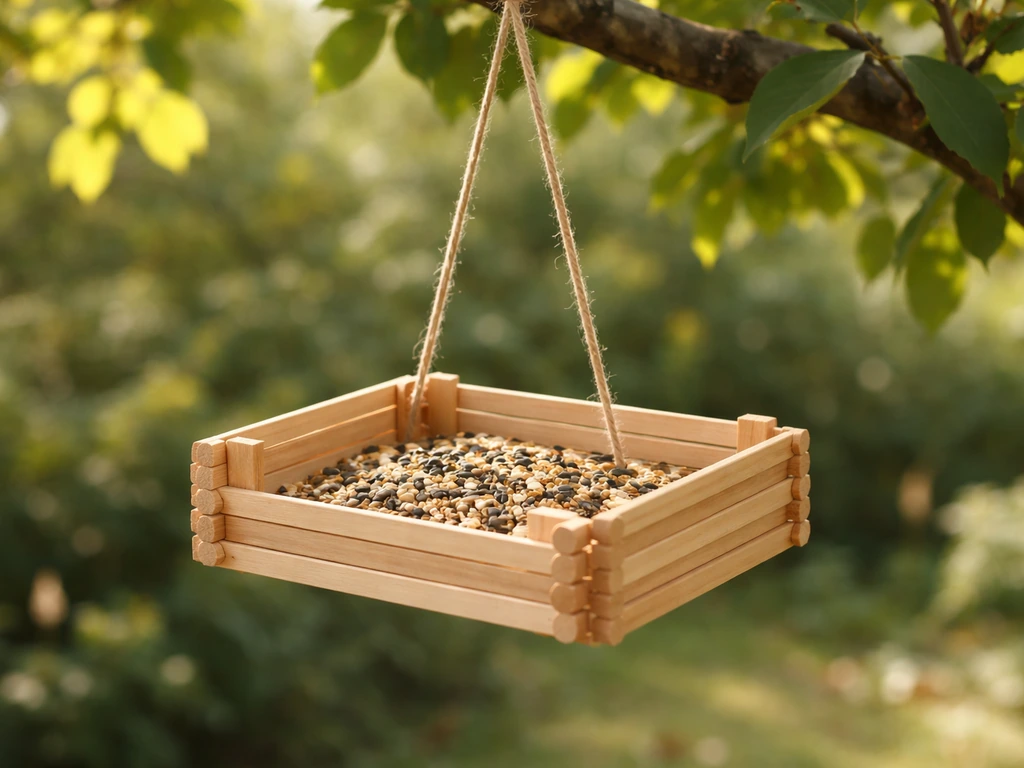
The more robust tray-and-can feeder (45 to 60 minutes)
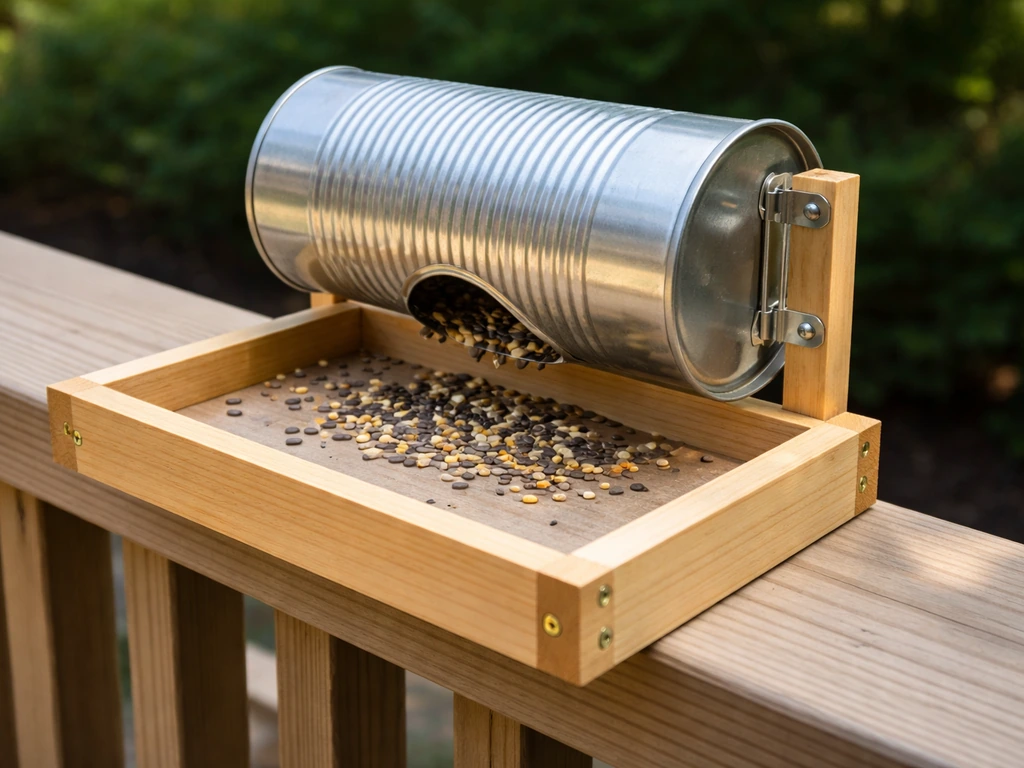
This version mounts the can horizontally on a small wooden tray, which catches fallen seed, gives birds more landing space, and keeps the whole setup more stable in wind. It takes a bit more work but lasts significantly longer and attracts more species.
- Cut a piece of scrap plywood or a fence board into a rectangle roughly 8 inches by 10 inches. Sand all edges smooth.
- Drill four small drainage holes in the corners of the board.
- Lay the can on its side in the center of the board. Use two U-shaped wire staples or bent wire loops screwed into the board to hold the can in place. The open end of the can should overhang the edge of the board slightly so birds can access the seed.
- Punch your perch holes through the can as described above, but now orient the perch so it runs parallel to the board surface and sticks out in front of the open end.
- Drill two holes near the back edge of the board and thread wire through them to create a hanging loop.
- Paint or seal the board with exterior-grade waterproof paint or sealant. Paint the outside of the can too if you want rust protection. Avoid painting any surface that will directly contact seed.
- Once everything is dry, secure the can to the board, fill it with seed, and hang the whole assembly.
The tray version is noticeably more stable and seeds last longer because the tray catches spillage. If you enjoy other recycled-material feeder projects, the approach of combining a container with a small base platform is similar to how you'd build a feeder from a tetra pack or even a yoghurt pot, just with a longer-lasting material. If you're comparing other DIY options, the method and materials can be similar to how you'd make a bird feeder with a tetra pack.
Mounting and hanging it in your backyard
The wire loop on your can feeder can attach to almost any standard hanging point. Here are the most practical options depending on what you have available:
- Tree branch hook: Bend the last inch of a heavy-gauge wire into an S-hook shape. Hang the feeder loop on one end and slip the other over a branch that's at least an inch thick. This is the easiest setup.
- Shepherd's hook stake: Push a metal shepherd's hook into the ground at least 12 inches deep so it doesn't tip in wind. Hang the feeder from the hook's curve. Position it so it stands freely away from fences and structures.
- Fence-mounted bracket: Screw a small L-bracket or wooden arm to a fence post and hang the feeder from it. Make sure the bracket extends far enough out that the feeder swings freely without hitting the fence.
- Deck railing arm: Clamp a horizontal arm bracket to your deck railing. These are inexpensive and adjustable.
- Direct wire tie: If none of the above are available, simply loop the wire around a sturdy branch and twist it tight with pliers. Not as adjustable, but totally functional.
Whatever method you use, aim to hang the feeder so it's at least 5 feet off the ground. This reduces (though doesn't eliminate) ground predator access and puts it at a comfortable viewing height. Make sure the feeder can swing at least a few inches in all directions without hitting anything, so it doesn't bang against branches or walls in the wind and spill seed.
Where to put it for the most bird activity
Location makes a bigger difference than most people expect. The best spot balances three things: bird comfort, your ability to see the feeder from inside, and your ability to reach it for refilling and cleaning.
Place the feeder within 10 feet of a shrub, hedge, or tree. Birdfact recommends placing feeders about 10, 12 feet from dense shrubs or trees to balance safety cover with approach comfort 10–12 feet from dense shrubs or trees. Birds use nearby cover to survey the area before approaching and to escape quickly if a hawk shows up. If you put the feeder in the middle of an open lawn with nothing nearby, you'll get fewer visitors. At the same time, don't tuck it so deep into a bush that you can't see it or reach it.
Avoid spots directly exposed to prevailing wind. A feeder that swings violently in a storm will spill constantly and discourage birds from landing. The east or south side of a building, fence, or large hedge gives you natural windbreak. If you're in a hot climate, some afternoon shade helps keep seed fresh longer. In colder regions, a south-facing spot gives birds a bit of warmth and keeps seed from freezing solid.
Keep the feeder at least 30 feet from your house windows if possible, or closer than 3 feet. This sounds counterintuitive, but feeders placed between 3 and 30 feet from glass cause the most window strike injuries. Very close placement (under 3 feet) means birds don't build up enough speed to hurt themselves if they do hit the glass.
Matching seed to the birds you want
| Seed type | Birds attracted | Works in tin can feeder? |
|---|---|---|
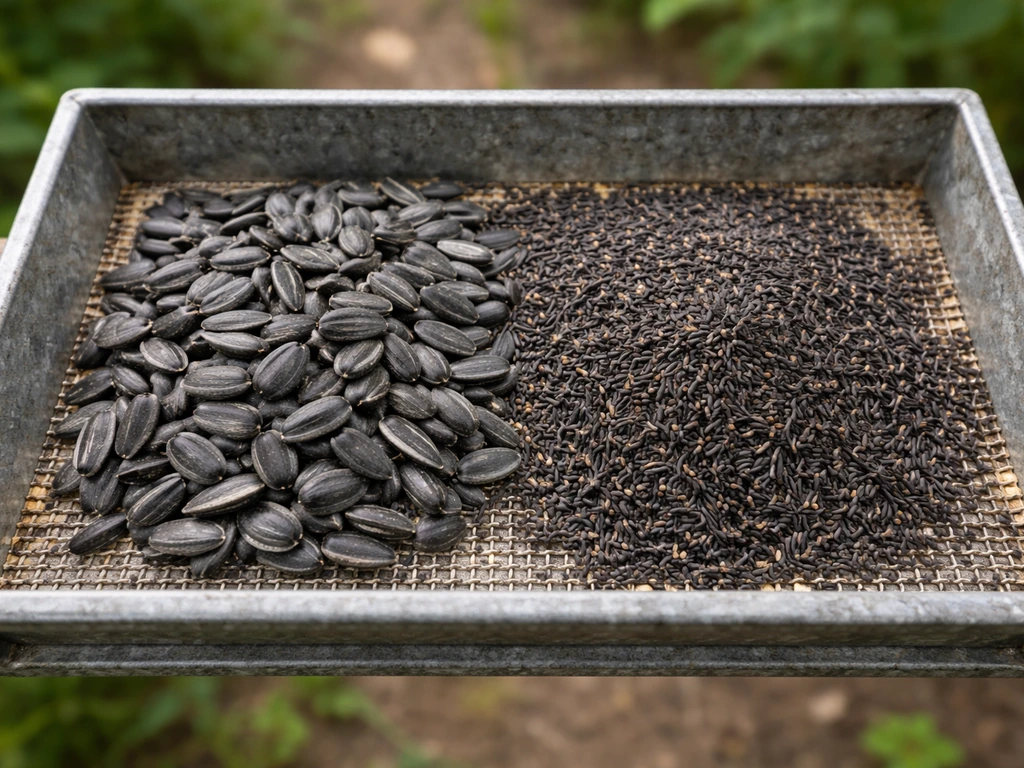
| Black oil sunflower seeds | Chickadees, finches, nuthatches, cardinals | Yes, ideal |
| Nyjer (thistle) seed | Goldfinches, pine siskins | Yes, but small seeds may pour out fast — angle can slightly downward |
| Safflower seeds | Cardinals, doves, chickadees | Yes |
| Mixed seed with millet | Sparrows, juncos, doves | Yes, best in the tray version |
| Peanuts (in shell or halves) | Jays, woodpeckers, nuthatches | Yes, in larger cans |
| Corn (cracked) | Jays, blackbirds, squirrels | Works, but expect more squirrel interest |
Black oil sunflower seed is the single best choice if you want to attract the widest variety of backyard birds with minimal waste. Almost every common feeder bird eats it, and the thinner shell means fewer hulls piling up under the feeder compared to striped sunflower.
Keeping it clean and weather-ready
A dirty feeder is genuinely dangerous for birds. Wet, moldy seed can spread Salmonella and other pathogens, and this is especially a risk with tin can feeders since they hold less seed and can trap moisture if drainage holes aren't working properly. The good news is that cleaning is simple once you have a routine.
Aim to clean your tin can feeder at least once a month, and more often during wet weather or periods of high bird traffic. The most reliable method is a dilute bleach solution: mix 1 part household bleach to 9 parts water (a 10% bleach solution). Empty out any remaining seed first, then soak the can in the solution for about 10 minutes. Scrub with a brush, rinse thoroughly until you can't smell any bleach, and let the feeder dry completely before refilling. Virginia DWR, Iowa DNR, and All About Birds all recommend this same 1:9 bleach-to-water ratio, so it's well established as the standard approach.
On a weekly basis, just dump out any wet or clumped seed at the bottom of the can and wipe the interior with a dry cloth or paper towel. Tin cans are smaller than most commercial feeders, which means seed turns over faster and you're less likely to end up with a massive mold problem, but you still need to check regularly.
For weather-proofing the can itself, apply a coat of clear exterior polyurethane or rust-inhibiting spray paint to the outside before the feeder goes up. Reapply once a season. If you notice rust forming on the inside of the can, retire it and start fresh with a new one. Rust is the main reason tin can feeders have a limited lifespan compared to wood or plastic versions, but with a painted exterior and good drainage, a well-made can feeder will easily last through a full season or two.
Dealing with pests and common problems
Squirrels
Squirrels are the top complaint from almost every backyard feeder owner, and a tin can on a simple branch wire is easy pickings for them. The most effective solution is a squirrel baffle: a dome-shaped shield placed above the feeder on the hanging wire. You can buy these for a few dollars or make one from a large plastic bowl with a hole punched in the center. Thread the hanging wire through the bowl so the dome sits above the feeder, open side down. Squirrels can't grip past it.
If you're using a shepherd's hook, add a pole baffle (a cylinder that slides onto the pole and prevents squirrels from climbing up). Make sure the hook is at least 8 feet away from any fence, tree, or structure they can jump from. That 8-foot gap is about the maximum leaping distance for most squirrels.
Seed spilling and waste
If seed is spilling out constantly, a few things could be happening. First, check that your perch isn't positioned so close to the opening that birds knock seed out every time they land. Move the perch hole back an inch or two from the rim. Second, make sure the feeder isn't swinging too freely in wind. Add a second anchor wire to stabilize it. Third, switch to larger seeds like black oil sunflower, which don't fall out as easily as millet or nyjer.
Seed getting wet inside
This usually means either your drainage holes are blocked or rain is getting directly into the open end of the can. Clear the drainage holes with a nail if they've clogged with seed debris. For rain entry, try angling the feeder slightly so the open end points slightly downward, or hang a simple rain guard above it. A small circular piece of sheet metal or even a large plastic bottle cap wired above the feeder opening works surprisingly well.
Birds not coming to the feeder
Give it at least a week before worrying. Birds take time to discover a new feeder, especially in late spring and summer when natural food is abundant. If you've waited two weeks and still nothing, check the seed quality (old seed loses its scent and appeal), move the feeder closer to existing cover, and make sure there are no predators like cats regularly patrolling the area. Sprinkling a small amount of seed on the ground directly below the feeder can help draw birds in initially, since ground feeders will notice it and others will follow.
Rust and structural failure
A tin can feeder will eventually rust, especially at the cut edge and around the punched holes. When you see rust spreading on the inside of the can or the hanging wire holes start to widen, swap the can out. Keep a few spare cans cleaned and prepped so the swap takes five minutes. The wooden tray in the more robust design can be reused with a fresh can many times over.
One honest note: tin can feeders are a great low-cost, low-effort entry point, but they do require more frequent monitoring than a purpose-built feeder. If you find yourself wanting something that holds more seed or needs less attention, that's a natural next step in feeder building. Popsicle stick designs, wooden platform feeders, and other DIY formats each have their own trade-offs, and the skills you build with a tin can transfer directly to those projects.
FAQ
How do I stop the seed from getting wet inside the tin can bird feeder?
For best results, leave the can dry before refilling (after cleaning, let it air-dry completely). If rain enters and seed clumps, remove wet seed promptly, then wipe the interior with a dry towel to prevent mold from spreading into the remaining dry seed.
What seed types are safest and least messy for a tin can bird feeder DIY?
Use black oil sunflower seed most of the time. If you switch to smaller seeds, start with short trial batches and watch for rapid hull buildup, since tin can feeders have less storage volume and any blockage around the opening can stop feeding.
Do I need drainage holes in a tin can bird feeder, and how do I know they’re working?
At minimum, provide drainage by keeping the bottom clear and, if your holes are small, make sure they stay open during filling. If your can design has no drainage holes, add a few small holes near the bottom before hanging, then test with water to confirm it runs out instead of pooling.
Is it safe to keep using a tin can feeder if I see scratches or wear on the inside coating?
Don’t use the feeder if the interior lining is flaking or if you see rust creeping from inside toward the rim. A practical check is to shake the can over a white paper towel, if you see dark flakes or rust dust, replace the can rather than trying to patch it.
What should I adjust if birds are not using my tin can bird feeder DIY?
If birds won’t land, it can be a perch comfort issue or placement issue. Make sure the perch sits far enough back from the opening for birds to stand without constantly stepping into the seed pile, and try moving the feeder closer to cover or slightly lower height (still above 5 feet).
Can I leave a tin can bird feeder outside in heavy rain and still keep it safe for birds?
Yes, but choose the spot carefully. If you hang it under eaves where wind-driven rain hits the opening, seed will still get saturated. For rainy climates, use a clear rain guard and angle the feeder so the opening points slightly downward, then clean more often during wet spells.
What kind of wire or twine should I use for hanging a tin can bird feeder DIY, and how do I keep it safe?
Avoid using any wire or twine that can unravel fibers. For longevity and bird safety, use hardware-store stainless wire or twisted steel wire, then twist ends tightly and cover any sharp protrusions with heat-shrink tubing or tape before hanging.
Can I paint or seal the inside of the tin can feeder to prevent rust?
Yes, but remove seed during cleaning and consider using food-safe silicone only as a rim seal, not as the main surface where seed contacts. If you decide to paint, use exterior paint on the outside only, and avoid coating the interior since it can trap moisture at cuts.
How do I reduce the chance of birds hitting windows with a tin can bird feeder?
If you see frequent collisions, shift the feeder farther from windows or increase visual cues. A simple decision aid is this: aim for either very close (under 3 feet) or farther away (more than 30 feet), and cover nearby glass with decals or curtains when possible.
My tin can feeder is spilling seed constantly, what fixes work first?
Start by checking the perch placement relative to the opening, then stabilize the feeder so it swings less. If seed still dumps, switch to larger, heavier seed (black oil sunflower) and reduce the gap between the perch and the can edge so birds land without kicking seed out.
How often should I clean a tin can bird feeder, and what’s the minimum routine to stay safe?
Use a predictable schedule. For most households, once per week is enough for quick checks, and monthly for full deep cleaning, but during hot humid weather or high visitation do both more frequently. The key is removing wet or clumped seed immediately so pathogens do not build up.
When is it time to retire the tin can, and what parts usually fail first?
If rust is spreading at the cut edge, it can compromise sharpness and eventually structure. A good replacement trigger is when you can see thinning around punched holes or the hanging wire hole starts to widen, then swap in a prepped spare can to keep birds fed without interruption.
Can I reduce bird disease risk by putting out smaller amounts of seed more often?
Yes, you can still attract birds while feeding less, but you must keep hygiene strict. Use smaller refill amounts more often, and don’t let seed sit for days, especially in humidity, since tin can feeders can hold moisture when drainage is limited.
Next Articles
Popsicle Stick Bird Feeder Instructions: Step by Step
Follow step-by-step popsicle stick bird feeder instructions with build steps, hanging tips, safe placement, and cleaning
How to Make a Tube Bird Feeder Step by Step
Step-by-step how to make a tube bird feeder with materials, safe mounting, maintenance, and fixes for leaks and clogs.
How to Put Bird Seed in a Bird Feeder Step by Step
Step-by-step guide to add bird seed to hopper, tube, platform, and suet feeders, avoiding spills and jams.