The safest, most practical way to 'electrify' a backyard bird feeder is to use a purpose-built low-voltage deterrent system (like an electric shock track or anti-roosting energizer) or to add a solar or low-voltage plug-in power source to run motion-activated features, lights, or cameras. What you do NOT want to do is run household current directly to a metal feeder, improvise wiring with bare conductors, or try to rig a DIY shock circuit. Done right, electrifying your feeder setup is legal, bird-safe, and surprisingly straightforward. Done wrong, it can hurt birds, pets, yourself, and your neighbors.
How to Electrify a Bird Feeder Safely: Steps and Safety
Marcus Brennan
27 Apr 2026
What 'electrifying' a bird feeder actually means (and what it shouldn't)
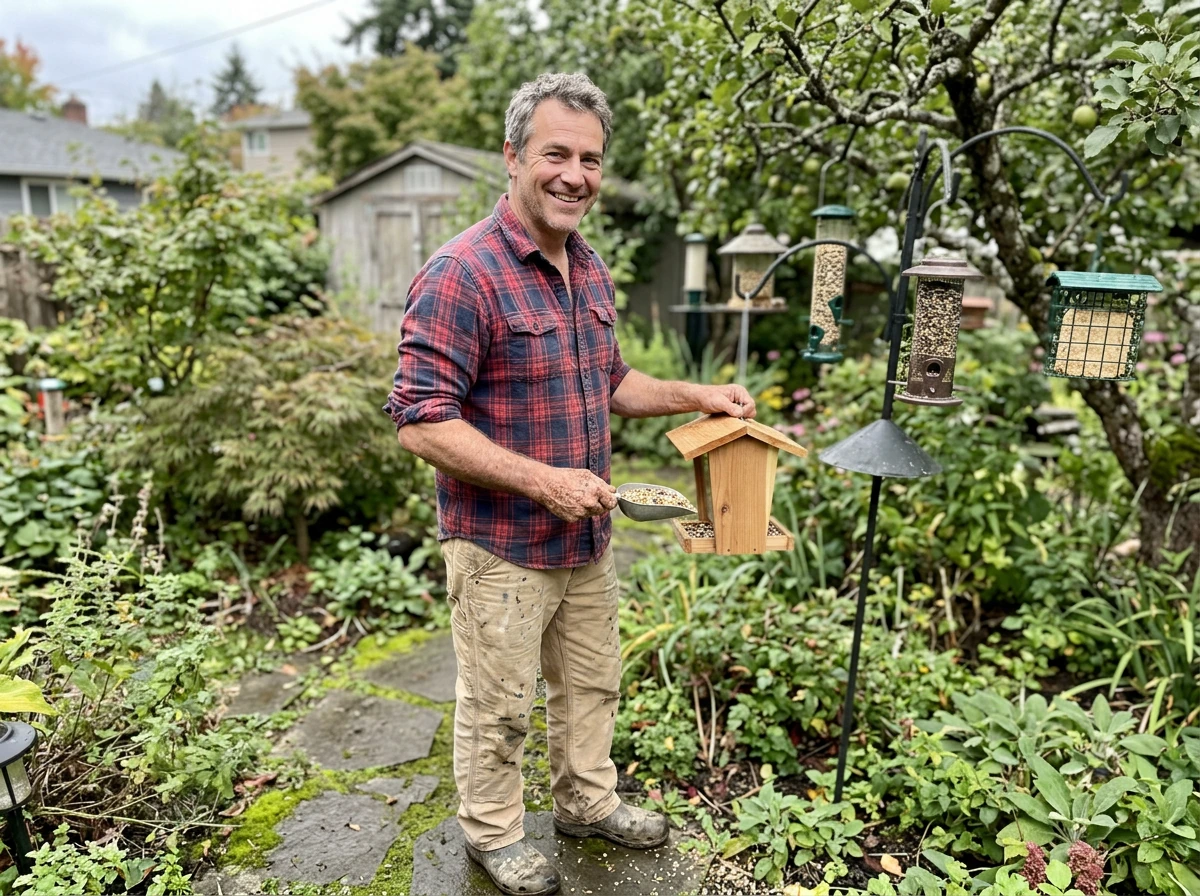
When most people search 'how to electrify a bird feeder,' they're usually trying to solve one of two problems: keeping pests like squirrels and starlings away, or powering a feature like a heated water dish, a camera, or a small light. Both are legitimate goals, but the word 'electrify' can send people down some genuinely dangerous DIY rabbit holes, so it's worth being clear about what approach belongs in a backyard bird setup.
For pest deterrence, the approved approach is electric shock track deterrent systems. Products like Bird-X Avishock use a low-energy energizer that delivers a harmless but startling pulse to birds or squirrels that land on the treated surface. The track is a matched, enclosed system: copper conduction strips covered by a protective conductive plastic housing, wired to a dedicated energizer using manufacturer-specified connectors. This is not a bare wire stapled to a board. The deterrent effect keeps pests from roosting on the pole, baffle area, or feeder ledge without injuring them.
For power-assisted features (heaters, cameras, motion sensors, lights), the goal is simply getting low-voltage power to the feeder reliably and safely. That means solar panels, battery packs, or a low-voltage transformer plugged into a GFCI-protected outdoor outlet, with weatherproofed connections throughout.
Anti-perch wire and pin systems (sometimes called trip wire or bird wire) are a related but non-electrical option worth knowing about. They physically disrupt landing without any current at all. If your main problem is pigeons or starlings roosting on the feeder roof or pole top, a bird wire system may solve it without any electrical work. That said, if you need something more active or you're dealing with persistent squirrels, the electric track approach is the right call.
Choosing your power approach: solar, low-voltage transformer, or plug-in
The right power method depends on how far your feeder is from an outlet, your budget, and what you're actually trying to power. Here's how the three main options stack up.
| Method | Best For | Typical Voltage | Pros | Cons |
|---|---|---|---|---|
| Solar panel + battery | Remote feeders, cameras, motion sensors | 5–12V DC | No wiring to house, low cost to run, weather-resilient | Output drops on cloudy days, needs battery buffer |
| Low-voltage transformer (plug-in) | Shock track energizers, heated dishes, lights | 12–24V AC/DC (from 120V line) | Consistent power, reliable for energizers | Needs GFCI outdoor outlet nearby, cord management required |
| Battery pack only | Cameras, motion-activated LEDs, short-term use | 3.7–12V DC | Fully portable, no outlet needed | Needs recharging or replacement, poor in cold weather |
For shock track deterrent systems, a low-voltage transformer is the most reliable choice. Most commercial energizers (like those used with Avishock or BirdPulse systems) are designed to be plugged into a standard outdoor outlet via a matched power unit. The transformer installation guide for these products consistently calls for plugging into the nearest GFCI-protected outdoor receptacle using a hooded, weatherproof cover. If you don't already have a GFCI outlet outside, get one installed by an electrician before you do anything else. This is non-negotiable for outdoor power use.
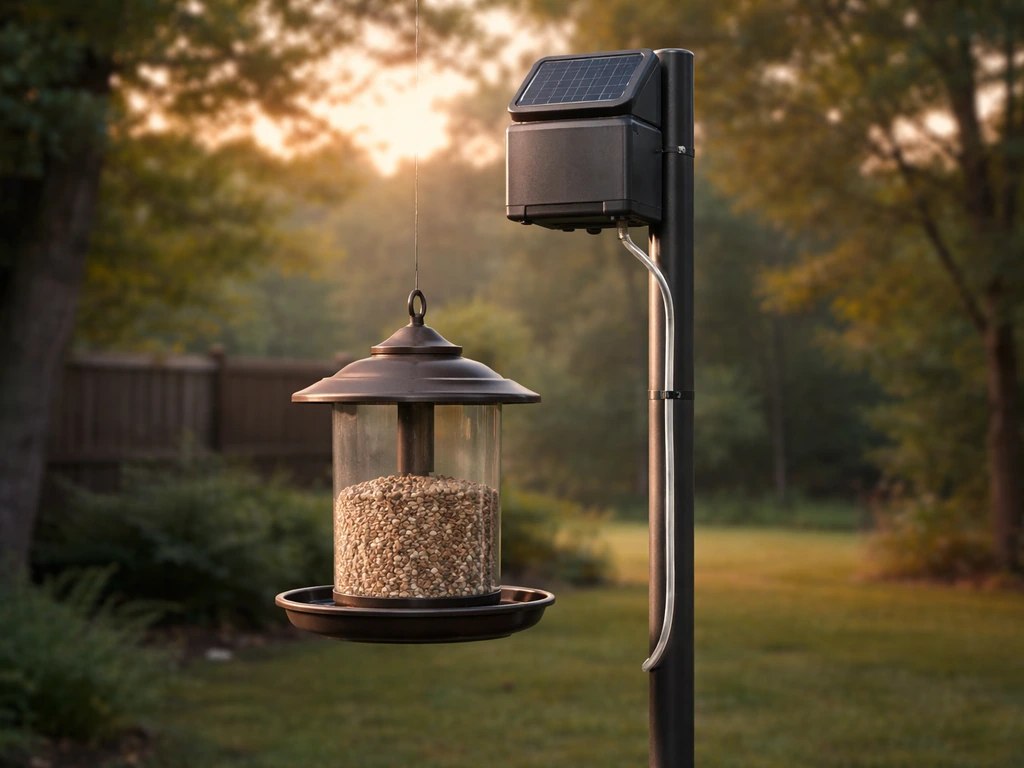
For cameras, motion sensors, or lighting, solar is the friendliest option. A small 5W or 10W panel mounted on the pole or a nearby post can keep a lithium battery pack topped off through most of the year. In winter or extended cloudy periods, expect to swap or recharge the battery every couple of weeks. If you're in the northern U.S. or Canada, factor that into your setup plan.
How to set up power on a bird feeder pole
What you'll need
- Purpose-built shock track deterrent kit (Avishock, Bird-Zap, or BirdPulse) with included energizer and manufacturer-specified connectors, OR a solar panel + battery bundle rated for your device
- GFCI-protected outdoor outlet (already installed, or have one installed by an electrician)
- In-use weatherproof outlet box hood (NEMA 3R rated minimum, UL listed)
- Weatherproof low-voltage cable clips or cable staples rated for outdoor use
- Zip ties and UV-resistant cable wrap
- Wire staple remover or flathead screwdriver (for routing adjustments)
- Multimeter (optional but very helpful for troubleshooting)
Step-by-step: installing a shock track deterrent on a feeder pole
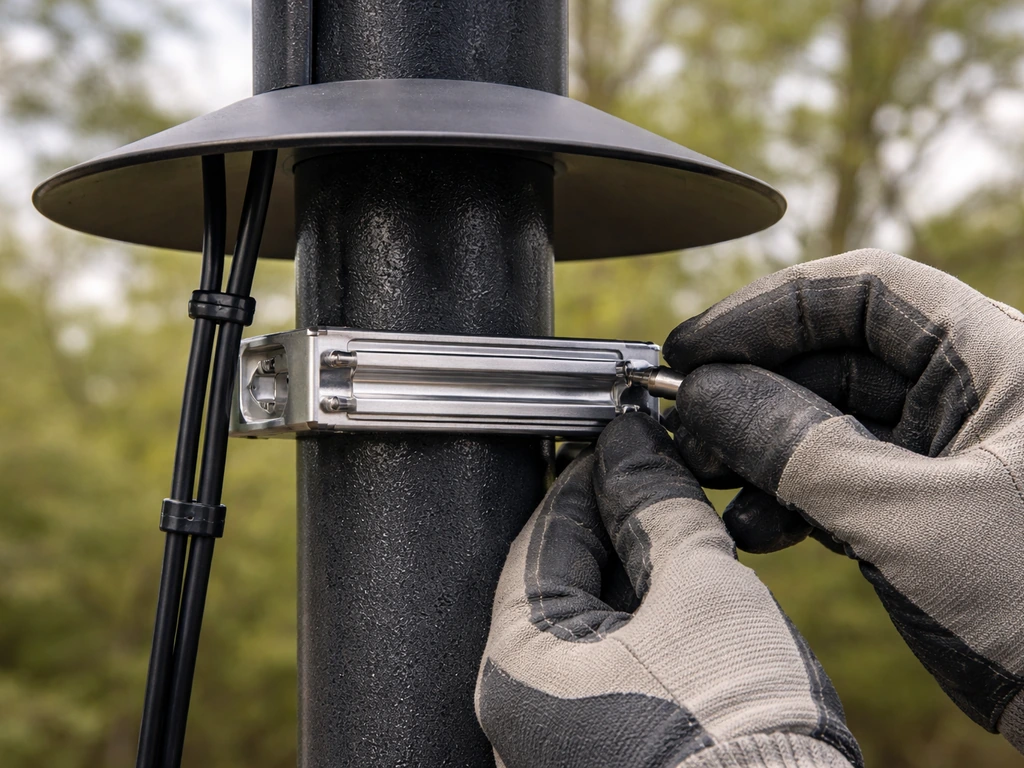
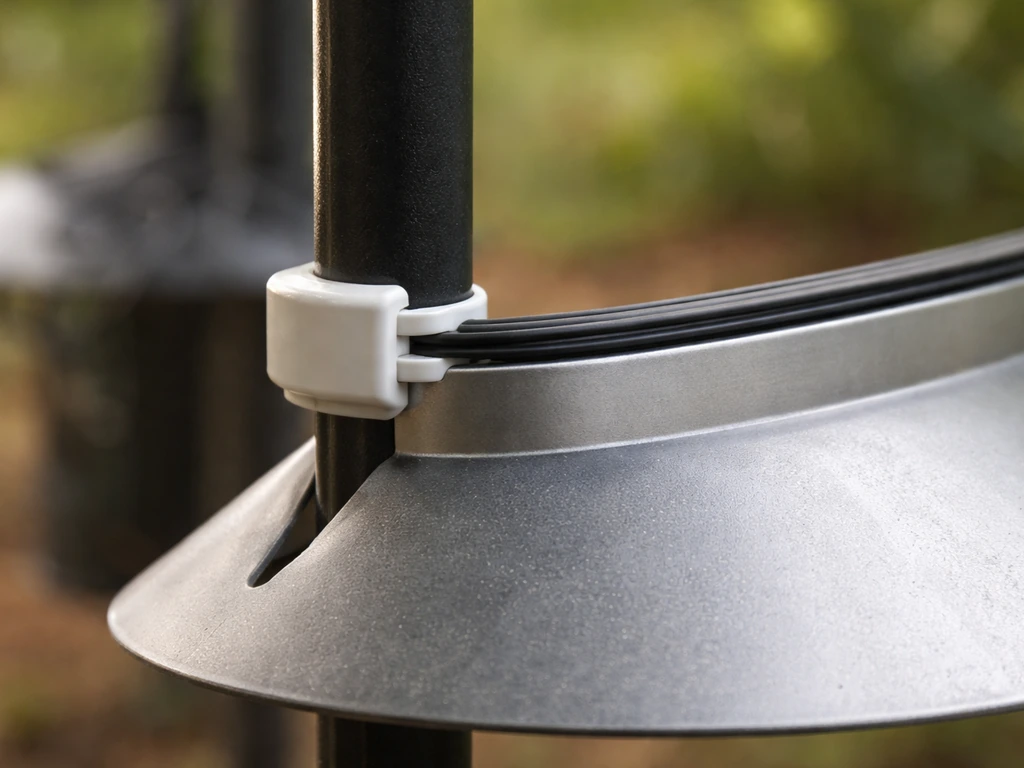
- Choose where to mount the track. The most effective placement is on the pole itself, usually on a baffle collar or a flat mounting bracket near the top of the pole below the feeder. Keep the energized track away from the feeder bowl and any bird landing zones. The track deters pests from climbing or perching on the pole, not from accessing the seed.
- Check clearance from power lines. Bird-X's design guide explicitly warns against installing energized track within certain horizontal distances from power lines. Before you mount anything, look up and confirm you have safe clearance.
- Mount the track using the manufacturer-provided adhesive or mechanical fasteners. Do not improvise attachment with bare staples or screws through the track conductor itself. Follow the guide exactly.
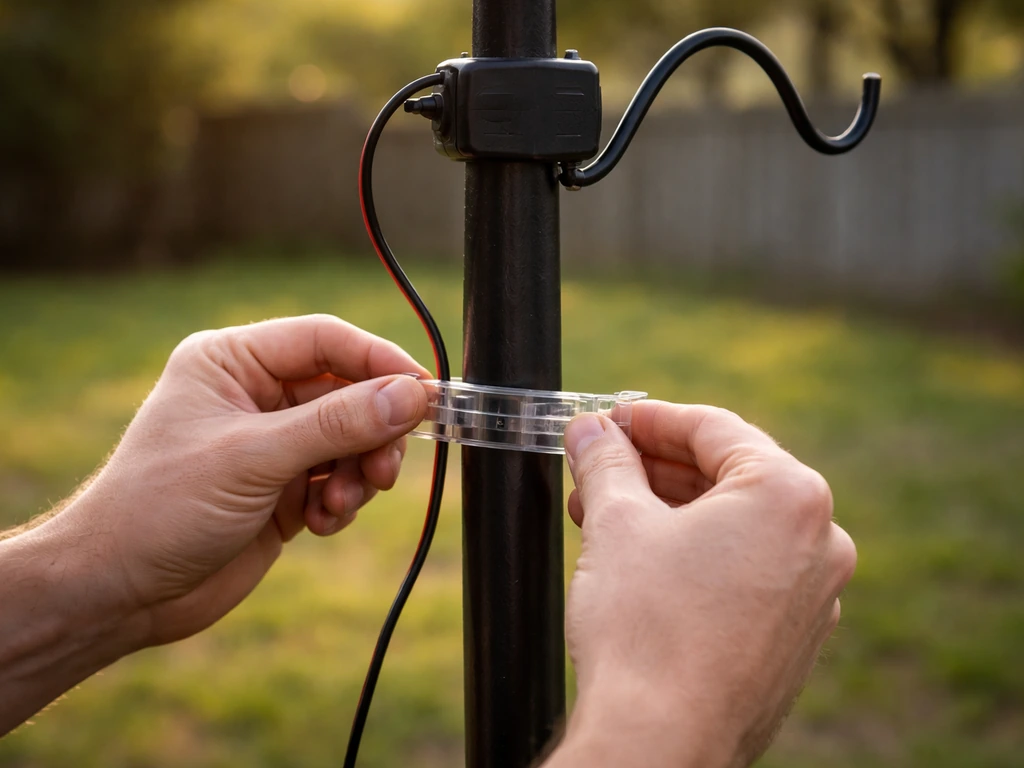
- Position the energizer near the power source, as the manufacturer directs. Most energizers are small boxes that mount to the pole or a nearby surface. Route the lead wires from the track to the energizer using the included connectors only. Do not substitute generic wire nuts or improvise connections.
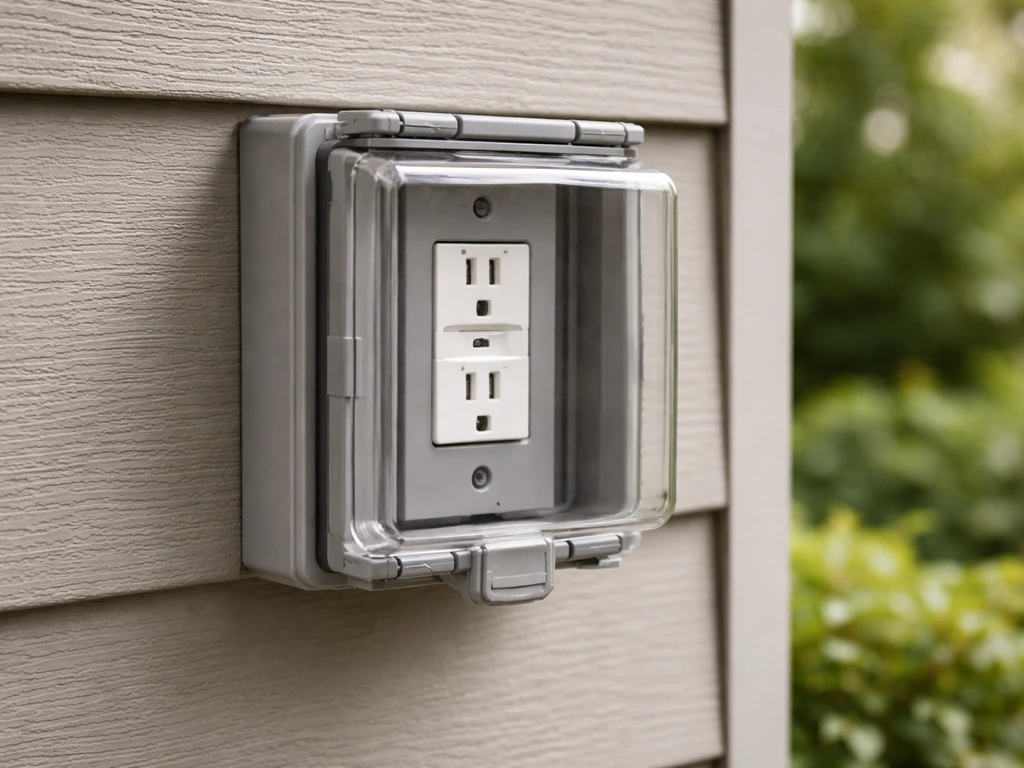
- Plug the energizer's power unit into a GFCI-protected outdoor outlet with an in-use weatherproof hood installed. The hood keeps moisture out of the connection even when the cord is plugged in, which is required under NEC 406.9(B) for wet-location receptacles.
- Test the system before birds or pets can access it. Most energizers have an indicator light. You can also use a fence tester or multimeter to confirm the track is outputting a pulse. Do not touch the track conductors directly to test.
- Label the energizer and outlet area clearly so other people (family, guests, pest control techs) know the system is active.
Running power for cameras or sensors
If you're adding a solar-powered camera or motion sensor to the pole, mount the solar panel on the south-facing side of the pole or a nearby bracket at a slight angle (usually 30 to 45 degrees) for best sun exposure. Run the panel's output cable down the pole, securing it with UV-resistant cable clips every 12 inches or so. Connect it to the battery pack housed in a NEMA-rated weatherproof enclosure (a small waterproof project box works well). Keep all connections inside the enclosure and silicone-seal any cable entry points. From the battery, run a low-voltage DC cable to your device using the appropriate connector for that device.
Safety first: protecting birds, people, and pets
This is the section where I'm going to be direct with you: do not improvise high-voltage or unenclosed electrification anywhere near a bird feeder. If you also want to build or customize a metal feeder housing, start with the basics in how to make a metal bird feeder before adding any power or deterrent features. Commercial shock track deterrents are designed specifically to be harmless to birds and small animals while discouraging pests. The pulse energy is calibrated for that purpose. A DIY shock circuit using household current is not calibrated for anything except causing injury. ESFI data shows that a large share of home electrical injuries come from exposed or improvised wiring, and that risk goes up dramatically when you add weather, soil contact, and metal poles to the equation.
GFCI protection is the single most important electrical safety layer for any outdoor power use. A GFCI shuts off current almost instantly when it detects a ground fault, which is what happens if a person or animal creates an unintended current path to ground. NEC 210.8 and 406.9 require GFCI protection for outdoor receptacles for exactly this reason. If the outdoor outlet you're using doesn't have a GFCI, stop and get it replaced before connecting anything.
For shock track systems specifically, the manufacturer's installation guide is not optional reading. Products like Avishock and BirdPulse are approved and described as humane partly because they are matched systems with specific energizer output levels and enclosed conductors. When commercial providers note that electric track deterrents should be installed by trained or licensed professionals following manufacturer guidance and local regulations, that's worth taking seriously, especially for multi-story or complex installations. For a single feeder pole, a careful DIYer following the guide can handle it, but if you're covering a large structure or mounting near electrical infrastructure, bring in a pro.
Weatherproofing is not just about protecting the hardware. A failed weatherproof seal on an outdoor connection can create a shock hazard for anyone who touches it. Use only UL-listed, NEMA-rated enclosures and outlet covers. CPSC guidance makes clear that GFCI alone is not enough. You need rainproof enclosures AND in-use outlet hoods AND ground-fault protection together. All three, not just one.
Finally, keep pets in mind during installation and testing. Dogs especially investigate poles and cables. Secure all wiring inside conduit or against the pole so there's nothing dangling or exposed at ground level.
Troubleshooting and keeping things running
The system isn't outputting power
Start at the source. Check that the energizer is on and its indicator light is active. Then check the outlet itself: plug in something you know works (a phone charger, a lamp) to confirm the outlet has power. If the GFCI has tripped, reset it. If it trips again immediately, you have a wiring fault somewhere in the circuit and you need to find and fix it before continuing. A multimeter across the energizer's output terminals will confirm whether it's producing voltage. This is the same diagnostic logic used for electric fence systems: verify the energizer is on, verify the output is present, then trace from there.
Intermittent power or weak deterrent output
The most common cause is a loose connection between the track and the energizer. Check that the manufacturer-specified connectors are fully seated. Vegetation, bird droppings, or debris contacting the track can also bleed off energy and reduce effectiveness. Clear the track surface and trim any plant growth that's touching the energized surface. For solar setups, a dirty panel or shading from a new branch or structure can cut charging output significantly. Wipe the panel with a damp cloth and check for obstructions.
Corrosion on connections and mounting hardware
Outdoor electrical connections corrode, especially in humid climates or near the coast. Inspect connection points every spring and fall. Look for green or white oxidation on connectors. If you find it, disconnect the power, clean the connectors with a wire brush or fine sandpaper, apply dielectric grease, and reconnect. Mounting screws on the track and enclosure should be stainless steel or at minimum zinc-plated. If they're rusting out, replace them before they fail mechanically. A track that's physically detaching from the pole is no longer doing its job.
Performance problems after rain or winter
After heavy rain, check that all weatherproof enclosures and outlet covers are intact and dry inside. Water intrusion inside an enclosure is a sign that a seal has failed. Dry it out completely, reseal with silicone, and monitor it. After winter, check that freeze-thaw cycling hasn't cracked any conduit, loosened mounting clips, or shifted the panel angle on a solar setup. Cold weather also reduces battery capacity, so if your solar-powered camera or sensor is underperforming in winter, the battery is the likely culprit. A fresh or higher-capacity battery pack usually solves it.
Ongoing seasonal maintenance checklist
- Spring: Inspect all connections for corrosion, check weatherproof seals, test energizer output, clear debris from track
- Summer: Check solar panel for shading or dirt buildup, confirm cable clips are holding, verify GFCI is functioning
- Fall: Re-seal any cracked enclosures before cold weather, check mounting hardware for rust, confirm battery capacity
- After any major storm: Inspect physical mounts, check for water in enclosures, reset GFCI if needed, verify system output
Electrifying a feeder setup is a genuinely useful upgrade once you know what you're actually building. Stick to purpose-built systems, weatherproof every connection, keep a GFCI in the circuit, and follow the manufacturer guide to the letter. If you're also wondering what to put in a mesh bird feeder itself, use bird-safe seed and avoid damp, moldy food that can attract pests. For what to put in a platform bird feeder, choose manufacturer-specified food and platform materials that keep openings clean and discourage pests purpose-built systems. For what do you put in a <a data-article-id="D8319718-FDC7-4201-9B41-939B9F26590B">wire bird feeder</a>, focus on the purpose-built wiring and parts the manufacturer specifies, and avoid improvised or household-current setups. If you're specifically asking how to make a wire mesh bird feeder with wiring for feeders, also review the safety checklist for outdoor power so you avoid improvised or household-current setups wire bird feeder. You'll end up with a feeder that's protected from pests, powered for whatever features you want, and safe for every bird, pet, and person in the yard.
FAQ
Can I use a regular metal bird feeder as the “electrified” surface?
Do not. The shock-track approach uses an enclosed, manufacturer-matched conductor and energizer designed for a specific pulse level and contact path. If you want the feeder itself to be part of a deterrent, buy a purpose-built system or a retrofit kit that’s engineered for that exact contact surface, and follow the installation diagram for clearances and materials.
How do I know whether my local regulations allow an electric deterrent near feeders?
Check both local electrical rules and any animal control or wildlife guidance in your area. Even when a product is sold as humane, some jurisdictions treat outdoor energizers as a type of electrical installation that must follow permit or inspection requirements, especially on multi-story structures or when wiring crosses property lines.
What’s the safest way to power a camera or sensor if I don’t have an outdoor outlet?
Prefer a solar plus battery system, or run a properly installed outdoor circuit from an electrician rather than using an indoor outlet with an extension cord. If you must add an outlet, use a weatherproof, in-use cover and have it GFCI-protected, then connect only low-voltage equipment and keep all terminations inside enclosures.
Will an anti-roosting shock track affect birds that land briefly versus roosting?
The intended outcome is deterrence, not injury, so the track is designed to deliver a startling pulse that discourages settling. Still, effectiveness depends on good electrical contact to the treated surface and the track staying clean and intact, so plan for periodic debris removal and winter checks rather than assuming it will work indefinitely.
How often should I inspect the electrified or powered parts?
Do a functional check after major storms and at least twice per year. Look specifically for corrosion at connectors, water ingress signs in enclosures (fogging, wetness, or residue), track housing separation, and cable clip security, because weathering usually shows up at these failure points first.
My GFCI trips immediately after plugging in the energizer, what should I check first?
Unplug, then inspect for a damaged cable, pinched wire, or loose connector between the energizer and the track. If you reset the GFCI and it trips again right away, treat it as a wiring fault rather than an energizer issue, and stop troubleshooting until you locate and correct the ground-fault cause.
Can I mount the electrified track close to other metal objects, like a railing or nearby fence?
Keep clearances as specified in the manufacturer instructions. Neighboring metal structures can create unintended contact paths and may reduce deterrent control or increase shock hazard risk if something becomes electrically coupled, so avoid improvising spacing around the energized area.
What should I do if the track seems “dead” or less effective even though the indicator light is on?
Start with cleanliness, then connection integrity. Remove droppings and debris from the treated surface, trim vegetation touching the housing, and verify the manufacturer-specified connectors are fully seated. If performance still drops, inspect for corrosion or housing cracking that interrupts the intended conductor coverage.
Is it safe for cats and dogs if they investigate the feeder pole?
Use routed wiring and enclosed connections so nothing dangling at ground level can be chewed or touched unexpectedly. Also, supervise testing initially, then consider adding physical cable protection like conduit where pets have access, because even a “harmless” deterrent is not something you want pets repeatedly contacting.
How do I reduce weather-related failures for solar-powered setups?
Mount the panel to face maximum sun (commonly south-facing in the northern hemisphere), secure UV-resistant cable clips at regular intervals, and keep the panel clean from pollen and grime. In winter and prolonged cloudiness, plan for battery capacity drop by using an enclosure rated for outdoor conditions and keeping spare battery options available.
Does dielectric grease replace weatherproof enclosures and proper cable routing?
No. Dielectric grease helps prevent corrosion at connectors, but you still need NEMA-rated enclosures, rainproof outlet hoods when using AC power, and properly sealed cable entries. Grease is a connector aid, not a substitute for enclosure-grade weather sealing.
Next Articles
How to Fill a Bird Feeder: Step-by-Step Guide Today
Step-by-step how to fill and refill bird feeders, choose the right seed, safe amounts, prevent spills, and troubleshoot
How to Hang a Bird Seed Bell: Step-by-Step Guide
Step-by-step how to hang a bird seed bell feeder, choosing location, height, hardware, secure attachment, and safe stabi
How to Hang Bird Feeders: Safe Setup on Fence & More
Step-by-step tips to hang bird feeders safely on fences or hooks, choose hardware, prevent sway, and manage multiple fee