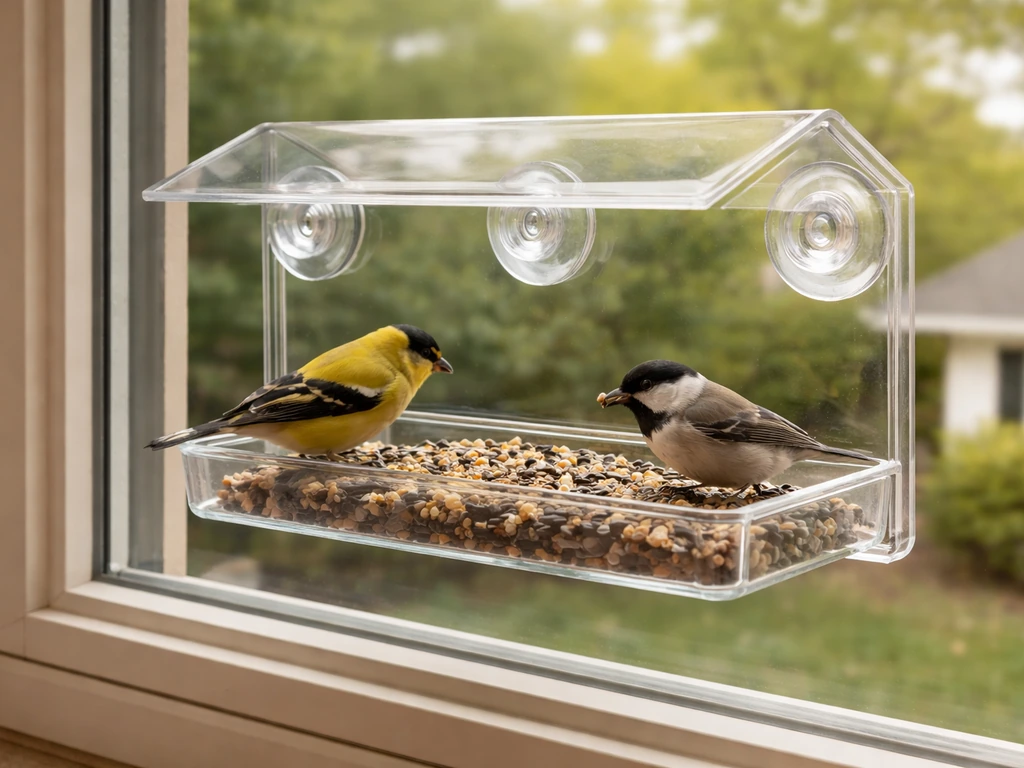
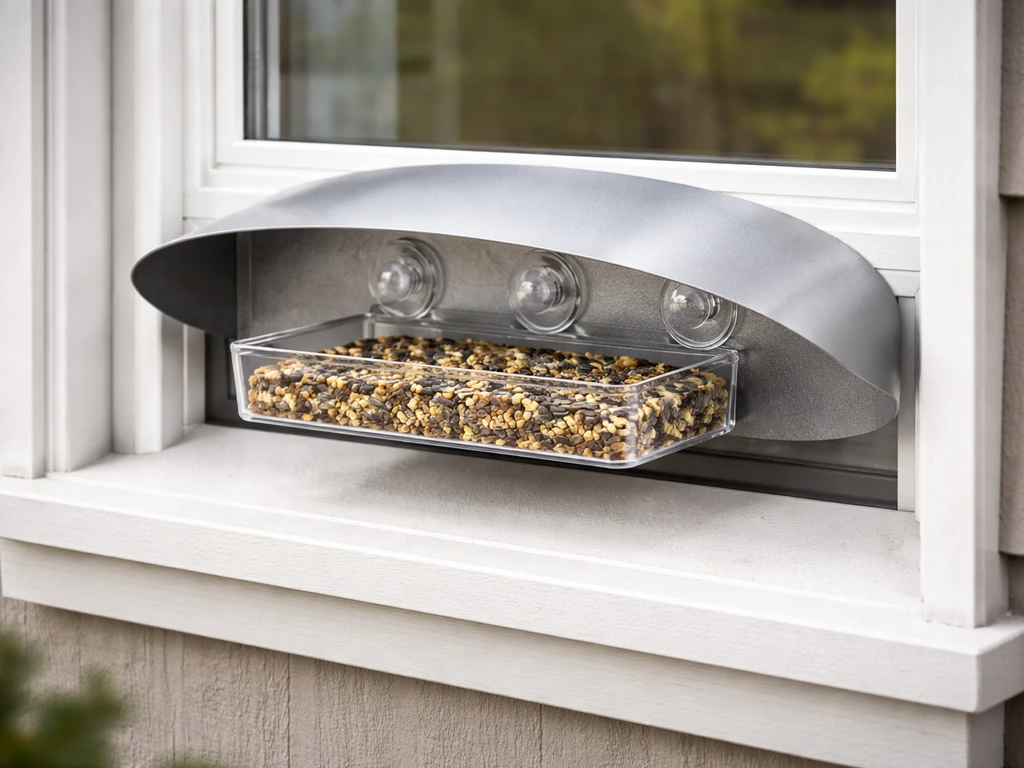
You can build a working window bird feeder in under an hour using a clear plastic container, a handful of suction cups, and some waterproof glue. Mount it directly on the glass, fill it with black-oil sunflower seed, and you'll have birds visiting within a day or two. The whole project costs almost nothing if you reuse a takeout container or a shallow plastic tray you already have. If you'd rather add water as well, follow these tips for how to make a bird water feeder too, so birds have a clean place to drink.
How to Make a Window Bird Feeder Step by Step

Marcus Brennan
27 Apr 2026
What you need for a window bird feeder build
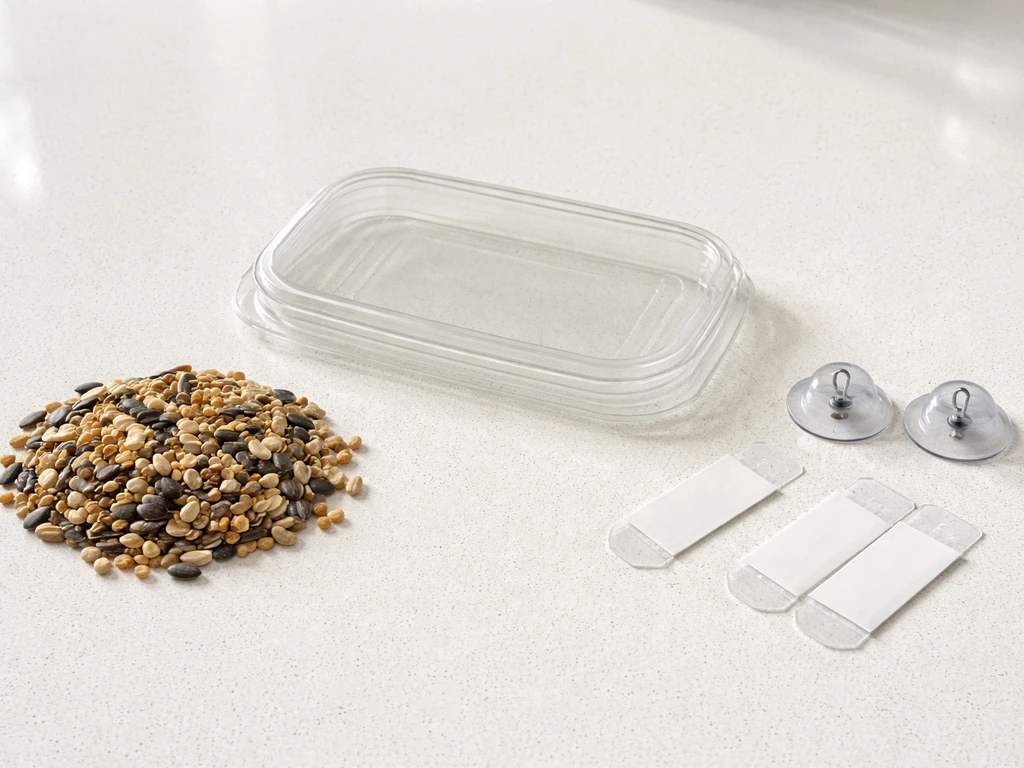
Keep the materials list short and practical. This build is designed for a first-timer working with common household supplies. You don't need a drill or woodworking experience.
- A clear, shallow plastic container (a sturdy takeout tray, deli lid, or small plastic storage bin all work well — aim for something roughly 8–12 inches wide and 2–3 inches deep)
- Heavy-duty suction cups with hooks, at least 3–4 cups rated for outdoor use (these are usually sold at hardware stores for a few dollars each)
- Waterproof adhesive or epoxy glue to bond the suction cup brackets to the container
- Scissors or a craft knife to cut drainage holes and modify the access edge
- A small drill or heated nail for punching drainage holes (optional if scissors work on your container)
- Zip ties or thin wire for extra security if the container is heavier
- Sandpaper (fine grit) to rough up the plastic before gluing — this makes a huge difference for adhesion
- Black-oil sunflower seed to fill it once it's mounted
A basic build like this takes about 30–45 minutes including drying time for the glue. If you use a fast-cure epoxy, you can have the feeder mounted and filled the same afternoon. Avoid flimsy plastic that flexes under the weight of seed because the suction cups will lose grip faster.
Pick a safe window-mounting method and location
The single most important thing to know about window feeders is the collision rule. Birds that fly into windows at full speed can be killed by the impact. The safest feeder placement is actually very close to the glass, within 3 feet. At that range, a bird startled from the feeder doesn't have enough room to build up a lethal velocity before it hits the glass. Feeders placed farther away, say 10–20 feet from the window, give birds a runway, which is exactly what you don't want.
For mounting method, suction cups designed for outdoor use are the go-to for glass. Press them onto a clean, dry window surface and they'll hold a well-made feeder for months. A few practical tips: clean the glass with rubbing alcohol before pressing the cups on, mount on a cool-temperature day when the glass isn't hot from direct sun, and check the suction seal weekly. Avoid mounting on textured or frosted glass because the cups won't seal properly.
As for which window to use, pick one you can actually see from inside the house (that's most of the fun) and one that gets some morning activity in nearby shrubs or trees. Birds feel safer visiting a feeder that's close to cover. A window near a hedge, a shrub, or a tree within 10–15 feet is ideal. Avoid windows on busy road-facing walls if you can, since traffic movement spooks birds more than you'd expect.
One more thing on collisions: if you notice birds still flying into the glass near your feeder, add window decals or anti-collision film to the outside of the glass. The key word is outside. Research from USFWS confirms that decals placed on the inside surface have little effect during daylight hours. For decals to actually work, they need to be spaced no more than 2–4 inches apart so birds can't interpret the gaps as a flythrough. Hawk silhouette stickers work only if you apply enough of them to eliminate those gaps, not just one sticker in the middle of the pane.
Step-by-step build: the easy beginner version
This is the version I'd hand to someone who has never built a feeder before. Ceramic bird feeders can be made by shaping and glazing wet clay, then firing it so it becomes waterproof and durable. It uses a clear plastic tray, which lets birds see the seed from any approach angle and lets you monitor the seed level from inside without opening anything.
- Choose your container. A clear plastic deli tray or takeout lid roughly 10 inches wide and 2 inches deep is perfect. It needs to be rigid enough not to bow under the weight of seed.
- Sand the underside of the container in the spots where you'll attach the suction cup brackets. This roughened surface gives the glue a real grip. Skip this step and the cups will pop off within a week.
- Cut a low-profile feeding access notch on one or two sides of the container rim. This is just a small curved cut about 2 inches wide and 1 inch deep so birds can stand on the edge and reach the seed without the rim blocking them. A craft knife or sturdy scissors handles this easily.
- Punch 4–6 small drainage holes in the bottom of the tray. Use a heated nail, a drill, or the point of scissors. Drainage keeps standing water from soaking your seed after rain.
- Apply waterproof epoxy to the base of each suction cup bracket and press them firmly onto the sanded spots on the underside of the container. Use at least three cups, positioned in a triangle for stability. Let the glue cure fully according to the package instructions, usually 15–30 minutes for fast-cure epoxy.
- Test the hold on your window before filling. Press all cups firmly onto the clean glass and let the feeder hang empty for a few hours. If it holds steady, you're ready to fill.
- Add a 1-inch layer of black-oil sunflower seed and press all suction cups securely back onto the glass. You're done.
Total materials cost for a from-scratch build is typically under $10 if you buy the suction cups and glue new. If you already have a container at home, it's closer to $3–5. The whole build, including drying time, takes about 45 minutes.
Food setup: what to fill it with and how to keep it accessible
Black-oil sunflower seed is genuinely the best all-around choice for a window feeder. It attracts the widest variety of backyard birds including chickadees, nuthatches, finches, titmice, and cardinals, and it's the seed most birds actively prefer over other options. It has a thin shell that smaller birds can crack open easily, so you won't end up with a pile of uneaten hulls.
Fill the tray to about 1 inch depth at most. Overfilling a shallow open tray just means rain or bird activity scatters seed onto the glass. A thin layer gets eaten faster, stays fresher, and keeps you in the habit of checking the feeder every couple of days.
If you want to discourage squirrels specifically, try switching to safflower seed as either a supplement or a replacement. Squirrels don't like safflower as much as sunflower, while most songbirds accept it readily. It won't eliminate squirrel visits entirely, but it does reduce motivation.
Avoid loose millet mixes or open suet blocks in a shallow window tray. Millet attracts house sparrows and starlings aggressively, and suet in warm weather goes rancid quickly in a tray with no shade. For a window feeder specifically, keep it simple with sunflower seed or safflower and you'll get the best results with the least mess.
Maintenance routine and cleaning to prevent mess and disease
The biggest threat to birds at a shared feeder isn't weather or predators, it's disease spread from a dirty feeding surface. Salmonella, aspergillosis, and other pathogens build up in wet, decomposing seed and bird droppings. A clean feeder keeps birds healthy and keeps them coming back.
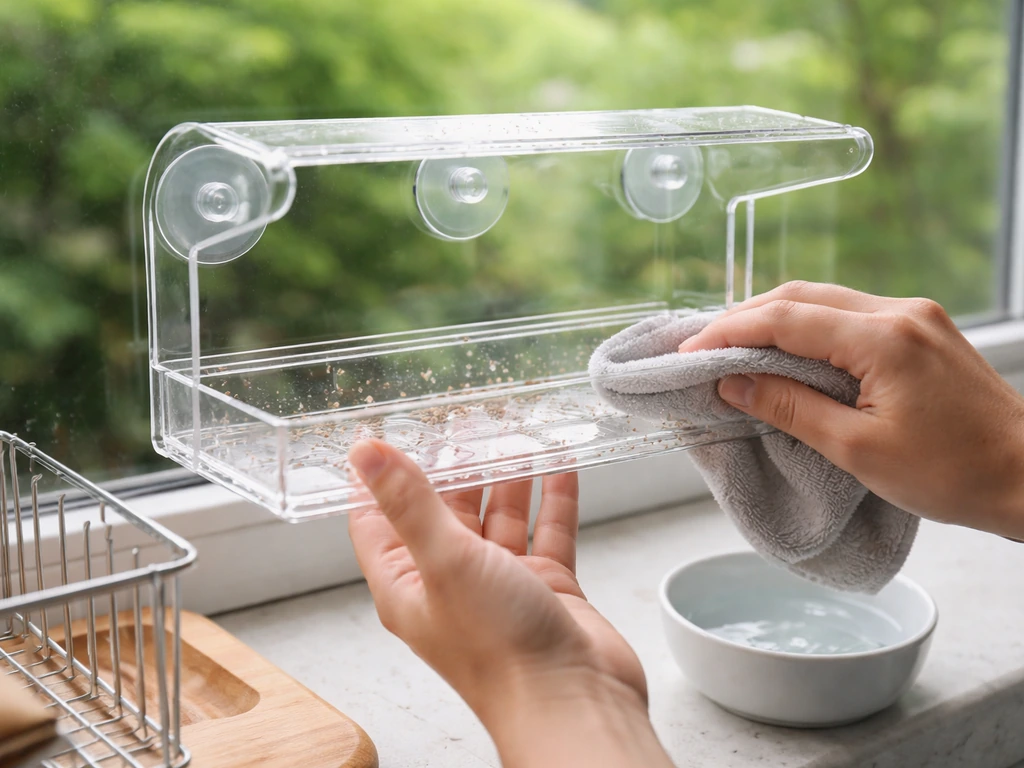
Clean your window feeder at least once a month. The Iowa DNR recommends a 10% bleach solution (roughly 1 part bleach to 9 parts water) as the disinfecting step. Here's a simple monthly routine that takes about 15 minutes:
- Pop the feeder off the window and discard any leftover seed.
- Soak the tray in hot soapy water for about 10 minutes to loosen dried droppings and seed debris.
- Scrub with a stiff brush, paying attention to corners and drainage holes.
- Rinse with clean water for at least 10 seconds to remove soap residue.
- Soak or wipe down with a 10% bleach solution for a couple of minutes as a sanitizing step.
- Rinse again thoroughly and let the feeder air dry completely before refilling. Refilling while it's still damp is one of the fastest ways to get moldy seed.
If your feeder has a dishwasher-safe plastic rating, running it through on a hot cycle handles most of the sanitizing work. Skip the rinse-aid setting and let it air dry afterward.
Between monthly cleans, do a quick weekly check: remove clumped or wet seed, wipe down any visible droppings with a damp cloth, and confirm the drainage holes are clear. This takes two minutes and dramatically reduces how much deep cleaning the monthly session requires.
Troubleshooting common problems and improving bird visits
If birds haven't shown up within the first week, don't assume the feeder is broken. Birds discover new food sources by sight and routine, and it sometimes takes 1–2 weeks for local birds to find a new feeder, especially if there's no existing feeding activity at your property. Be patient and keep the seed fresh.
| Problem | Likely cause | Fix |
|---|---|---|
| Birds not visiting after 1–2 weeks | No local birds aware of the feeder yet, or wrong seed for local species | Scatter a small amount of seed on the windowsill nearby as a visual cue; confirm you're using black-oil sunflower |
| Suction cups dropping off | Oil, dust, or temperature extremes on the glass | Clean glass with rubbing alcohol, re-press cups on a moderate-temperature day, check seal weekly |
| Seed getting wet and clumping | Drainage holes clogged or feeder placed under an overhang that directs runoff into the tray | Clear drainage holes with a toothpick; reposition feeder away from roof drip line |
| Seed disappearing too fast with no birds seen | Squirrels or starlings emptying the feeder quickly | Switch partially to safflower seed; check feeder early morning when squirrels are most active |
| Birds hitting the glass near the feeder | Feeder positioned too far from the glass, or no collision deterrents on the window | Move feeder to within 3 feet of glass; apply anti-collision film or closely spaced decals on the outside of the pane |
| Feeder developing mold quickly | Refilling before fully dry, or overfilling with seed that sits in moisture | Fill in smaller amounts; always dry completely before refilling; increase cleaning frequency in humid months |
One thing that genuinely helps bird traffic is consistency. If you let the feeder go empty for a week, birds reroute their daily foraging patterns. Refill on a regular schedule, ideally every 2–3 days, and you'll build a dependable group of regulars.
Pest-proofing and safety tips for window feeders
Window feeders are naturally harder for squirrels to raid than pole-mounted or hanging feeders, but determined squirrels can still reach a window if there's a nearby ledge, sill overhang, or tree branch within jumping distance. The standard recommendation is to keep jump-off points at least 10 feet away from any feeder. If you have a deep windowsill or a decorative ledge right below the feeder, that becomes a squirrel launching pad.
Starlings are the other main raider at open tray feeders. They travel in groups and can empty a feeder in minutes. If you're getting hit by starlings, switching more of the seed fill to safflower helps, since starlings show less interest in it than sunflower. You can also partially cover the tray with a small mesh screen (wire mesh zip-tied across half the opening) to slow their access while still letting smaller songbirds in through the gaps.
Never spray insecticide near your feeder to deal with ants or other insects. It contaminates the seed and can harm birds. If ants are tracking up to a window feeder, the cleanest fix is a physical barrier: a narrow ring of petroleum jelly or a commercial ant guard applied to the window frame below the feeder interrupts their path without any chemical risk to visiting birds.
One final safety note that's easy to overlook: make sure the feeder's suction cups are positioned so that if one cup fails, the remaining cups still hold the feeder against the glass rather than letting it swing outward and drop. Three cups in a triangle formation handles this well. Always use cups rated for outdoor temperature swings, since cheaper indoor suction cups lose their grip when the glass heats up in summer sun.
A few more feeder ideas to explore
Once you've got a basic window feeder running smoothly, it's natural to want to branch out. You can also try a willow bird feeder if you want a more natural, basket-style option. A hopper-style design can be a good next step when you want more hands-off filling than a simple open tray window feeder how to make a hopper bird feeder.
A glass bird feeder version of this project uses a glass dish or small glass tray instead of plastic, which is heavier but much easier to clean and gives a nicer look. If you're interested in attracting hummingbirds or orioles to your window, a nectar bird feeder or jelly bird feeder is a completely different build with its own setup.
If you want to attract a different set of birds, you can also learn how to make a jelly bird feeder with a simple mixture and a feeder setup. And if you want to automate the refilling process so you're not checking it every couple of days, an automatic bird feeder design is worth a look. You can use the same general window-feeder ideas when you follow a guide on how to make an automatic bird feeder.
These are all natural next steps once the basics are working well.
FAQ
Can I use a mason jar, cup, or small bottle instead of a shallow tray for a window bird feeder?
You can, but you need to keep the opening wide enough for small birds to grab seed and reduce “perchless” jostling. Avoid designs where birds must land on a narrow ledge (they may face the glass and hit it). For jar-style feeders, use a shallow, spill-resistant insert and keep the jar extremely close to the glass (within about 3 feet).
What’s the best way to keep seed from falling onto the window so it doesn’t stain or get moldy?
Use only about a 1 inch fill depth, and stop filling as soon as the seed level starts to reach the tray rim. If your container has gaps or warped edges, add a thin bead of waterproof glue around the inner lip so there’s a clean “catch” surface, then let it fully cure before mounting. Spot-clean any spilled hulls weekly to prevent mildew buildup.
How do I know whether I’m using enough suction cups to make it safe if one fails?
Aim for a minimum of three cups arranged in a triangle, and make sure every cup is pressed down firmly onto a dry, clean glass section. Do a gentle “tug test” after mounting, try to slide the feeder slightly side to side, and confirm the feeder does not shift or swing. If it moves, remount after cleaning the glass again with rubbing alcohol.
Should I mount the feeder on the inside or outside of the window?
For the typical suction-cup window feeder, it’s mounted on the outside-facing glass with suction cups to hold the container against the pane. If you mount from inside, suction and glue can fail faster due to temperature swings and you may end up with condensation and seed dampness. Also, collision decals are intended for the outside surface to be effective during daylight.
Why do birds sometimes avoid the feeder for a week or two even though I filled it correctly?
Birds often discover feeders by local routines, not instantly by sight. If your yard has little existing bird activity or other feeders are scarce, it can take 1 to 2 weeks. Keep the fill consistent every 2 to 3 days, avoid relocating the feeder during that window, and ensure the seed is fresh (stale seed smells less attractive).
Can I use different seed, like peanuts or cracked corn, in a window feeder?
You can supplement with other foods, but keep it simple because window trays are shallow and mess-prone. Cracked corn tends to attract more aggressive species and can increase waste. Peanuts may attract the wrong mix of birds and can attract squirrels more. If you swap seeds, do it gradually by mixing a small portion into your sunflower or safflower base so you can tell what’s actually being eaten.
What should I do if starlings dominate the feeder or empty it too fast?
Increase the portion of safflower, since starlings are less interested in it than sunflower. You can also partially slow access with a small mesh screen covering about half the tray opening, leaving gaps for smaller songbirds. Check the gaps frequently so the screen doesn’t shift and block all entry points.
How do I prevent ants without using chemicals near the feeder?
Use a non-toxic physical barrier on the window frame below the feeder, such as a petroleum jelly ring or a commercial ant guard, so ants cannot travel up to the tray. Keep any barrier material away from where birds might land or peck to avoid accidental contact, and reapply if it gets dusty or runs.
What’s the safest anti-collision option if birds keep hitting the glass?
Add anti-collision measures to the outside of the window first. Decals must be spaced close enough so birds do not perceive a clear “fly through” path, and you should cover more of the visible pane if you still see collisions. If possible, also reduce “runway” by keeping the feeder within about 3 feet of the glass.
Can I make a window feeder during winter or extreme heat, and will the glue still work?
Yes, but temperature matters for both drying and suction. Let glue cure fully before mounting, and use outdoor-rated suction cups so they still grip when the glass heats up in summer. In very cold weather, glue and seed can be more prone to condensation, so plan for extra cleaning and ensure the tray stays dry enough not to clump seed.
How often should I clean beyond the monthly disinfecting?
Do a quick weekly cleanup to remove wet clumps, wipe visible droppings, and clear any drainage holes if your design has them. If you notice heavier mess, keep an “instant wipe” routine (every time you see wet seed or droppings) to reduce pathogen buildup between monthly disinfecting days.
Next Articles

How to Make a Bird Water Feeder From Household Items
Step-by-step guide to build a safe bird water feeder from household items, keep it filled, and avoid spills and algae.
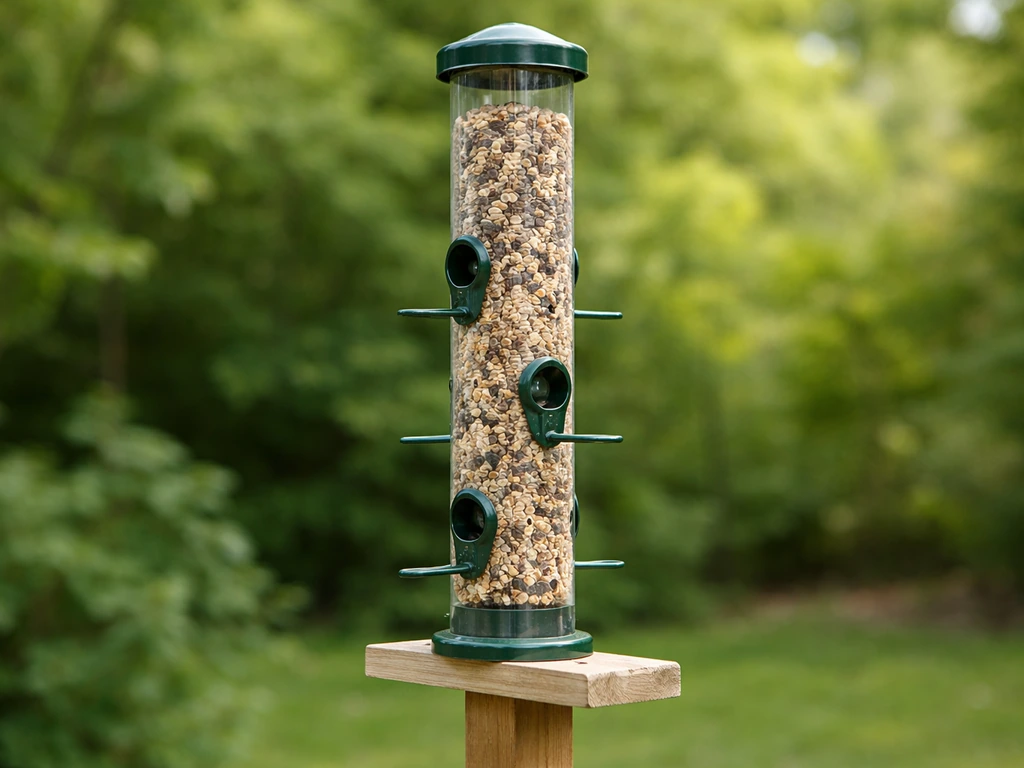
How to Make a Tube Bird Feeder Step by Step
Step-by-step how to make a tube bird feeder with materials, safe mounting, maintenance, and fixes for leaks and clogs.
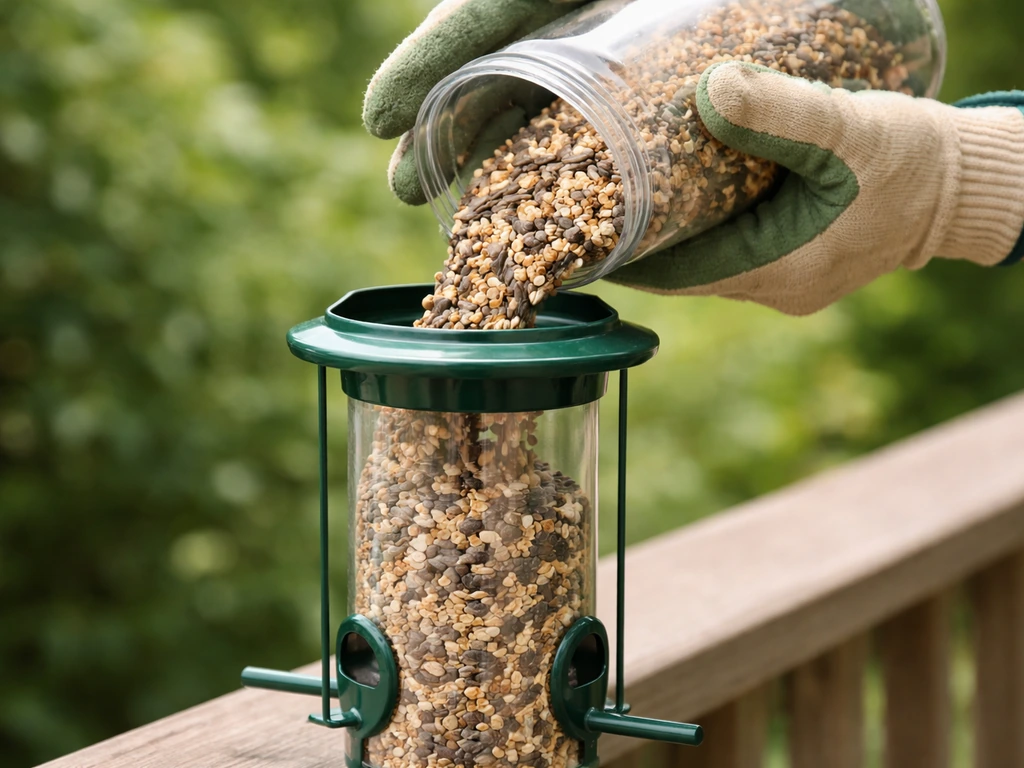
How to Put Bird Seed in a Bird Feeder Step by Step
Step-by-step guide to add bird seed to hopper, tube, platform, and suet feeders, avoiding spills and jams.