A truly bear-proof bird feeder pole needs three things working together: the right height (at least 10 feet off the ground), at least 4 feet of horizontal clearance from anything a bear could use as a climbing aid, and a steel pole anchored in concrete so the whole thing can't be pushed over or pulled down. Get those three right and you've solved about 90% of the problem. The hardware and feeder cage matter too, but placement is the make-or-break factor that even wildlife agencies like Florida Fish and Wildlife put at the top of the list.
How to Build a Bear-Proof Bird Feeder Pole

Marcus Brennan
1 May 2026
Why bears keep winning (and what you actually need to stop them)
Bears are not like squirrels. A squirrel is foiled by a slippery baffle. A bear will push over a lightweight post, climb a rough wooden pole, rip off a plastic feeder lid, and come back the next night to do it again. Black bears can stand over 6 feet tall on their hind legs and apply hundreds of pounds of force. So if your current setup is a thin wooden post with a hook screwed into the top, a bear isn't going to struggle with it.
The good news is that bears are opportunistic. They are not trying to solve puzzles for fun. If your feeder is genuinely out of reach, inaccessible, and doesn't smell like an easy meal, they will move on. That's the whole strategy: make accessing your feeder cost the bear more effort than it's worth.
Understand bear-proofing requirements and safe placement
Before you build anything, you need to pick the right spot. This is not optional. A perfectly built pole in the wrong location is still a bear feeder.
The core placement rule, used by BearWise, FWC, and NJ DEP, is this: the feeder must hang at least 10 feet off the ground AND at least 4 to 10 feet away horizontally from any surface a bear could climb or use for leverage. That means no nearby trees, no fences, no walls, no deck railings within 10 feet of the feeder itself.
- Minimum feeder height: 10 feet above ground
- Minimum horizontal clearance from any climbable surface (trees, walls, fences): 4 to 10 feet
- Ideal location: open lawn or yard area, away from wooded edges where bears approach
- Avoid placing the pole near your home's exterior walls or deck posts (bears can use these for leverage)
- If a bear has already visited your feeder, bring it inside for at least two weeks before reinstalling
FWC also recommends bringing feeders in at night if you're not using a fully bear-resistant station. Bears are most active at dawn and dusk, so an empty pole at night removes the temptation entirely. If you're in a high-activity area (Montana, western NC, parts of Michigan, New Jersey, Florida), this nightly take-in habit is probably your single biggest deterrent alongside good placement.
Choose the right bear-resistant pole design
There are a few different approaches you'll see recommended, and they each have real tradeoffs. Here's how they stack up.
| Design Style | Bear Resistance | Cost | DIY Difficulty | Best For |
|---|---|---|---|---|
| Single steel pipe, concrete-set | High | Under $100 in materials | Beginner to intermediate | Most backyard situations, open yard areas |
| Wire suspension between two anchor points | High (if clearances are met) | Low to moderate | Intermediate | Yards with two widely spaced solid anchor points |
| Commercial bear-resistant station | Very high | $150 to $400+ | None (pre-built) | High-traffic bear areas, minimal DIY time |
| Wooden post with baffle | Low to moderate | Very low | Beginner | Not recommended in active bear country |
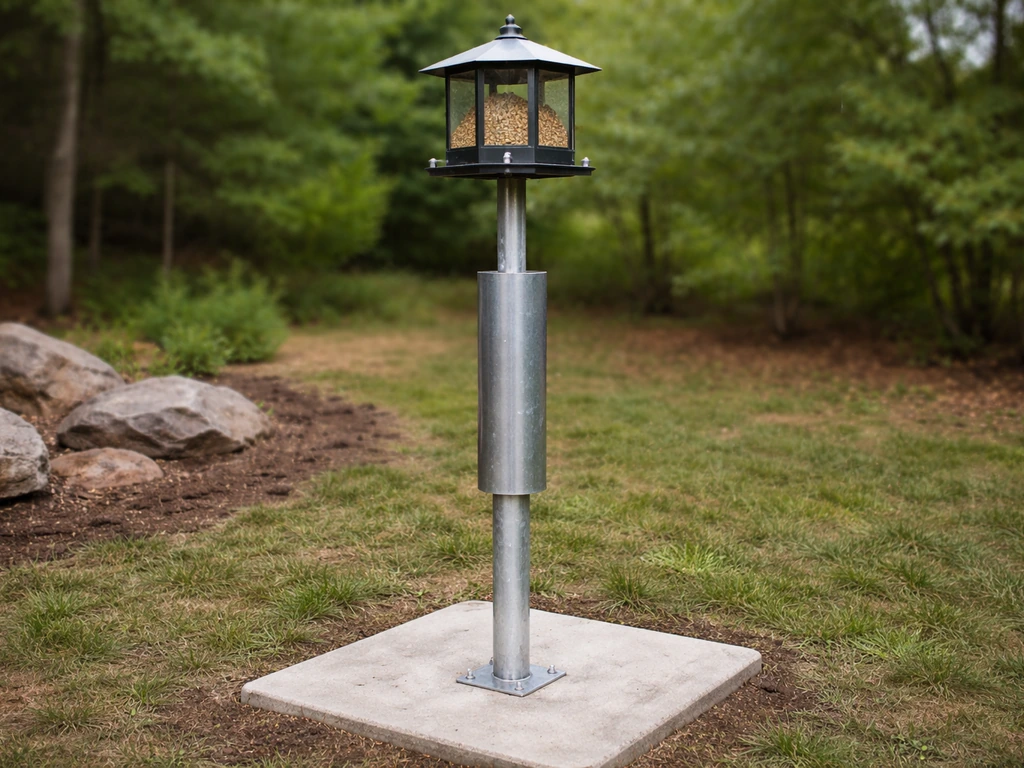
The BearWise and FWC recommended DIY approach is a single steel pipe pole, specifically a 20-foot section of 3-inch schedule 40 steel pipe set 4 feet deep in concrete. That leaves 16 feet of pole above ground, which gives you plenty of height for a 10-foot-plus feeder position while keeping the structure rigid enough to resist a bear pushing against it. This is the design I'd build today if I were starting from scratch.
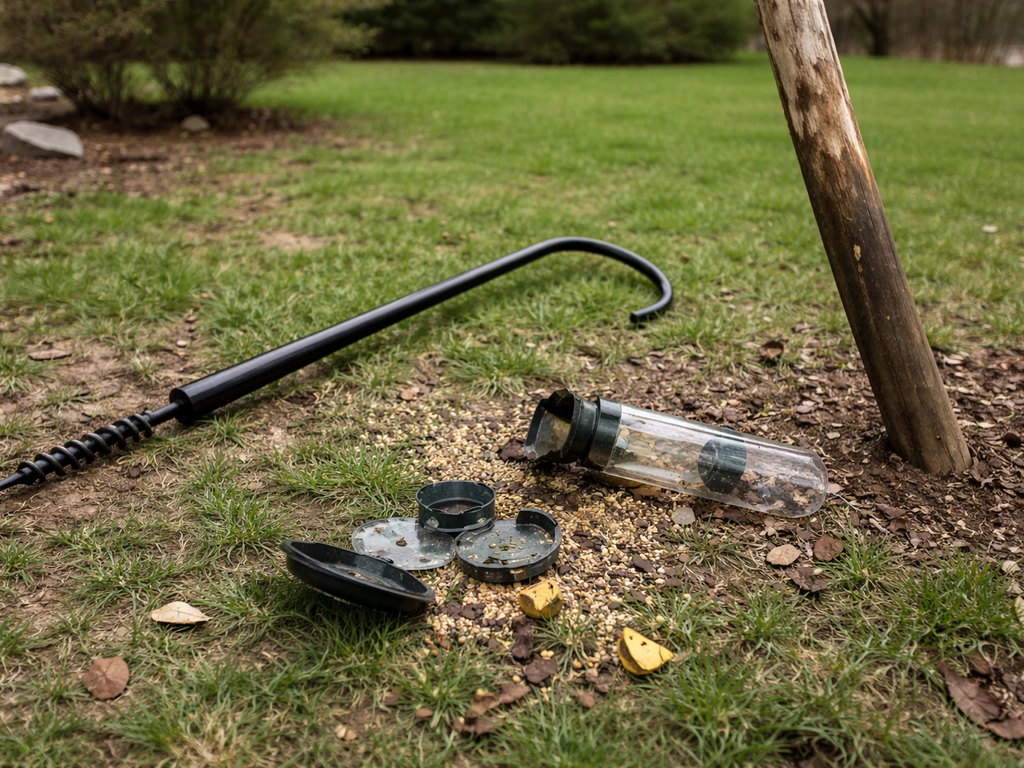
The wire suspension method works well if you have two solid anchor points (like two large trees or a tree and a building corner) that are far enough apart. The feeder hangs from a wire strung between them, ideally 10 feet up, with the feeder positioned so it's at least 4 feet from either anchor. Refilling is done with a long pole or stick with a hook, as described in British Columbia's bear-proofing guidance. The downside is that rough tree bark and wall surfaces near the wire can give bears a climbing path, so your clearances have to be precise.
Wooden posts, even heavy ones, are not a great choice in real bear country. Bears can climb rough wood surfaces easily. If you already have a wooden post setup, blank" rel="noopener noreferrer">adding a smooth metal anti-climb baffle (a sleeve or cone of smooth sheet metal around the pole) is the Michigan DNR's recommended fix, but it works best as a secondary deterrent on top of good placement, not as your main line of defense.
Materials, tools, and hardware checklist for a strong build
Here's what you'll need for the steel pipe pole approach. Total materials cost typically comes in under $100, which is in line with what BearWise cites for the DIY build.
Materials
- 1 piece of 3-inch schedule 40 steel pipe, 20 feet long (check local steel suppliers or metal yards for the best price)
- 2 to 3 bags of fast-setting concrete mix (60 lb bags)
- 1 smooth metal anti-climb baffle or cone (at least 24 inches diameter, smooth galvanized or painted steel sheet)
- 1 heavy-duty metal arm bracket or crossbar mount for the feeder (welded or bolted, rated for 50+ lbs)
- Galvanized or stainless steel hardware: bolts, nuts, washers (at least 3/8-inch diameter)
- Bear-resistant feeder or a steel cage enclosure to fit your existing feeder
- Carabiner clips or locking S-hooks (stainless steel, not plastic)
- Gravel or crushed stone for drainage at the bottom of the post hole (optional but helpful)
Tools
- Post hole digger or rented power auger (for a 4-foot-deep hole)
- Level (to keep the pole plumb)
- Drill with metal bits
- Wrench set
- Measuring tape
- Bucket for mixing concrete (or mix directly in the hole)
- Work gloves and eye protection
On the feeder itself: if you want to go beyond placement alone, look for feeders built from quarter-inch steel plate construction with a locking mechanism. Pitts Outdoor's bear-resistant feeder, for example, uses this spec and has been tested against bears clawing, pushing, and prying. Pitts Outdoor’s BAF feeder is built from quarter-inch steel plate and uses a locking system that bears could not break through after extensive clawing, pushing, and prying during their testing narrative Pitts Outdoor's bear-resistant feeder. You can also enclose any standard feeder in a welded steel cage, which is the approach BearWise describes for securing both the feeder and any timing or locking device as an integrated unit.
Build steps for the bear-proof pole and feeder mounting
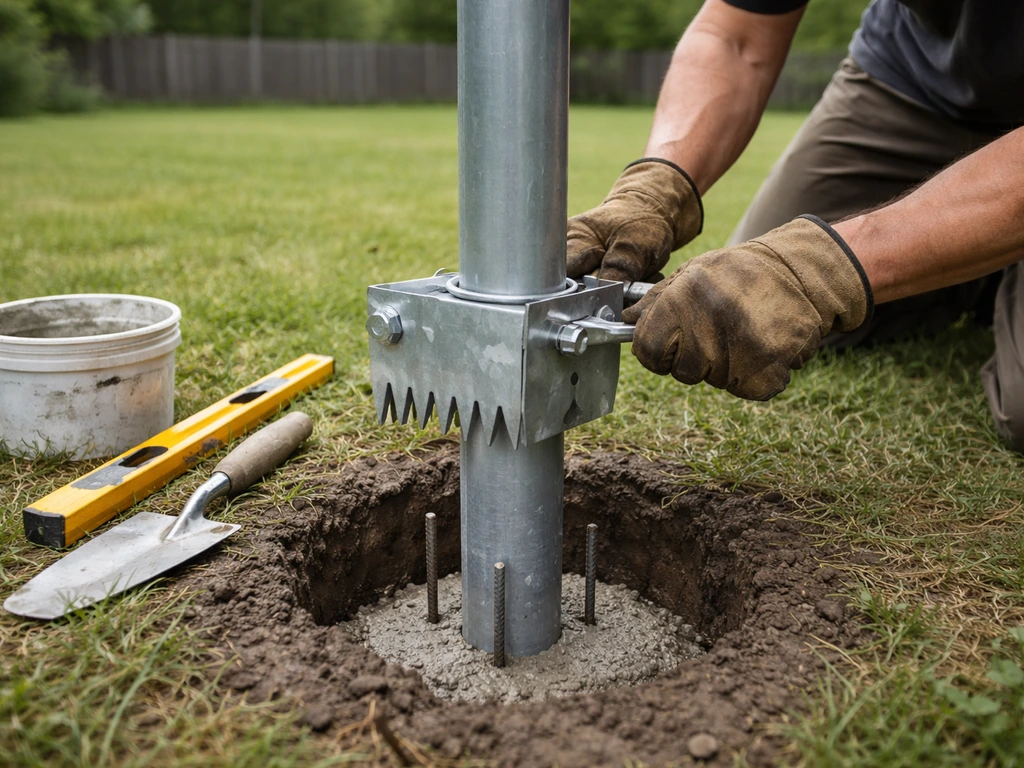
This build takes about half a day, not counting concrete curing time (plan for 24 to 48 hours before loading the pole with a feeder). It's manageable solo but much easier with a second person to hold the pole while you check level and pour concrete.
- Mark your pole location using the placement rules above: open area, 10+ feet from any climbable structure. Use a stake and string to confirm clearances before digging.
- Dig a hole 4 feet deep and about 12 inches in diameter. A square hole shape (if your digger allows it) adds resistance against the pole twisting or being pushed over, which BearWise specifically recommends.
- Add 3 to 4 inches of gravel to the bottom of the hole for drainage. This prevents water from pooling and corroding the base of the pole over time.
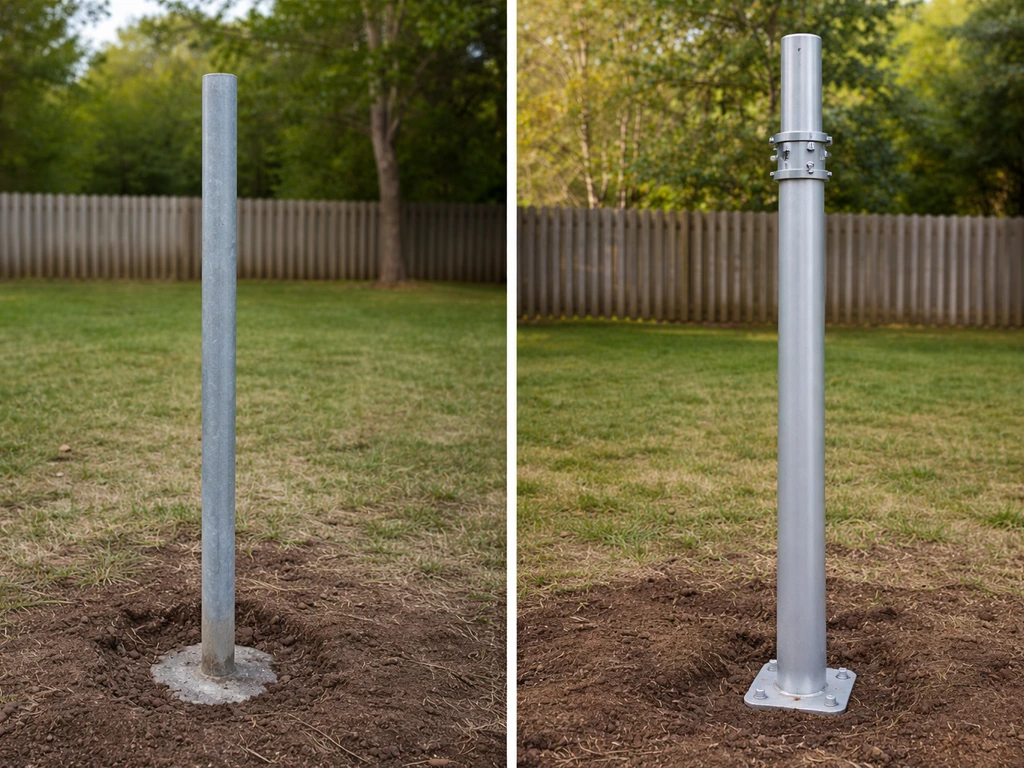
- Set the steel pipe in the hole. Have your helper hold it plumb (use a level on two sides) while you begin filling with concrete.
- Pour or mix concrete around the pipe, filling to about 2 inches below ground level. Slope the top of the concrete slightly away from the pipe so rainwater drains away from the post base.
- Recheck that the pole is plumb before the concrete sets. Adjust now, because you won't be able to later. Let it cure for at least 24 to 48 hours.
- While the concrete cures, prepare your anti-climb baffle. The baffle should be a smooth metal cone or sleeve that wraps around the pole. Mount it at about 5 to 6 feet off the ground (high enough that a bear can't reach over it from ground level). Secure it so it cannot be pulled down or rotated off the pole.
- Once the concrete is cured, mount your crossbar or arm bracket near the top of the pole. Use at minimum 3/8-inch galvanized bolts, fully tightened with lock nuts. No zip ties, no wire, no plastic components at attachment points.
- Hang your feeder or cage enclosure from the arm using locking carabiner clips or stainless steel S-hooks that require a tool or deliberate manipulation to open. Do not use simple hooks that a bear's paw can knock open with a swipe.
- Confirm that the feeder hangs at least 10 feet off the ground and that no part of the feeder, cage, or arm is within 4 feet horizontally of anything climbable.
Installation: anchoring, height, clearances, and access limits
Once the pole is set, do a physical walk-around before you ever put seed in the feeder. Look at the setup from a bear's-eye view. Stand near the pole and ask: if I were 6 feet tall and wanted to reach that feeder, what could I grab? What could I climb? What could I lean on?
- Feeder height: confirm 10 feet minimum from ground to the bottom of the feeder
- Horizontal clearances: re-measure to nearby trees, fences, and structures; 10 feet is safer than 4 feet if space allows
- Baffle position: smooth, snug, no gaps a claw can hook into
- Hardware: shake every bolt, bracket, and hook by hand; anything that moves needs to be tightened or replaced
- Concrete: inspect the base for cracking or heaving, especially after the first hard frost
If you're in a particularly active bear area and want an extra layer of protection, BearWise provides guidance on electric fence deterrents that can be set up around a feeding station. A simple single-strand electric wire at bear nose height (roughly 18 to 20 inches off the ground) around the perimeter of your pole area is an effective complement to your structural setup, not a replacement for it.
Also consider your access habits. If you are refilling a 10-foot feeder every morning, you need a plan. A pole with a lowering mechanism (a cleat and rope attached to the arm, which you pull to lower the arm) makes daily refilling practical without a ladder. Alternatively, the wire-suspension method allows you to use a long hook pole to lower the feeder from the wire, which is a practical approach described in bear-proofing guides from British Columbia.
Maintenance and troubleshooting common failure points
Bear-proof setups don't stay bear-proof on their own. Most failures I've seen (and made) come down to a handful of predictable problems. Check your setup every month during bear season and after any bear visit.
What usually fails
- Loose mount brackets: bolts back off from vibration and feeder weight over time. Check and retighten every few weeks during active season.
- Baffle slippage: smooth metal baffles can slide down the pole if not secured with set screws or hose clamps. Inspect the baffle position monthly.
- Concrete heaving: freeze-thaw cycles can push the concrete pad up or crack it, loosening the pole. If the pole wobbles at the base, excavate and re-pour.
- Feeder lid or seed port damage: if a bear has made contact with the feeder, check all seals and latches. A damaged lid leaks seed smell constantly and becomes a recurring attractant.
- Hook wear: locking carabiners and S-hooks wear out, especially in wet climates. Replace any hook that doesn't snap fully closed.
If a bear still gets to the feeder
Take the feeder down immediately for at least two weeks. North Carolina Wildlife specifically recommends this reset period. Then audit your clearances honestly. Bears are usually succeeding because a branch grew closer to the feeder than you thought, or a nearby structure is being used as a climbing assist in a way you didn't anticipate. Measure again, adjust placement if needed, and re-hang. If the same bear returns repeatedly even after adjusting, contact your state wildlife agency. Some regions have specific seasonal guidance (Montana Fish, Wildlife and Parks, for example, tracks active bear seasons and can advise on removal timing).
Also check the feeder itself for odor. Seed that has gotten wet and started to ferment is significantly more attractive to bears than fresh seed. Keep the feeder tightly sealed, empty it fully before any rain event if possible, and clean the feeder regularly to reduce smell buildup. This is a point BearWise specifically calls out: tightly sealed seed ports and feeder tops reduce the odor signature that draws bears in from a distance.
Bird-feeder integration: keep birds comfortable and feeding reliably
A high, isolated steel pole is great for keeping bears out, but you want birds to actually use it. The good news is that most common feeder birds, including chickadees, nuthatches, finches, and sparrows, adapt quickly to feeders mounted in open areas. They actually prefer some open space around the feeder because it gives them sightlines to watch for predators.
- Use quality seed: black-oil sunflower seed attracts the widest range of species and has minimal waste. Avoid cheap mixes with fillers that birds scatter on the ground and that create additional bear attractants below the feeder.
- Provide a nearby perching area: a simple wooden perch bar or shrub within 10 to 15 feet (not close enough for bears to use) gives birds a staging spot before flying to the feeder.
- Fresh water nearby: a birdbath within visual range of the feeder station increases activity, though place it where it won't draw bears either.
- Native plantings around the yard edge: these provide cover and natural food sources that complement your feeder and keep birds in the area year-round.
- Consistent refilling schedule: birds learn feeding routines. Daily refilling at the same time builds a reliable visiting pattern.
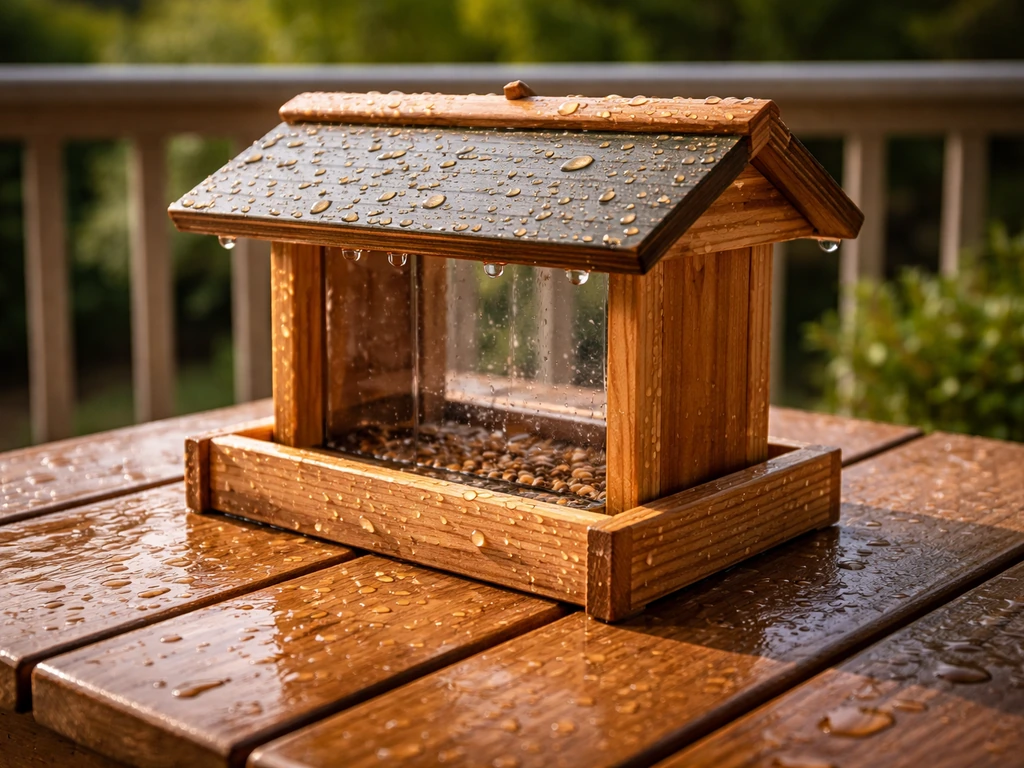
If you're also thinking about feeder design itself, keeping the feeder weatherproof is important for maintaining seed quality and reducing odor, which matters both for bird health and bear deterrence. Keeping a wooden bird feeder waterproof helps it resist rot, mold, and warping, which also reduces odors that can attract animals keeping the feeder weatherproof. Rain-soaked seed is a problem worth solving separately from the pole build. Rain-proofing the feeder itself, like sealing it well and using materials that shed moisture, helps protect seed quality and reduces odor Rain-soaked seed.
One thing worth noting if you're thinking across your whole yard setup: the bear-proofing challenge here is different from, say, making a feeder proof against smaller pest birds or other animals. The principles don't overlap much. A bear-proof pole is a structural and placement problem. If you specifically need how to make a bird proof dog feeder, focus on the feeder’s access points and sturdy lock-down design so pets cannot tip, chew, or reach the seed. Keeping doves, larger birds, or backyard chickens away from a feeder is more about port sizing and cage spacing, which are separate design decisions you'd approach differently. If you're aiming for a dove-proof feeder, you’ll want to focus on tighter port sizing and the right cage spacing so doves cannot land or reach the seed how to make a dove proof bird feeder. For backyard chickens, the bird-proofing approach focuses more on preventing access by birds than on the bear-style pole and clearance rules how to make a bird proof chicken feeder.
Get your pole set, your clearances measured, and your feeder sealed and locked. When you follow those steps, you’ll be well on your way to how to make a bear proof bird feeder that still works for the birds bear dining destination. That combination, done right, will keep your backyard birds fed through every season without your setup becoming a bear dining destination.
FAQ
Can I make a bear-proof feeder pole shorter than 10 feet off the ground if my yard has limited space?
Height is part of the deterrent, not just a preference. If the hanging point drops below 10 feet, bears may still reach by standing tall or using a climbing aid you did not account for. If you cannot reach 10 feet, use extra horizontal clearance beyond 4 feet (closer to 10 feet), switch to a truly bear-resistant steel feeder or welded cage, and consider removing the feeder during peak activity windows rather than relying on height alone.
What counts as a “climbing aid” for the 4 to 10 feet clearance rule?
Include anything a bear could lean on, grab, or climb to get leverage, even if it is not directly next to the feeder. Examples are tree trunks with reachable branches, fence tops, deck railings, retaining walls, stacked firewood, and sloped ground that effectively raises the bear’s starting point. After any storm or growth, re-check the clearance because branches can migrate into the zone.
Is the 3-inch schedule 40 steel pole mandatory, or can I use a smaller diameter?
You should avoid reducing size without testing, because bears apply large side loads by pushing and prying. The referenced approach uses 3-inch schedule 40 for rigidity when the feeder is at the height you need. If you change diameter or wall thickness, you must ensure the pole does not flex enough for a bear to work a pry point on the feeder or lid.
How deep should the concrete footing be, and does deeper always mean safer?
The DIY method described sets the pole about 4 feet deep, which is intended to provide both anchoring and resistance to twisting or pulling. Going deeper can help if your soil is loose or rocky, but the critical factor is whether the pole can resist both push-over and pull-out forces. In soft soils, you may need better footing design rather than simply “dig deeper,” and you should also confirm local code or permitting requirements.
Do I need to level and check the pole before the concrete sets, or is it fine afterward?
Check level and alignment as soon as the concrete is poured and while you still have room to correct it. A slightly tilted pole can change how the feeder hangs, which can create new reach angles or uneven clearance. Also ensure the feeder cage or suspension system is centered so no side becomes easier for claws to access.
What’s the biggest mistake people make after installing a bear-proof pole?
Leaving the installation “static” after the first success. Most failures come from something changing, like a branch growing into the clearance zone, a new surface getting stored near the pole area, or the feeder being refilled with a setup that changes how it hangs. Do a monthly walk-around during bear season and repeat a clearance measurement after any landscaping changes.
If I’m using a lowering mechanism, is it safe to keep it rigged year-round?
If it is properly secured and does not create new reach points, it can remain in place, but keep it in mind for bear-proofing. Any rope, cleat, or hanging hardware that becomes accessible can become part of the bear’s attempt. For safety and effectiveness, keep the lowering line and attachment fully out of climbing reach and inspect the hardware for wear and loosening after each season.
How do I reduce bear attraction from seed odor specifically?
Use multiple odor-control tactics, not just “cleaning sometimes.” Keep feeder tops and seed ports tightly sealed, empty the feeder before rain when possible, and clean after any wet, fermenting seed. Also empty and fully refill rather than topping off, because leftover wet residue can keep producing odor that draws bears back.
Will birds still use the feeder if the area is open for bear clearance?
Yes, most small songbirds adapt well, and many even prefer open sightlines to detect predators. To help them, keep perching options nearby but still outside bear climbing paths, such as a natural shrub or branch that is not within the bear clearance zone. Avoid providing a perch that a bear can also use to gain height or leverage.
What if bears keep returning even after I adjust placement?
If the same bear returns repeatedly even after you re-measure clearances, remove the feeder for a reset period and then contact your state wildlife agency for region-specific guidance. Some areas have seasonal bear behavior patterns and may recommend different timing or additional deterrents beyond placement and feeder design. Also verify there is no other food source nearby (garbage, pet food, fruit trees) undermining your efforts.
Is an electric fence allowed or effective in every location?
Electric fencing can be effective as a complement, but legality, power requirements, and correct placement vary by location. It should be considered an added layer around the pole area at about bear nose height, not a substitute for structural clearance and a bear-resistant feeder. Before installing, check local regulations and plan for proper insulation, grounding, and protection from vegetation contact.
Next Article
How to Waterproof a Wooden Bird Feeder Step by Step
Step-by-step waterproofing for wooden, including cedar, bird feeders: prep, seal choice, curing, recoats, and maintenanc