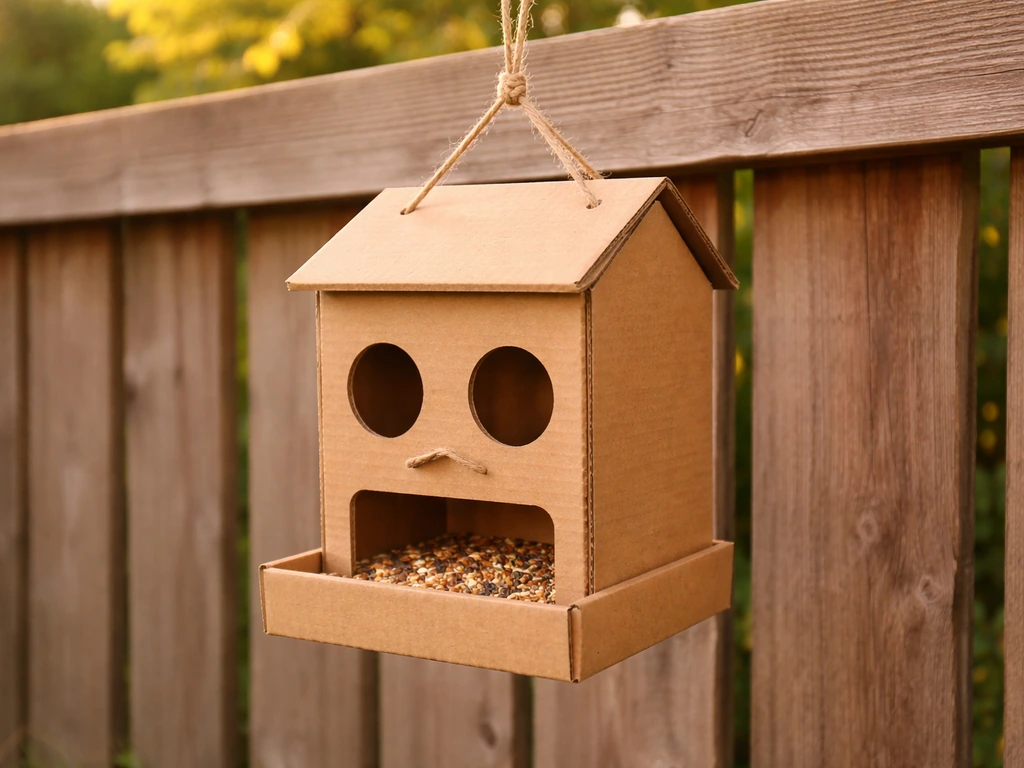
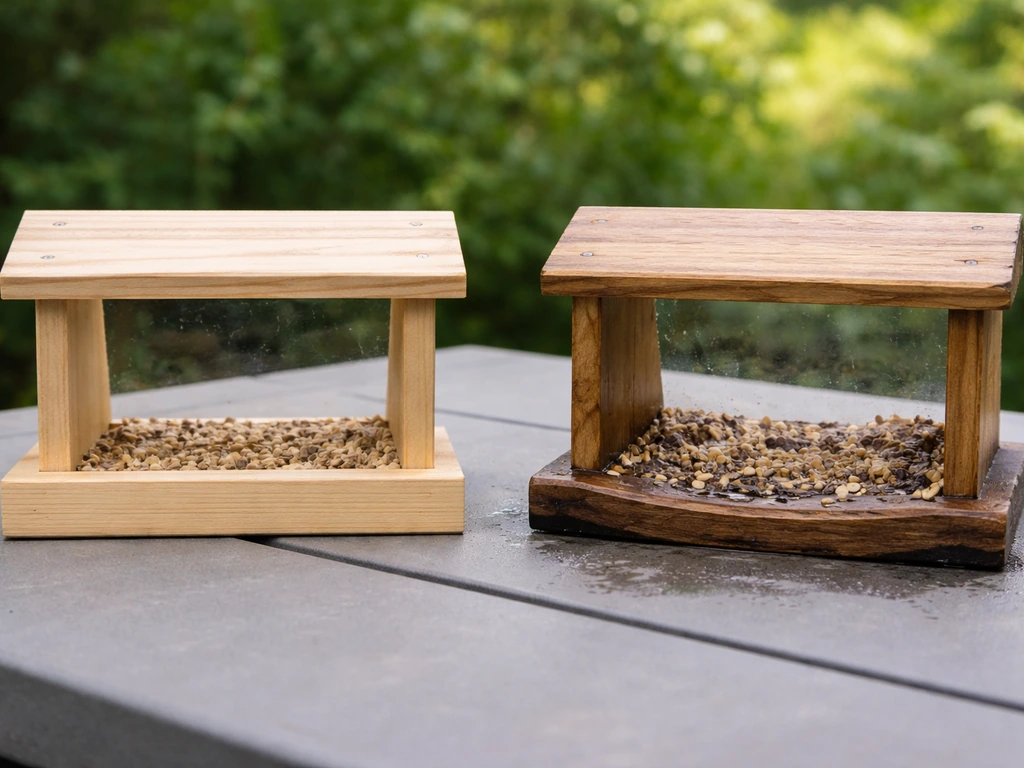
You can make a working cardboard bird feeder in about 20 to 30 minutes using a cereal box, milk carton, or shoe box, no special tools required. Cut an opening on each side for birds to access the seed, thread a piece of twine through the top for hanging, add a short dowel or pencil as a perch, and you're done. Cut an opening on each side for birds to access the seed, thread a piece of twine through the top for hanging, add a short dowel or pencil as a perch, and you're done how to make a tray bird feeder. If you want an alternative to cardboard, follow these tips on how to make bird feeder with shoe box using similar cutouts, a sturdy perch, and safe hanging hardware. It won't last forever in the rain, but with a few simple tricks to extend its life, it will absolutely attract birds and do its job.
How to Make a Cardboard Bird Feeder Step by Step

What you'll need
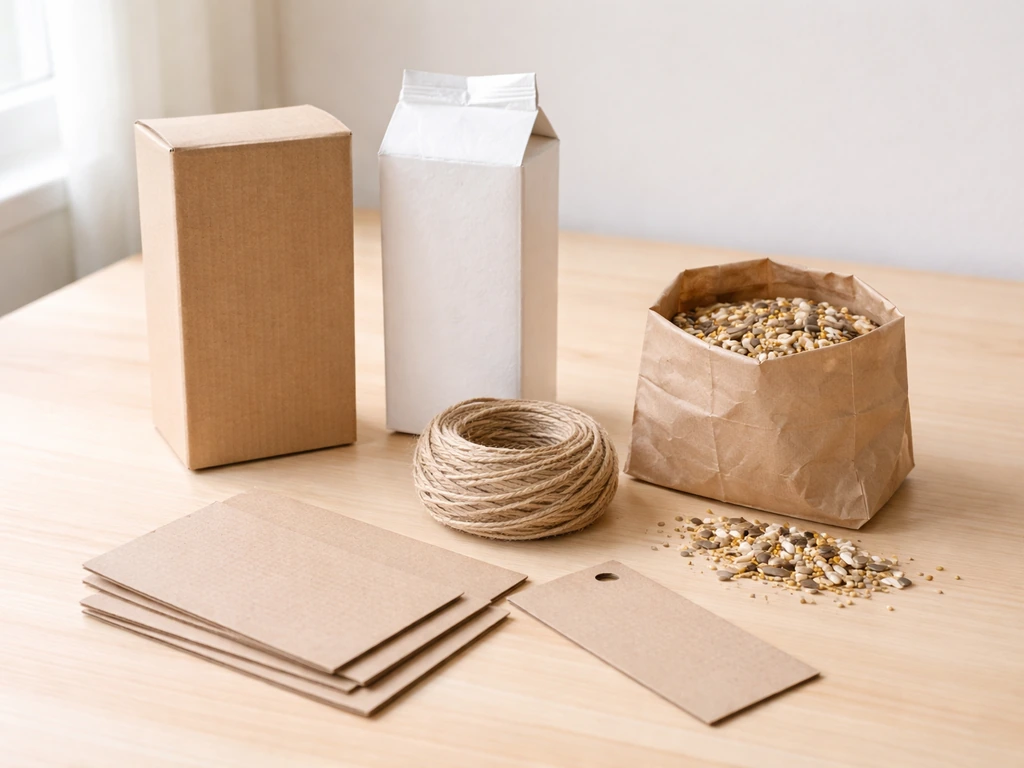
The beauty of a cardboard feeder is that most of what you need is already in your recycling bin. That said, not all cardboard is equally good for this project, and a few material choices matter for bird safety.
Cardboard types that work best
- Waxed milk cartons or juice cartons: These are the most durable option because the wax coating repels moisture. Audubon specifically recommends milk or juice cartons for DIY feeders, and they hold their shape far longer than plain cardboard outdoors.
- Cereal boxes: Thin but workable, especially for a short-term or indoor-to-outdoor feeder. Double them up by sliding one inside the other for extra rigidity.
- Shoe boxes or small shipping boxes: Thicker corrugated cardboard gives you a sturdier structure. Great if you want a platform or tray-style design.
- Egg cartons: Smaller and flimsier, but useful as a tray insert to hold seed in sections. There's a whole separate build approach for egg carton feeders if that interests you.
Tools and supplies
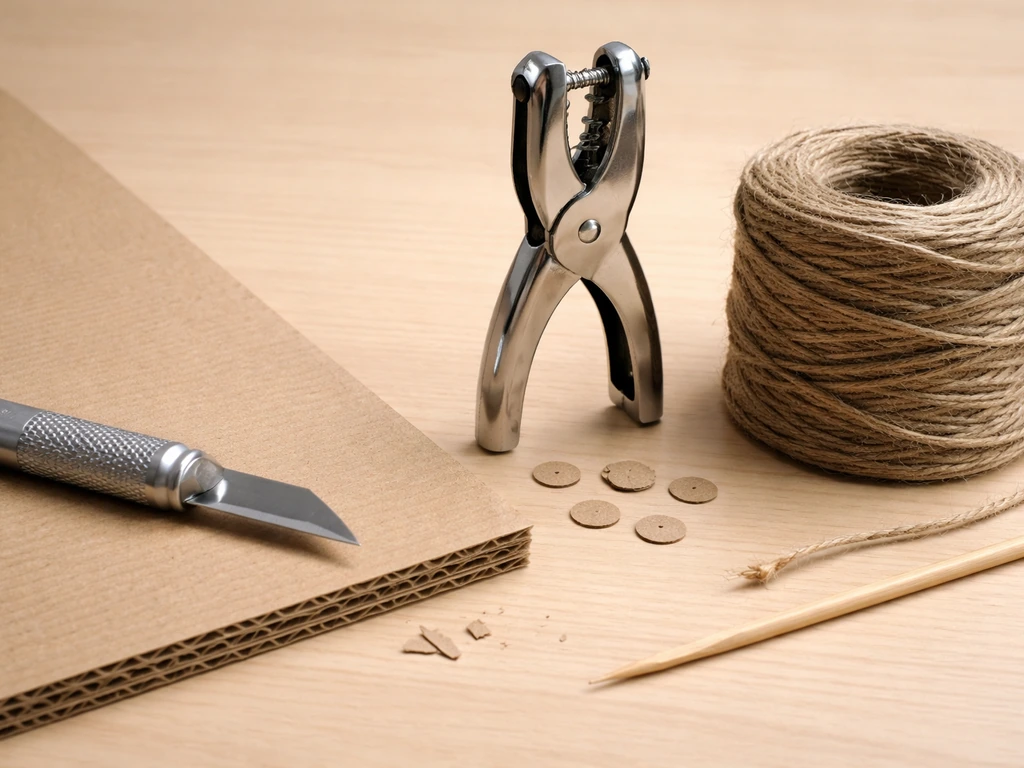
- Scissors or a craft knife (a craft knife gives cleaner cuts on thick cardboard)
- A hole punch or skewer for making hanging holes
- Twine, jute rope, or paracord (at least 24 inches) for hanging
- A pencil, chopstick, or short wooden dowel for the perch
- Non-toxic, water-resistant paint or beeswax/paraffin wax for weatherproofing (optional but helpful)
- Non-toxic glue or packing tape to reinforce seams
- A ruler and marker for measuring your openings
Bird-safe materials checklist
Keep it simple and non-toxic. Avoid cardboard with heavy ink printing on the interior surfaces where seed will sit. Skip any paint that isn't labeled non-toxic, and never use staples, rubber bands, or synthetic rope where birds could catch their feet. Plain twine, wood, and food-safe glue are your safest bets.
Step-by-step: making a cardboard bird feeder at home
This guide builds a simple hanging feeder using a milk carton or cereal box, the most beginner-friendly design. The whole process takes about 20 to 30 minutes. If you want a bird feeder box that lasts longer than basic cardboard, you can adapt the same setup and seed tips to a sturdier box design.
- Clean your container thoroughly. Rinse out any food residue and let it dry completely before you start. This matters for hygiene and helps any glue or wax adhere properly.
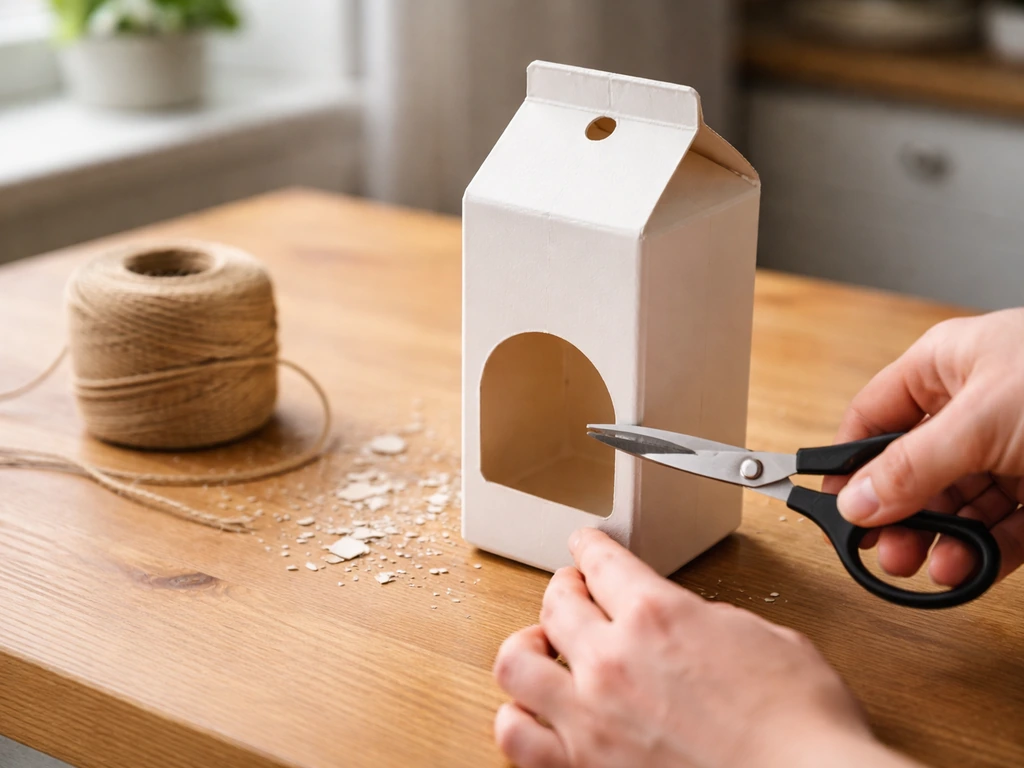
- Mark your feeding openings. On two opposite sides of the carton or box, draw a rectangular opening starting about 1.5 inches from the bottom of the body (this raised lip keeps seed from spilling out). Make each opening roughly 3 to 4 inches wide and 2.5 to 3 inches tall — big enough for a small songbird to hop in and access seed.
- Cut out the openings. Use a craft knife for clean edges on thick cardboard. For cereal boxes, scissors work fine. Fold any rough edges outward and tape them down so there are no sharp points a bird could snag on.
- Add a perch. Poke a small hole about half an inch below each opening, push a pencil or wooden dowel straight through both sides of the box so it sticks out about 2 inches on each side. This gives birds a place to land before they hop in to feed.
- Make your hanging holes. Use a hole punch or skewer to poke two holes through the top of the carton, spaced about an inch apart. Thread your twine through both holes and tie a secure knot on the inside so the loop sits at the top for hanging.
- Reinforce the seams. Run a strip of packing tape along any glued seams on the outside of the box, especially the bottom. This is where moisture will attack first, and tape buys you significantly more time outdoors.
- Optional: weatherproof the exterior. Rub the outside surfaces with a plain white candle, paraffin wax, or beeswax. You can also paint the outside (not the inside, where seed sits) with a non-toxic, water-resistant craft paint. Let it dry fully before filling.
- Fill and hang. Add seed to about halfway up the interior — enough to reach the bottom of your feeding openings. Hang it up and you're done.
Best locations and hanging methods
Where you hang the feeder makes a real difference in how quickly birds find it and how safe they are once they do. The Cornell Lab at All About Birds recommends placing feeders either very close to windows (less than 3 feet away) or much farther away (more than 30 feet) to reduce the risk of window collisions. If a bird startles and flies toward glass, being that close means it can't build up enough speed to hurt itself. Farther away, birds are less likely to orient toward the window in the first place.
Beyond the window rule, the single most important placement factor is proximity to natural cover. Hang the feeder within 10 to 15 feet of a tree, shrub, or dense hedge. Birds are much more likely to visit a feeder they can dart away from quickly, and that nearby shelter is where they retreat between feeding bouts. Open, exposed locations feel unsafe to most songbirds, especially smaller species.
Height and hanging setup
Aim for 5 to 6 feet off the ground for a hanging cardboard feeder. Too low and ground predators (cats especially) become a real problem. Too high and you'll struggle to refill it easily. Use a shepherd's hook, a tree branch, or a hook screwed into a fence post. Make sure the feeder hangs freely and can swing slightly, this actually deters squirrels because it's harder for them to grip. For a cardboard feeder specifically, avoid locations where it will sit in standing water or under a dripping eave, since moisture is your biggest enemy.
Food and setup tips
Black-oil sunflower seed is the best single choice to start with. Project FeederWatch identifies it as the most commonly offered seed at feeders across North America, preferred by a huge range of birds including chickadees, finches, nuthatches, cardinals, and sparrows. The thin shells make it easy for smaller birds to crack open, and the high fat content gives birds the energy they need. If you want to attract more species, adding a small amount of safflower seed or white millet alongside the sunflower seed broadens your appeal without complicating things.
For a standard milk-carton-sized feeder, fill it with about a half cup to one cup of seed at a time. Don't overfill, seed that sits too long gets damp and moldy, and wet seed is genuinely harmful to birds. Check it every 2 to 3 days, especially after rain. Dump out any wet or clumped seed before refilling. In dry, warm weather you can let it go 4 to 5 days between refreshes, but err on the side of checking more often until you get a feel for how fast the birds go through it in your yard.
Durability and weatherproofing for cardboard feeders
Let's be honest: cardboard feeders are not built to last the whole season. Even a well-treated carton feeder might last 2 to 4 weeks outdoors depending on your climate. But you can extend that significantly with a few practical steps, and knowing the limits up front means you won't be disappointed.
Ways to make your feeder last longer
- Start with a waxed carton: Milk and juice cartons are already coated, which gives them a big head start over plain cereal boxes. If you have the choice, always use a carton.
- Apply a wax rub: Rub the outside of a plain cardboard feeder firmly with a white candle or block of paraffin wax. Pay extra attention to the bottom and any seams. This is a free, bird-safe weatherproofing method that genuinely works.
- Tape all seams: Cover every glued edge on the outside with clear packing tape before hanging. Water gets in at the seams first.
- Hang in a sheltered spot: Under a tree canopy or the overhang of a porch roof, your feeder will last two to three times longer than one hung in the open.
- Bring it in during heavy rain: If a big storm is coming and you want to extend the feeder's life, just take it inside and hang it back up after. Takes ten seconds.
- Line the interior bottom with a piece of plastic bag: Cut a small piece of plastic (a produce bag works) and lay it flat inside the bottom of the feeder. Seed stays drier and the interior cardboard degrades much more slowly.
Troubleshooting: pests, moisture issues, and feeder stability
The feeder is collapsing or sagging
This almost always comes from moisture soaking into the bottom of the feeder. If you see the base starting to bow or the walls going soft, the feeder has absorbed water and you need to replace it soon. As a quick fix, slide a piece of thin cardboard or plastic inside the bottom as a temporary reinforcement. Going forward, the plastic liner trick mentioned above is your best prevention. If you want a more durable structure from the start, double-walling the box by sliding one carton inside another adds meaningful rigidity.
Squirrels are raiding the feeder
Squirrels will absolutely find a cardboard feeder, and once they do, they can demolish it in minutes, not just eating the seed but chewing through the walls. Your best deterrents are location and physics. Hang the feeder at least 10 feet from any branch or fence a squirrel can leap from, and make sure the hanging line is long enough that the feeder swings freely. Adding a plastic baffle above the feeder on the hanging line makes it much harder for squirrels to climb down to it. Safflower seed is also naturally less attractive to squirrels than sunflower, so swapping to or blending in safflower can reduce their interest.
Moisture getting into the seed
If the seed is clumping or smells musty, moisture has gotten in. Dump it out immediately. Damp seed can develop mold within 24 hours in warm weather, and moldy seed is dangerous for birds. Going forward, cut your refill quantity in half so seed doesn't sit as long, and angle the feeder's roof slightly by bending the top of the carton so rain runs off rather than pooling on top.
The hanging cord keeps slipping or the feeder tilts
If the feeder tilts to one side, the twine holes aren't centered, or one side is heavier. Punch a new hole to re-center the hang point, or add a second loop of twine from corner to corner across the top to distribute the weight. For stability on a hook, you can also run the twine through a short section of drinking straw threaded over the hook to keep the feeder from spinning in the wind.
Cleanup, storage, and when to replace a cardboard feeder
Cardboard feeders can't be deep-cleaned the same way a plastic or wooden feeder can, and that's one of their honest limitations. blank" rel="noopener noreferrer">Project FeederWatch recommends soaking feeders in a diluted bleach solution for 10 minutes (roughly 9 parts water to 1 part bleach) or using a vinegar-based alternative. You can do a lighter version of this with a cardboard feeder: wipe down the interior with a damp cloth dipped in a mild vinegar-water solution, then let it dry completely in the sun before refilling. For heavier contamination, Project FeederWatch recommends soaking cleaned feeder parts for 10 minutes in a diluted bleach solution (for example, 1 part bleach to 9 parts water) and then letting them dry completely blank" rel="noopener noreferrer">diluted bleach solution (1 part bleach to 9 parts water). Don't submerge a cardboard feeder in water, it won't survive. Discard the feeder immediately if you see black mold, cloudy residue, or the interior has a sour smell.
In terms of replacement cadence, plan to swap out a plain cardboard feeder every 2 to 3 weeks, or sooner if it softens, tears, or shows mold. A waxed-carton feeder in a sheltered spot might make it 4 to 6 weeks in dry weather. The good news is that the build takes under half an hour and costs essentially nothing, so replacing it isn't a burden. When the old feeder is done, compost it (remove the tape first) and make a fresh one.
If you find yourself wanting something more permanent, the cardboard feeder is a great gateway project. From here, a shoe-box-style feeder with a heavier corrugated base, a tray bird feeder, or a full box-style wooden feeder build are all natural next steps depending on how involved you want to get. The core skills, placement, seed choice, regular refreshing, are the same no matter what material you're working with, so everything you learn with a cardboard build carries forward.
FAQ
Can I use a different kind of seed besides black-oil sunflower, and will a cardboard feeder still work?
Yes. If you switch seeds, keep the feeder size and refill schedule similar, and avoid anything that easily swells in dampness. Hulled peanuts, suet mixes, and large whole nuts usually need different feeder designs, because cardboard openings can block or jam them and wet leftovers can spoil quickly.
What should I do if I notice ants or other insects around the seed?
Remove any seed that has gotten damp or clumped, then refill with a smaller amount more frequently. If ants are crossing the twine, consider wiping the twine and hanging hardware with a damp cloth (and let it dry) and use placement with more distance from ant trails or nearby plants.
Is it safe to hang the feeder near window frames, balconies, or patios where birds might hit glass other than the typical distance rule?
Follow the close-or-far window guideline, but also check for visual blockers. If you can, place the feeder so birds have a clear, unobstructed escape route to nearby cover, and avoid sightlines through reflective surfaces like bright siding or metal railings.
How do I prevent the twine from cutting into the cardboard over time?
Add a small “wear pad” where the twine contacts the cardboard, such as a short piece of plastic or an extra strip of cardboard glued to the top edge before punching holes. Replacing or re-centering the hanging point sooner helps prevent sagging that leads to pooling moisture.
Should I punch the openings higher or lower on the sides to fit different bird sizes?
For small songbirds, keep openings modest and consistent so only birds with appropriate footing can access the seed. If larger birds dominate, slightly lower the openings or reduce the overall feeder width, so bigger birds have a harder time crowding and flinging seed.
Can I make a cardboard feeder for squirrels-proofing without using specialized baffles?
You can reduce squirrel success by combining placement and swing behavior. Hang at least 10 feet from launch points, keep the twine long enough for free swinging, and consider using a narrower perch so it is less comfortable for squirrels to stand and reach down.
How often should I refill if birds are actively visiting, and how can I avoid waste?
If birds are frequent, start by using smaller refill quantities and only increase after you see how fast it empties. Wet or moldy seed can be dangerous, so if you cannot check every 2 to 3 days, plan to refill less at a time to reduce the time seed sits.
What is the safest way to clean a cardboard feeder if I’m trying to reuse it longer?
Spot-wipe only, use a damp cloth with mild vinegar-water, then dry completely in direct sun. Do not soak, and stop using the feeder immediately if there is black mold, a cloudy residue, or a sour smell, since those signs suggest contamination that can return quickly.
If the feeder gets soaked once, can I dry it and keep using it?
Drying may make it look okay, but seed quality and internal softness matter. Dump out any seed that clumped or smells musty, let the feeder fully dry, then inspect for base bowing or wall softening. If the cardboard feels weak, replace it rather than risking sudden collapse or continued moisture wicking.
Can I compost the cardboard feeder, and what parts should I remove first?
Yes, compost the cardboard after it is fully finished, but remove tape and any non-compostable liners first. If you used plastic reinforcement or a plastic liner, take it out so you do not contaminate the compost pile.
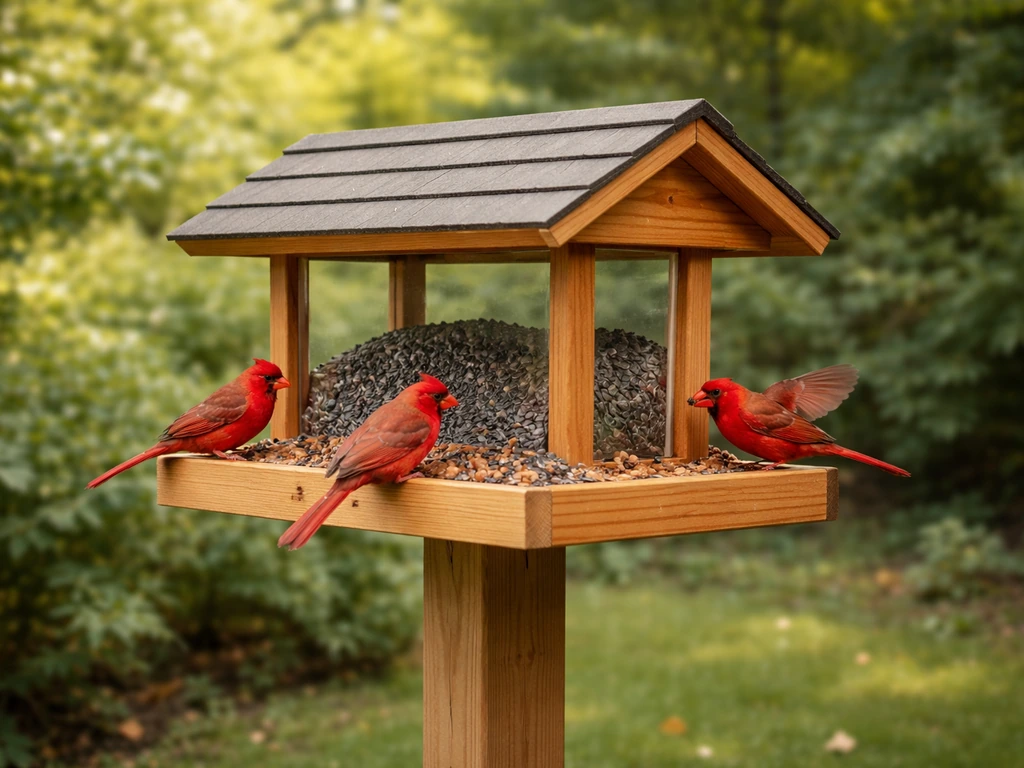
Step-by-step guide to build a durable cardinal bird feeder with easy materials, placement tips, and seed setup.
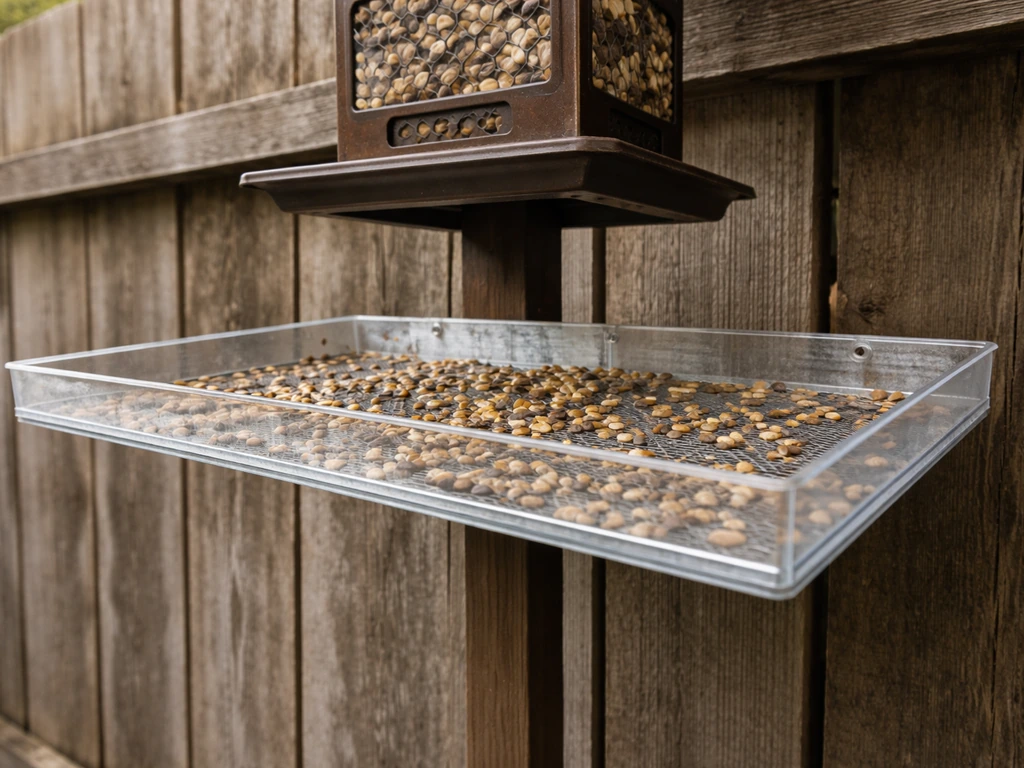
Build a DIY seed catcher tray for a bird feeder or bird cage with materials, measurements, mounting, and easy cleaning t
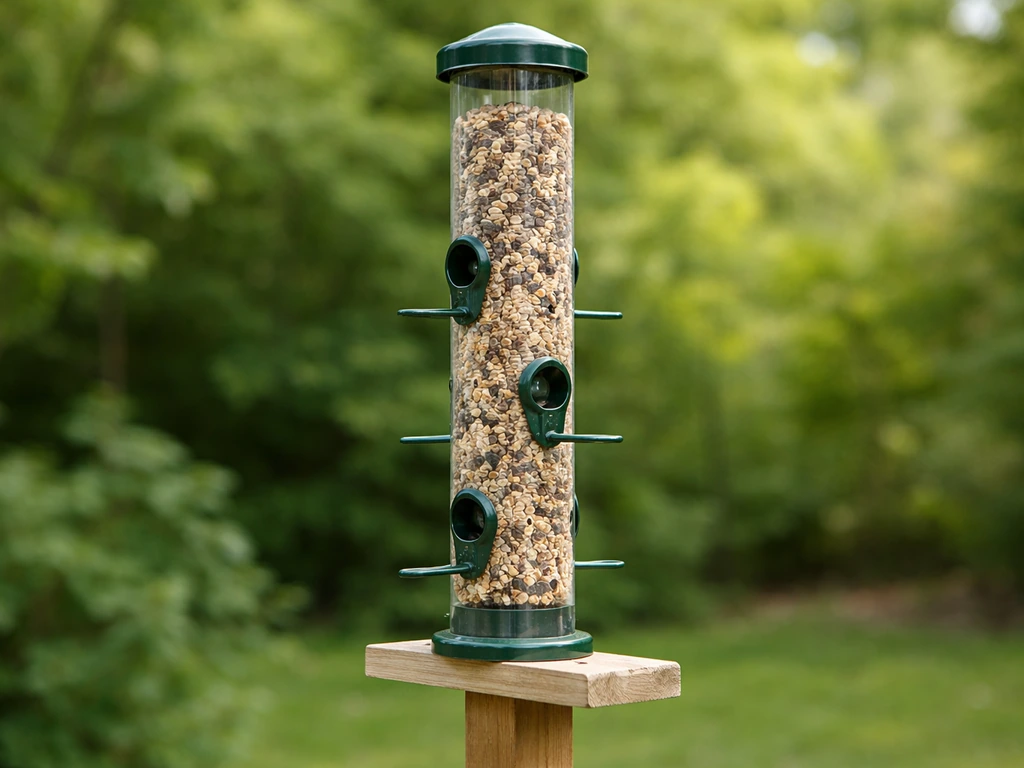
Step-by-step how to make a tube bird feeder with materials, safe mounting, maintenance, and fixes for leaks and clogs.