Most bird feeders come apart in under five minutes once you know where to look. Twist off the top cap, slide out the tube or lift the tray, pop out any perch rods, and you're in. The tricky part is that every feeder design hides its fasteners in slightly different places, and squirrel-proof models like the Squirrel Buster add a shroud assembly that trips people up the first time.
How to Take Apart a Bird Feeder: Tube and Squirrel Buster

Marcus Brennan
18 May 2026
If you’re dealing with a different brand of bear-resistant feeder, look for the specific installation steps for your model before mounting or filling it squirrel-proof models like the Squirrel Buster. This guide walks you through the whole process, from figuring out what kind of feeder you have, to getting stubborn stuck caps loose, to putting everything back together so it actually feeds birds again.
Figure Out Your Feeder Type and Grab the Right Tools
Before you twist anything, take a 10-second look at what you have. If you are starting fresh, the process is easier when you know how to start a bird feeder before you pick a feeder and fill it with the right seed. Most backyard feeders fall into one of four categories: tube feeders (a clear or opaque cylinder with ports and perches along the sides), hopper or house feeders (a box shape with a platform tray), tray or platform feeders (open, flat, minimal hardware), and specialty feeders like the Squirrel Buster, which looks like a tube feeder wrapped in a sliding outer shroud. Knowing which one you have tells you exactly where to start.
| Feeder Type | Key Identifying Features | Main Disassembly Points |
|---|---|---|
| Tube feeder | Clear or opaque cylinder, ports along the side, perch rods | Top cap, bottom cap or plug, perch rods, port covers |
| Hopper/house feeder | Box shape, roof lifts or slides, seed falls to tray | Roof panel, side panels, tray, base screws |
| Tray/platform feeder | Flat open surface, minimal enclosure | Mounting hardware, mesh or screen insert |
| Squirrel Buster style | Tube inside a sliding metal or plastic shroud, spring mechanism | Hanger, shroud, seed tube, spring assembly, bottom cap |
For tools, you usually need very little. A flathead screwdriver handles most pried-open caps and stuck perch rods. A Phillips screwdriver covers any visible screws (Perky-Pet's Yankee Dipper, for example, uses four tube screws to hold the port assembly to the tube). A pair of rubber gloves is non-negotiable since you'll be handling old seed, mold, and bird droppings. A bottle brush or a long-handled cleaning brush makes the cleaning step much easier once the feeder is open, and a bucket or basin big enough to soak the parts is helpful for the cleaning step that follows disassembly.
Set Yourself Up Safely Before You Start
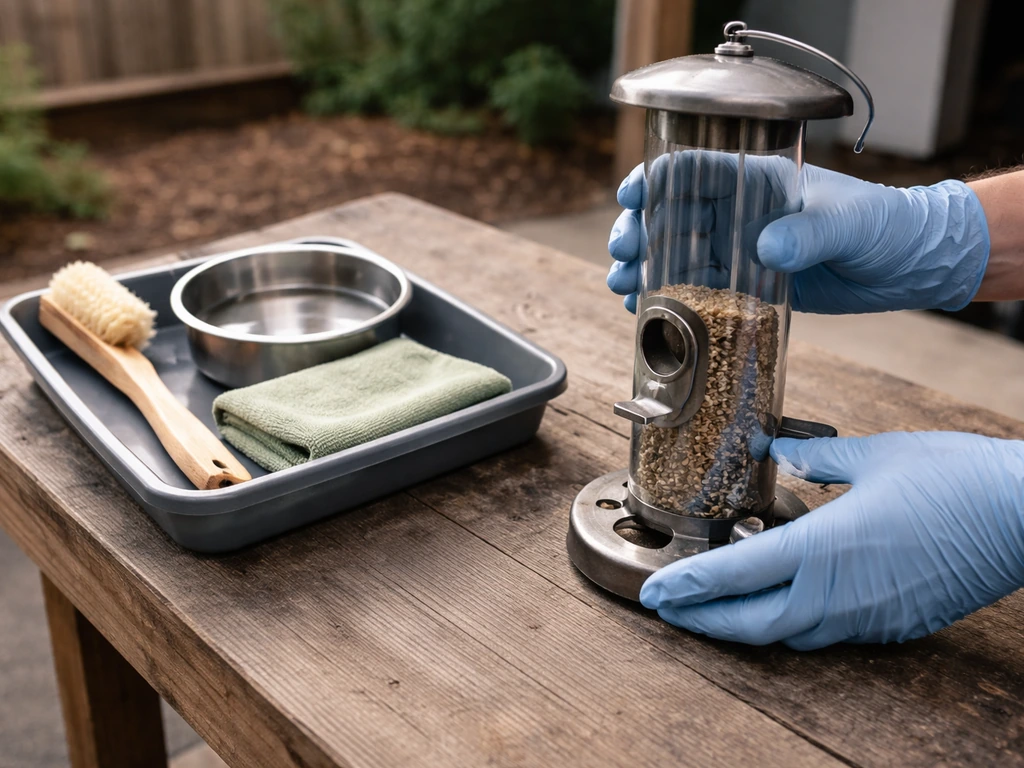
Put on your gloves before you touch the feeder. Bird feeders accumulate bacteria, fungal spores, and dried droppings that you genuinely do not want on your hands or transferred to your face. Put on your gloves before you handle the feeder, especially if you plan to disinfect it by soaking parts in a 1:9 bleach-to-water solution as recommended by PetMD soaking feeder parts in a 1:9 bleach-to-water solution. The Home Depot specifically calls out glove use during disassembly and cleaning, and it's the one safety step that's easy to skip and really shouldn't be.
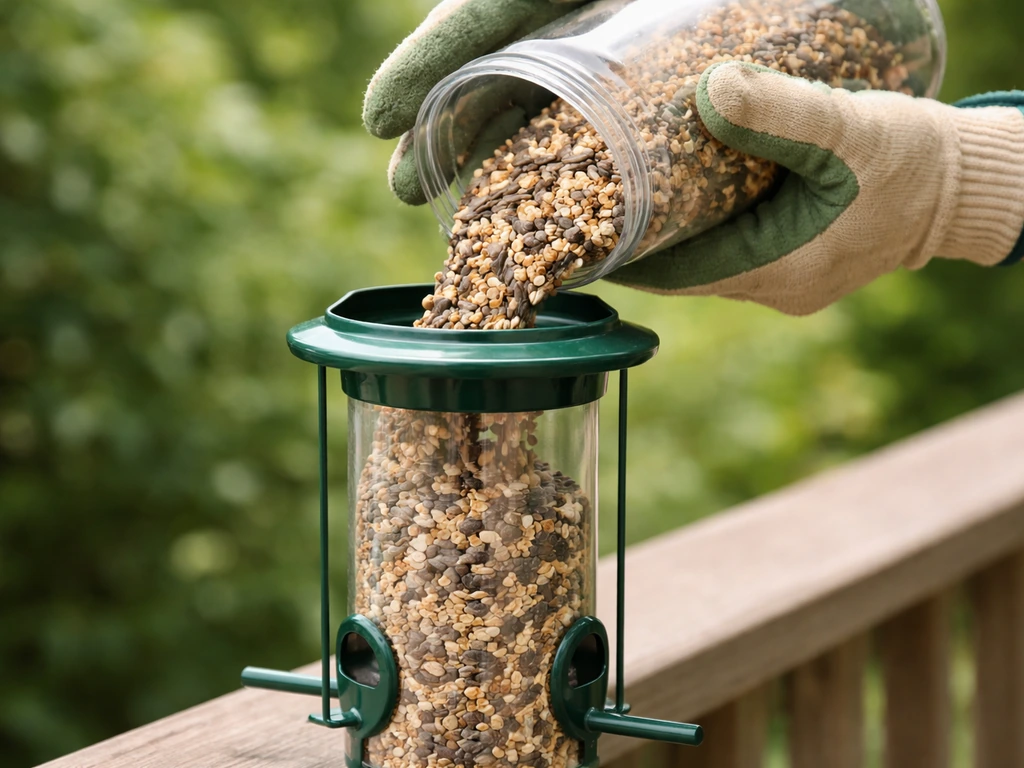
Take the feeder down and carry it to a stable work surface outdoors or in a garage. Working over a tarp, a newspaper layer, or directly on a utility sink makes cleanup much easier. If the feeder has a hanging wire or chain, unhook it completely and set it aside rather than trying to work around it. Empty out any remaining seed into a bag or bucket before you start pulling pieces apart. Old, wet, or moldy seed is the main reason most people are doing this in the first place, and removing it first keeps the mess contained.
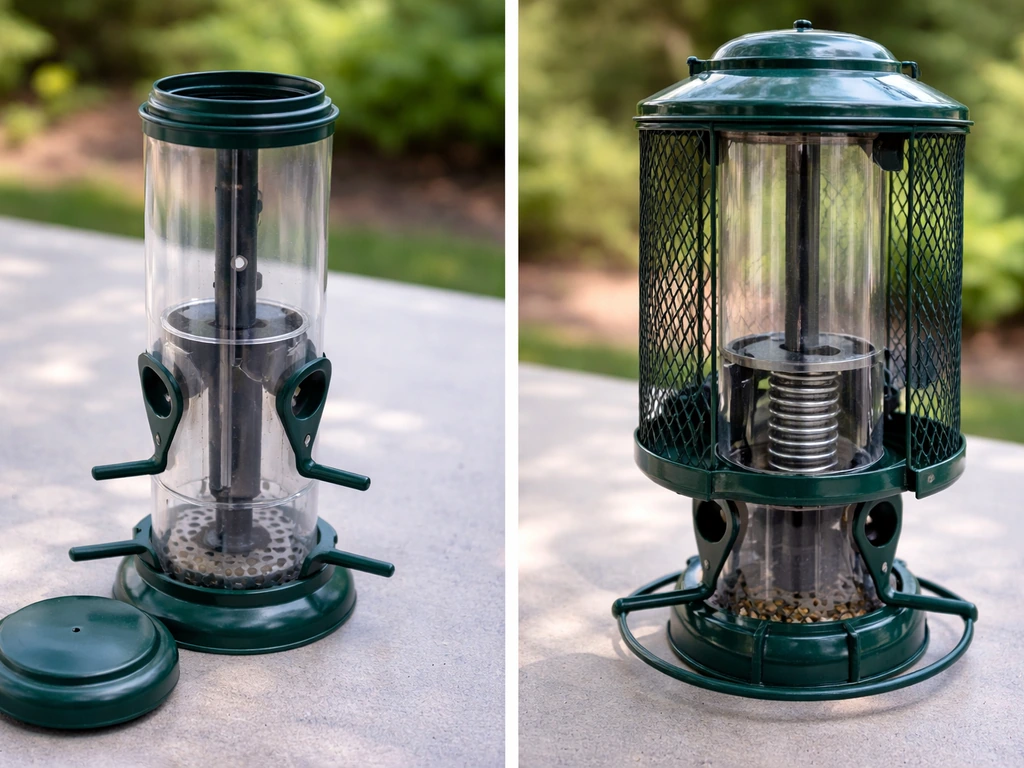
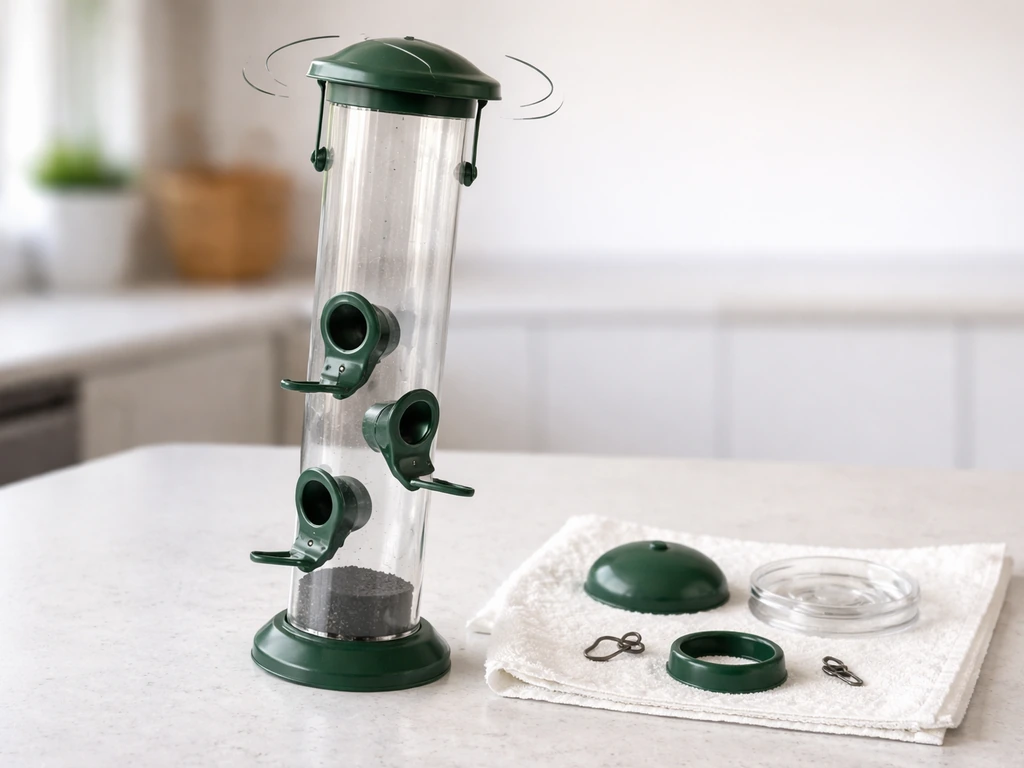
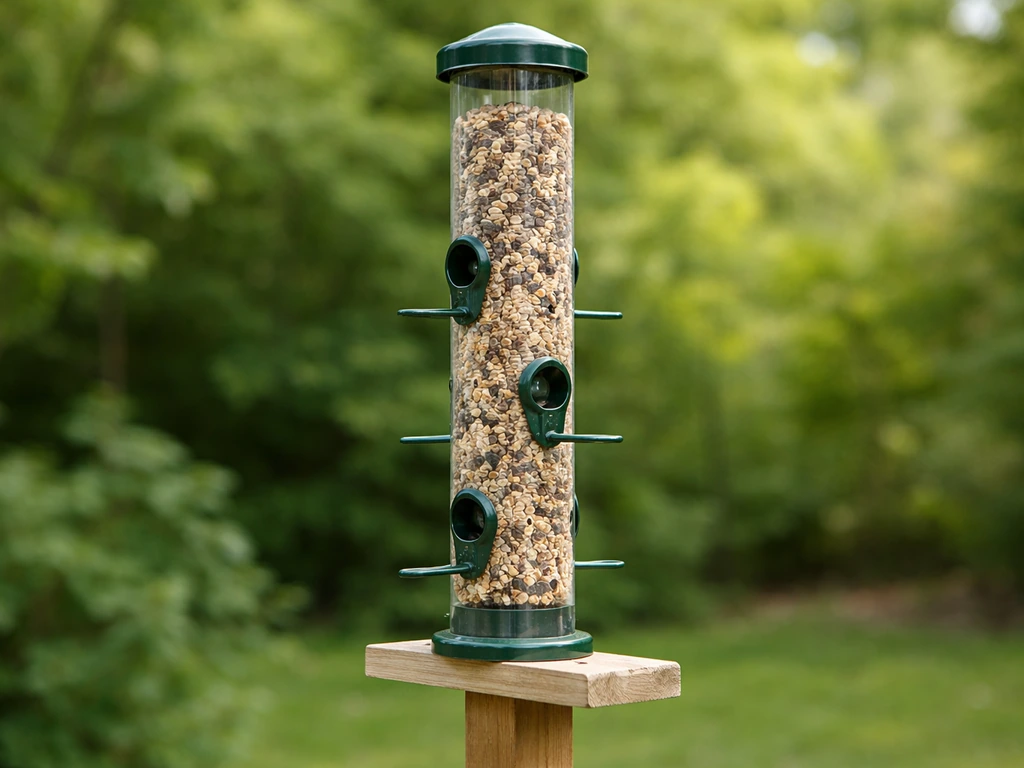
How to Disassemble a Tube Bird Feeder (Step-by-Step)
Tube feeders are the most common style and the most straightforward to take apart. The whole process takes about three to five minutes once you've done it once.
- Remove the hanging wire or hook from the top cap first. Most top caps loop directly onto the wire, so you can lift it straight off once the wire is free.
- Twist or lift off the top cap. On most tube feeders the cap simply twists counterclockwise about a quarter-turn and then lifts free. Some caps are friction-fit and just pull straight up. If yours has a screw, back it out with a Phillips screwdriver.
- Slide out or unscrew the perch rods. These are the small horizontal rods that run through the tube just below each port. They typically pull straight out from one side once you push them from the other. Some models screw in, so give them a gentle counterclockwise turn before pulling.
- Remove any port covers or port inserts. On models like Perky-Pet's Yankee Dipper, four small screws hold the port ring to the tube body. Back these out and the port assembly separates cleanly from the tube.
- Pull off or unscrew the bottom cap or bottom plug. This is usually the dirtiest piece. Twist counterclockwise or pull straight down depending on the design. Some bottom caps have a small locking tab you press before it releases.
- Slide the seed tube free. Once both end caps are off and the perch rods are out, the main tube body lifts away cleanly.
- Set all parts in your basin for soaking. Soak in warm, soapy water first, then scrub the interior of the tube with a bottle brush. For a deeper disinfect, follow with a soak in a solution of one part bleach to nine or ten parts water for a few minutes, then rinse thoroughly and let everything air dry completely before reassembly.
Taking Apart General Bird Feeder Designs
Not every feeder is a tube. Here's how to approach the most common alternative styles you'll run into.
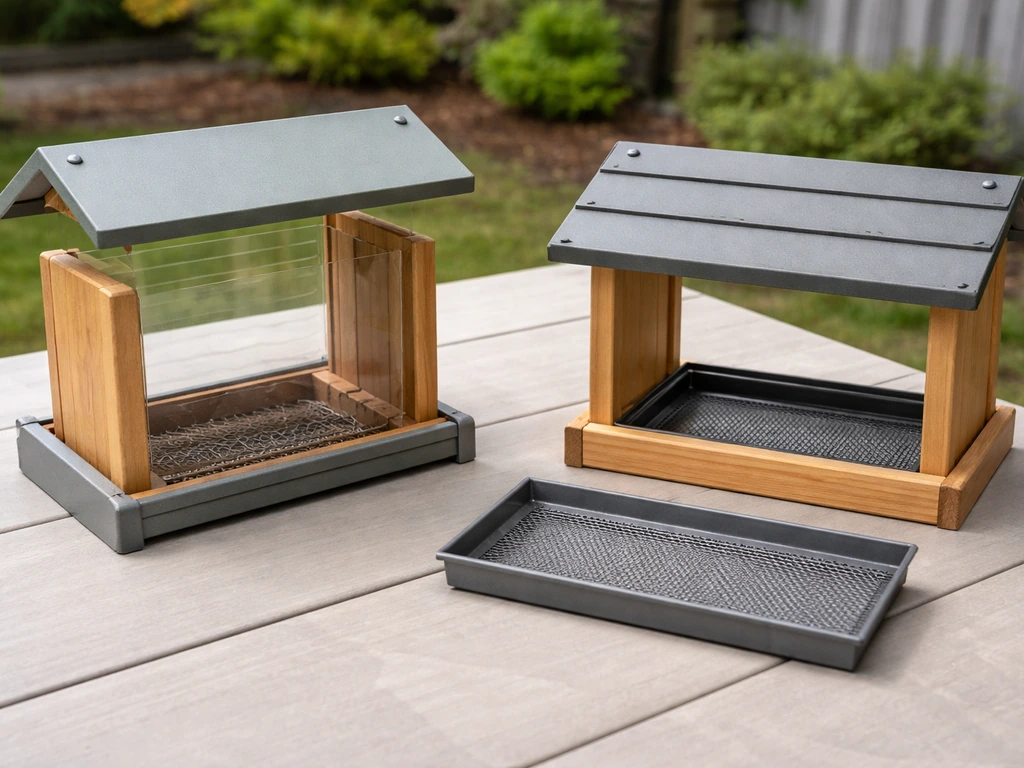
Hopper and House Feeders
These feeders look like little houses. The roof usually lifts off first, either by unhooking a small latch or by sliding it backward along a groove. Once the roof is off, the seed reservoir is exposed. Look for screws or clips at the corners holding the side walls to the base tray. Remove those and the side panels come away, leaving just the tray. The tray itself typically lifts off a pair of mounting hooks or unscrews from a center bolt at the bottom. Clean each piece separately, paying special attention to the tray where seed paste and droppings accumulate.
Tray and Platform Feeders
These are the simplest to disassemble because there isn't much to them. Lift the tray off its mounting bracket or post. If there's a mesh or screen insert, most lift straight out of a lip or groove around the tray edge. The mounting hardware (screws or a center bolt) can be backed out with a screwdriver if you're doing a deep clean or storing the feeder for the season. Wash the tray and any screen inserts with warm soapy water and rinse well.
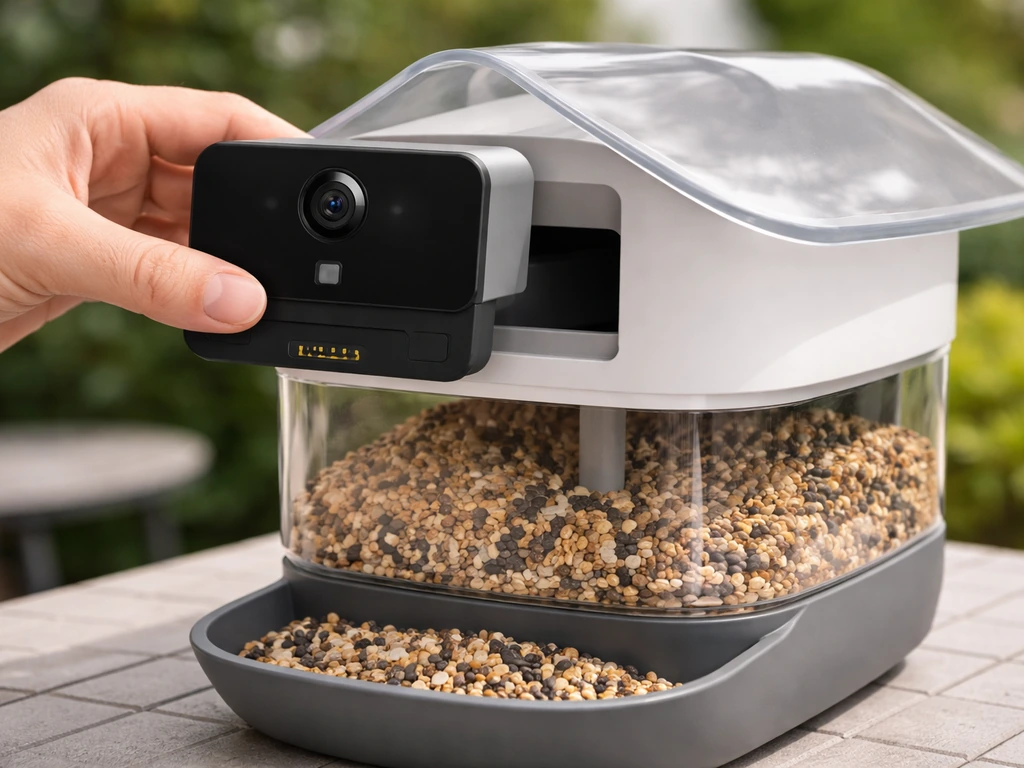
Smart or Camera-Equipped Feeders
Feeders like the Netvue Birdfy Hum add electronic components to the mix. For these, always remove the camera or electronic module first before any water contact. The feeding ports on the Birdfy Hum are removable, and Netvue's own instructions specify using the included mini brush to clean the interior of those ports after removing them. Never submerge any electronics. The physical feeder parts (ports, reservoirs) can be washed normally.
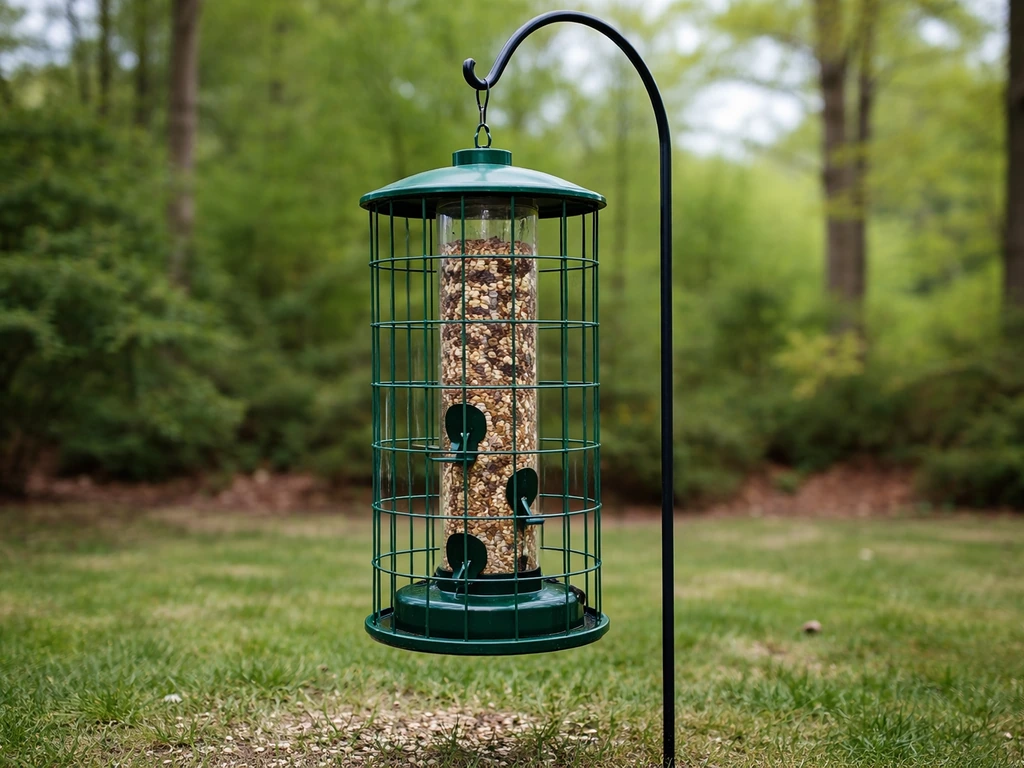
How to Disassemble a Squirrel Buster Style Feeder
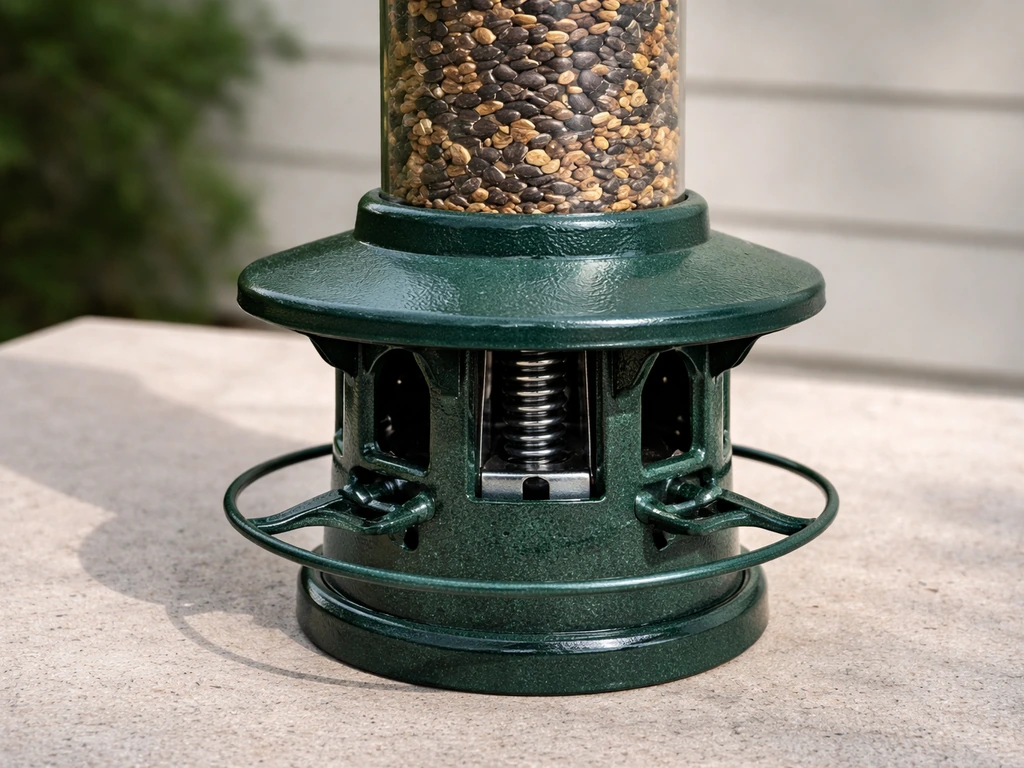
The Brome Squirrel Buster is built around a spring-loaded shroud that drops down under a squirrel's weight to close the ports. It's a clever mechanism, but it has more moving parts than a standard tube feeder. The good news: Brome's own guidance for the Squirrel Buster Standard says you generally do NOT need to dismantle the seed tube or spring assembly just to clean the feeder. Most cleaning can be done without touching those internal components. That said, if something is malfunctioning (the shroud is stuck open, for example), you'll need to go deeper.
Basic Cleaning Disassembly (No Spring Removal Needed)
- Unhook the feeder from its hanging point and set it on your work surface.
- Lift the hanger assembly straight up and off the top of the feeder. On most Squirrel Buster models this is a separate piece that clips or screws onto the top of the seed tube.
- Slide the outer shroud downward and off the seed tube. The shroud is the outer cage or sleeve that moves up and down. It typically lifts free once the hanger is removed and there's nothing holding it at the top.
- With the shroud removed, you can access the seed tube. Twist off the bottom cap (counterclockwise) to empty remaining seed and open the base for cleaning.
- Clean the seed tube interior with a bottle brush and warm soapy water. Clean the shroud separately, checking the inside surfaces for debris that could obstruct the sliding mechanism.
- Rinse everything thoroughly and allow all parts to air dry completely before reassembling.
If the Shroud is Stuck Open (Troubleshooting the Spring Mechanism)
If your Squirrel Buster shroud stays in the open (down) position and isn't closing the ports, Brome specifically advises removing the hanger and shroud to check for obstructions inside the shroud that might be preventing it from sliding smoothly. Seed husks, hardened seed paste, and even small pebbles or nesting material can jam the shroud track. Clear any debris you find, wipe down the contact surfaces, and test the slide action before reinstalling the hanger.
You usually don't need to touch the spring assembly at all for this fix. Brome publishes a parts diagram PDF for the Squirrel Buster Legacy that labels each sub-assembly clearly, which is worth downloading if you have that model and need to identify a specific part.
Stuck Parts and What To Do About Them
This is where most people get frustrated and give up. Don't. Stuck parts on bird feeders almost always come down to one of three causes: old seed paste acting as glue, mineral deposits from water exposure, or plastic threads that have warped slightly from UV or temperature changes. All three are fixable.
- Stuck top or bottom cap: Soak the feeder in warm water for 10 to 15 minutes before trying to twist again. The warm water softens seed residue. Wrap a rubber jar-opener grip around the cap for extra torque. Avoid using metal pliers directly on plastic caps since they'll crack.
- Stuck perch rod: Push firmly from one side with a flathead screwdriver while pulling from the other with a gloved hand. If it won't budge, drip a little warm water into the port hole and wait a minute before trying again.
- Corroded or rusted metal screws: A drop of white vinegar on the screw head and a five-minute wait usually breaks the corrosion enough to turn it. If the screw is truly seized and the feeder is old, consider whether it's worth saving or time to replace it.
- Warped plastic threads: If the cap cross-threads because the plastic has warped, do not force it. Realign carefully and use gentle pressure. Forcing a warped cap causes cracks that shorten the feeder's life considerably.
- Stuck Squirrel Buster shroud: Check for seed debris in the shroud track first. If the shroud itself is cracked or deformed, Brome sells replacement parts directly, so you don't have to buy a whole new feeder.
Putting It Back Together and Checking It Actually Works
Reassembly is basically disassembly in reverse, but a few specific checks will save you from a leaking or jammed feeder the next morning. If you’re assembling a Roamwild bird feeder from parts, follow the same reverse logic and double-check that each port and tube connection locks in place before testing it with seed Reassembly is basically disassembly in reverse.
- Make sure every part is completely dry before reassembling. Wet seed clumps almost immediately, and trapped moisture under a cap is how mold starts within days.
- Reinsert perch rods so they're fully seated and level. An off-center perch rod can prevent the bottom cap from seating properly.
- Hand-tighten caps snugly but don't overtighten. On plastic feeders especially, overtightening cracks the threads. Snug plus a quarter-turn is enough.
- On tube feeders with port screws (like the Yankee Dipper), reinstall each screw in a cross pattern rather than going around in sequence, similar to tightening lug nuts. This keeps the port ring seated evenly.
- On a Squirrel Buster, slide the shroud back on before reattaching the hanger, and test the slide action by hand. Push the shroud down gently and it should return upward smoothly under spring pressure. If it doesn't, the shroud isn't seated correctly or there's still an obstruction.
- Rehang the feeder and fill it with fresh seed. Check for leaks at the bottom cap by watching for seed falling out immediately after filling.
- Wipe down the outside of the feeder with a damp cloth to remove any fingerprints or soap residue, which can deter birds initially.
A full cleaning and reassembly like this is worth doing every two to four weeks during active feeding seasons, and definitely before storing the feeder for winter or bringing it out in spring. If you're having issues beyond cleaning, like a broken port or a cracked tube, a dedicated feeder repair guide can walk you through those specific fixes.
If you still have trouble after a thorough cleaning, follow a step-by-step approach for how to fix bird feeder issues like broken parts or jammed mechanisms. And if your feeder has reached the end of its life and you're thinking about building your own replacement from wood or recycled materials, that's a surprisingly accessible project that fits any budget.
If you just want to start feeding birds right away, this is a helpful guide for how to buy a bird feeder that fits your space and needs building your own replacement. If you want to start fresh from parts, check this guide on how to assemble your Roamwild bird feeder step by step.
FAQ
How can I tell whether my bird feeder is safe to soak, or only wipe-clean?
If the feeder includes any electronic module (camera, sensor, door actuator, or removable power pack), do not soak it at all. For purely plastic parts like tube ports, hoppers, trays, and mesh inserts, you can usually soak the non-electronic pieces in warm soapy water, but avoid soaking rubber gaskets or any parts labeled as “non-submersible,” since heat and detergents can make them swell or deform.
What should I do if the cap or tube threads will not twist loose even after cleaning?
Try warming the joint first, bring it indoors and let it sit in room-temperature conditions for 15 to 30 minutes, then apply gentle pressure while twisting. If it is still stuck, loosen it after removing visible seed paste with a brush, then use a thin film of food-safe lubricant or silicone spray sparingly on the threads only, wipe off any excess before reassembly.
Is it okay to use a dishwasher or harsh cleaners on bird feeder parts?
Usually avoid dishwashers unless the manufacturer explicitly says the parts are dishwasher-safe, because high heat can warp plastic and set mineral deposits. Skip bleach and strong solvents, they can leave residues birds will contact. Stick to warm soapy water, rinse thoroughly, and if you have mineral buildup, use a vinegar-water solution for non-electronic parts, then rinse again until the smell is gone.
How do I clean a feeder port or feeding holes without damaging the edges?
Use a bottle brush or a long cleaning brush sized for the hole diameter, work from the inside out, and avoid prying with sharp metal tools that can nick plastic. For tiny ports, a pipe cleaner-style brush or the included mini brush (for feeders that provide one) can remove husk debris without widening the opening.
What’s the safest way to handle moldy seed and prevent spores from spreading?
Bag the moldy seed immediately before you start disassembly, keep it sealed, and clean the work area after you finish. Wear gloves, consider a mask if the seed is dusty, and avoid rinsing moldy material down a sink with splashing. Wipe surrounding surfaces with hot soapy water after you remove all parts.
My feeder has a screen or mesh insert, how do I prevent it from warping or tearing?
Remove the insert first and clean it flat when possible. Use gentle brush strokes and avoid twisting or scrubbing aggressively against the frame, since some mesh is thin. Let it dry completely before reinstalling, moisture can encourage mildew and make inserts fit tighter than they should.
How can I confirm my Squirrel Buster-style shroud is operating correctly after reassembly?
After putting the hanger and shroud back, test the slide action by moving the shroud by hand smoothly and ensuring it returns to the closed position. Then inspect the port alignment visually, run a short “no-seed” test to confirm the shroud fully covers the ports without sticking, only then add clean seed.
Should I disassemble my feeder every time I refill it?
No, routine refills typically only require emptying leftover seed that is wet or clumped and topping off. Do full disassembly and deep cleaning on a schedule like every two to four weeks during peak seasons, plus after any visible mold, heavy rain exposure, or a malfunction.
What if a reassembled feeder leaks seed or jams at night?
First verify all parts are seated fully and that the seals or threaded connections are tight and clean. A common cause is seed paste or a partial cross-thread, so remove the cap or tray again, wipe the mating surfaces, and re-tighten by hand first to avoid stripping or misalignment.
Next Articles
How to Assemble Roamwild Bird Feeder Plus Setup Tips
Step-by-step how to assemble a Roamwild bird feeder plus setup and quick fixes for similar models like Squirrel Buster a
How to Make a Tube Bird Feeder Step by Step
Step-by-step how to make a tube bird feeder with materials, safe mounting, maintenance, and fixes for leaks and clogs.
How to Put Bird Seed in a Bird Feeder Step by Step
Step-by-step guide to add bird seed to hopper, tube, platform, and suet feeders, avoiding spills and jams.