A platform bird feeder is one of the easiest feeders you can build in an afternoon, and it attracts the widest variety of birds of any feeder style. The basic design is a flat, raised tray that holds seed on an open surface. You can build a solid wood version from a single board in under an hour, or throw together a working feeder from a plastic bottle, milk jug, or pinecone if you want something even faster.
How to Build a Platform Bird Feeder Step by Step

Marcus Brennan
25 Apr 2026

If you want the full walkthrough, follow these how to build bird feeder steps for choosing materials, cutting, and hanging safely. This guide covers all of it: the wood build step by step, the quick-and-dirty alternatives, and exactly how to hang, place, and keep it clean so birds actually use it.
What a platform feeder is and why it works
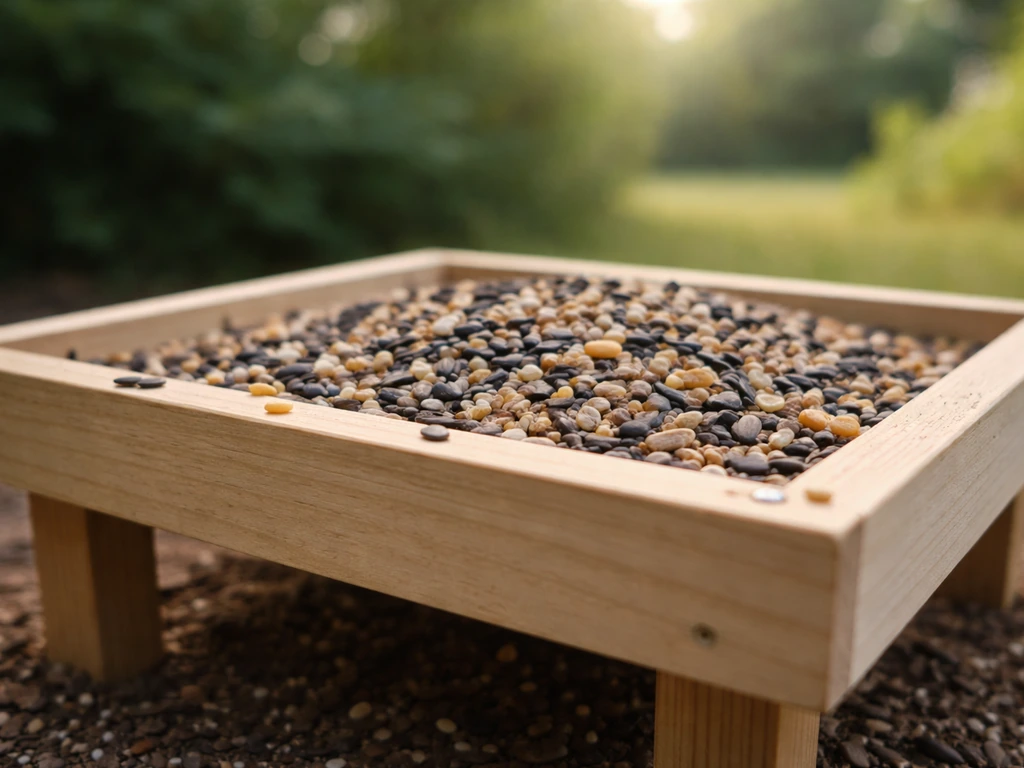
A platform feeder (also called a tray feeder or bird table) is any flat, raised surface where you spread bird food. That's it. There's no hopper, no tube, no perch rail required. Seed sits right on the open surface, which means birds can land from any direction and feed comfortably. That open design is why platform feeders attract the broadest mix of seed-eating backyard birds, from sparrows and juncos to cardinals, doves, and blue jays.
The trade-off is real exposure. Because the seed is open to the sky, it gets wet in rain, can blow around in wind, and is blank" rel="noopener noreferrer">easier for squirrels to raid than a tube or hopper feeder. Those are solvable problems with good placement and a simple drainage setup, but it helps to know going in that a platform feeder rewards a little extra attention. A covered version (sometimes called a platform feeder with roof) handles the weather issue well, but even a basic open tray works great if you site it well and check it after storms.
Platform feeders work well with almost any seed: mixed seed blends, black-oil sunflower seed, millet, safflower, and even shelled peanuts. Because birds feed directly off the surface, you're not limited by a port size or a tube diameter. Just spread what you want to attract and let the birds sort it out.
Materials and tools for the basic wood build
The simplest version uses one board and a handful of hardware. Here's what to gather before you start. Most of this can come from a single trip to a hardware store or from scrap wood you already have.
- One 30-inch length of 1x12 board (or a comparable piece of 3/4-inch exterior-grade plywood cut to roughly 12x12 inches for a square tray)
- Small trim pieces or thin strips of wood (about 3/4 inch tall) for the side rails that keep seed from blowing off
- Exterior-grade screws (1-1/4 inch and 3/4 inch sizes cover most needs)
- A pipe flange (3/4-inch size) if you plan to mount on a pole, or sturdy screw eyes and chain/wire for hanging
- Waterproof wood glue (exterior or marine grade)
- Hardware cloth (optional but useful for lining the tray bottom for drainage)
- Exterior clear varnish or a non-toxic wood sealant rated for outdoor use
- A drill and a few drill bits (including a small pilot hole bit)
- A saw (hand saw or circular saw)
- Sandpaper (medium and fine grit)
- Measuring tape and a pencil
Treated or naturally rot-resistant wood like cedar or redwood will last much longer outdoors than standard pine. If you're using pine from a scrap pile, seal it well and expect to touch it up annually. Avoid pressure-treated lumber for any surface birds will contact directly, as older formulas in particular can contain compounds you don't want near wildlife food.
How to build a wood platform feeder, step by step
This build takes about 45 to 90 minutes depending on your comfort level, and it produces a sturdy tray that will last several seasons with basic care.
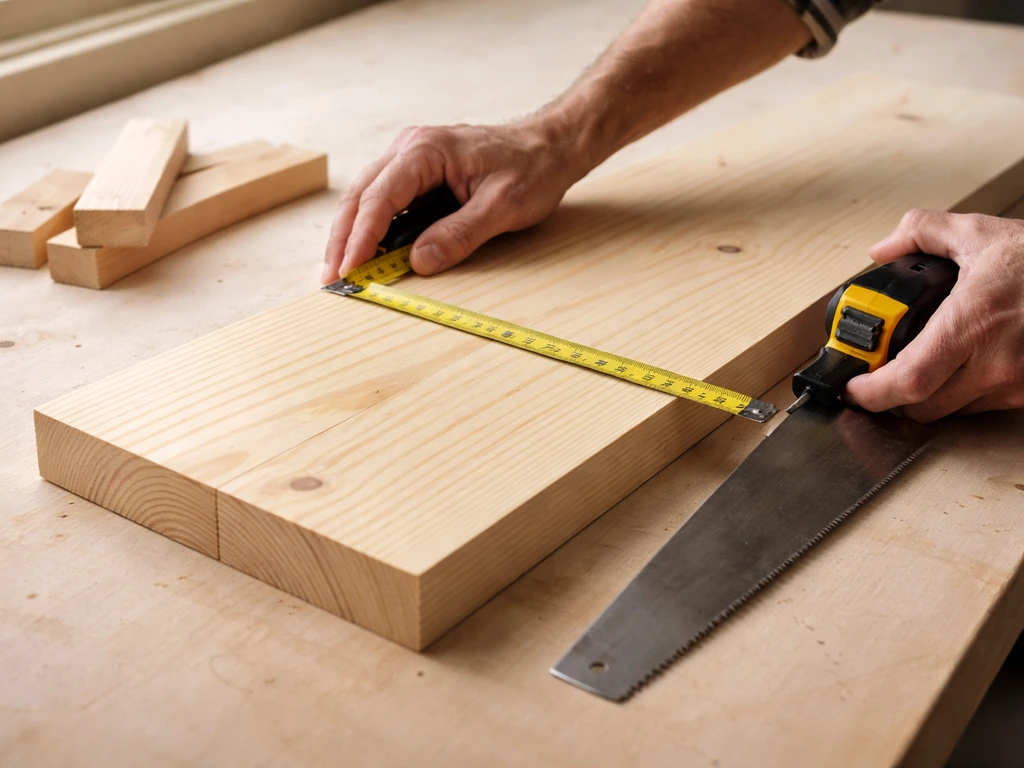
- Cut your tray base. If you're working with a 1x12 board, cut a 12-inch section to give yourself a square tray roughly 11-1/4 x 12 inches (standard 1x12 boards are actually about 11-1/4 inches wide). A 12x14 or 12x16 rectangle is also fine if you want more feeding room. Sand all cut edges smooth.
- Cut your side rails. Rip four strips of thin wood (about 3/4 inch tall and 3/4 inch wide) to match the perimeter of your tray. These keep seed from sliding off in a breeze. Miter the corners at 45 degrees if you want a clean look, or just butt them at 90 degrees for speed.
- Drill drainage holes before assembly. Use a 3/8-inch bit to drill 4 to 6 evenly spaced holes through the tray base. This is the single most important step for keeping seed dry and reducing mold. If you're lining the bottom with hardware cloth, cut the cloth slightly larger than the base opening and staple it on before adding rails.
- Pre-drill pilot holes for your rail screws. This is the step most beginners skip, and it's the reason rails split or pop off a month later. Use a bit slightly smaller than your screw diameter, drill through the rail and into the tray edge, then drive 1-1/4-inch exterior screws. Add a bead of waterproof glue at each rail joint before screwing for extra strength.
- Attach your mounting hardware. If you're going on a pole, center a 3/4-inch pipe flange on the underside of the tray and fasten it with 3/4-inch screws (short enough that they don't poke through the top surface). If you're hanging the feeder, drill two holes near opposite corners and install screw eyes rated for outdoor use.
- Sand the whole tray, including the rails and underside, working from medium to fine grit. Round off any sharp corners so birds won't catch a foot.
- Apply exterior finish. Two coats of a non-toxic exterior clear varnish or sealant protect the wood and make cleanup easier. Let it cure fully (usually 24 to 48 hours) before putting seed on it.
- Mount or hang the feeder, fill with seed, and you're done.
If a joint wobbles or a rail feels loose after the glue dries, don't stress it. Add an extra screw or a metal corner bracket on the underside. Platform feeders are forgiving to repair because the design is so simple. The goal is a flat, stable surface with drainage and no sharp edges, and there are a lot of ways to get there.
Alternative platform feeder builds (no woodworking needed)
If you want a working feeder today without any cutting or sanding, these three approaches use materials you probably already have. They won't last as long as a wood tray, but they'll attract birds by tomorrow morning.
Plastic bottle tray feeder
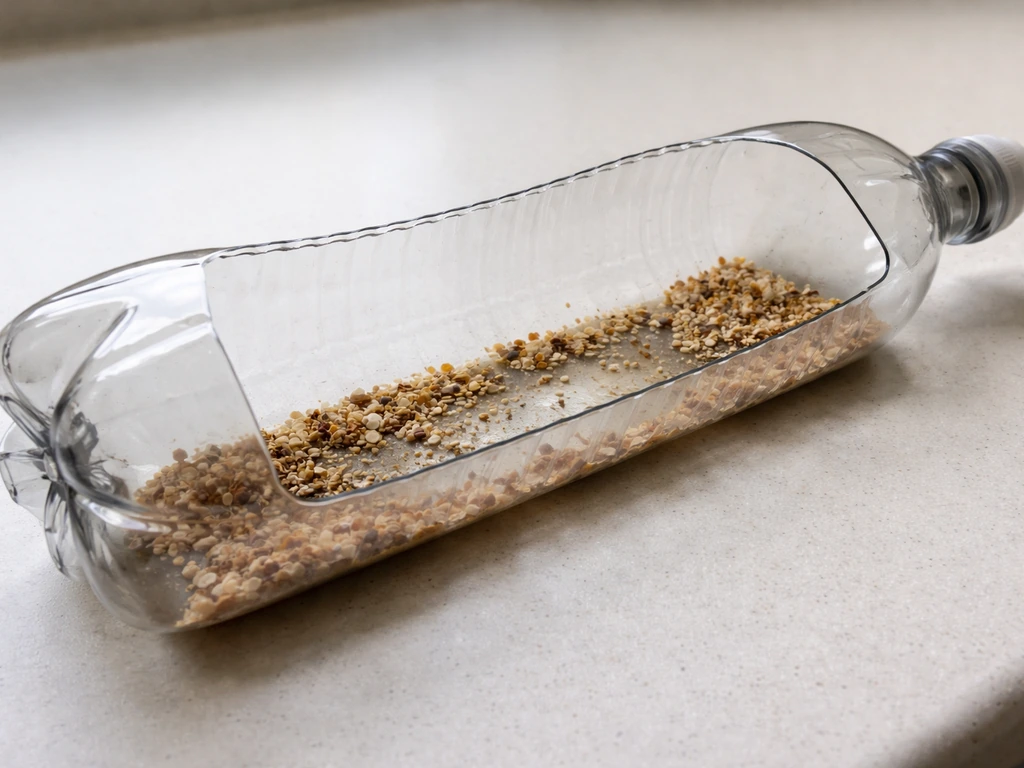
Take a large plastic bottle (a 2-liter soda bottle or a wide-mouth water bottle works well) and cut away most of one side lengthwise, leaving a shallow tray shape with the bottom and two short ends intact. The key is to file or tape down every cut edge so there are no sharp plastic points that could catch a bird's foot or beak.
Punch a few small drainage holes in the lowest point of the tray, then thread a length of cord or wire through two small holes at each end to hang it. Fill the tray with seed. It's genuinely simple, it costs nothing, and it functions exactly like a platform feeder because it creates a flat open surface for seed.
Milk jug platform feeder
A plastic gallon milk jug gives you a little more surface area and natural structure. Cut a large rectangular window out of one side (or two opposite sides for a pass-through tray style), leaving the bottom as your seed platform. Smooth all cut edges with a nail file or cover them with duct tape. Punch drainage holes in the bottom. Use the existing handle to hang it from a hook or branch. Milk jug feeders are especially good as a first test to see which birds visit your yard before you invest time in a wood build.
Pinecone feeder
This one is more of an enriched surface feeder than a flat tray, but it absolutely qualifies as a platform-style design: seed and fat are pressed into a raised, textured surface that birds feed directly from. Tie a length of twine around the top of a large, dry pinecone. Mix peanut butter or suet/lard with birdseed (sunflower chips, millet, or a basic mix all work) until you have a thick paste.
Press the mixture firmly into the scales of the cone, coating it generously. Hang it outside immediately or refrigerate it for an hour to firm up first. Woodpeckers, chickadees, and nuthatches especially love these. Pinecone feeders don't last long in heat or rain, so think of them as a short-term or seasonal option rather than a permanent setup.
Hanging, mounting, and placement
Where you put the feeder matters almost as much as building it. A platform feeder in the wrong spot will either go unused by birds or get raided constantly by squirrels.
Height and squirrel-proofing
Mount or hang the feeder at least 5 feet off the ground. Squirrels can jump surprisingly far, so also apply what bird enthusiasts call the 5-7-9 rule: keep the feeder at least 5 feet high, 7 feet away from structures like fences, decks, and sheds, and 9 feet clear of overhanging branches. If a squirrel can get above the feeder or jump to it from a nearby surface, it will. A shepherd's hook pole paired with a squirrel baffle (the dome-shaped shield that mounts below the feeder) is one of the most reliable setups. Position the baffle between 4 and 5 feet off the ground so squirrels can't reach above it.
Placement for bird activity
Birds feel safer feeding when there's cover nearby to retreat to quickly. Placing the feeder within about 10 feet of a shrub, hedge, or tree gives them a quick escape route and tends to increase how often they visit. At the same time, keep the feeder far enough from dense vegetation that cats can't use it as a stalking cover. Near a window is fine for watching birds, but position the feeder either within 3 feet of the glass (so a startled bird can't build enough speed to injure itself if it flies toward the window) or more than 10 feet away. That middle distance of 3 to 10 feet is where window collisions happen most often.
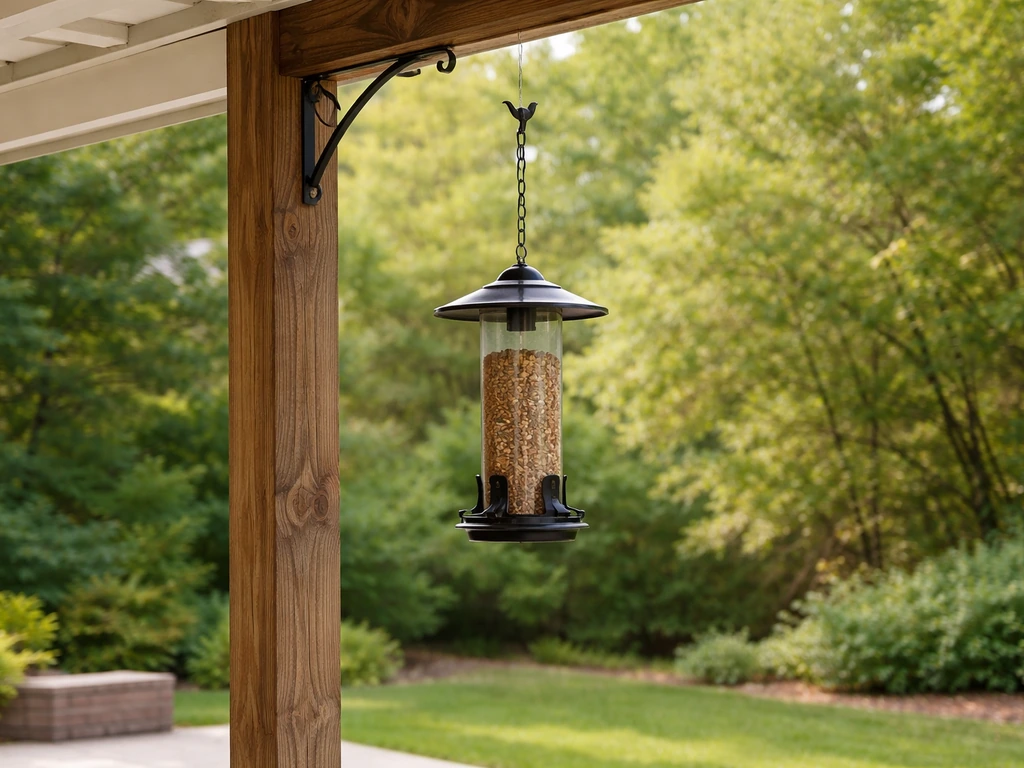
Hanging methods
For a hanging platform feeder, use two or four attachment points rather than one central hook. A single-point hang lets the tray spin and swing in wind, which spills seed and makes birds nervous. Running wire or chain from each corner to a central ring, then hanging from that ring, keeps the tray level and stable. Use stainless or galvanized hardware so it doesn't rust and stain the wood. For a pole-mounted feeder using the pipe flange method, screw the flange onto a 3/4-inch galvanized pipe set in the ground or inserted into a weighted base.
Cleaning, maintenance, and troubleshooting
A platform feeder that doesn't get cleaned regularly becomes a disease vector. Seed sits in the open, gets wet, mixes with droppings, and grows mold fast. This is the one area where a platform feeder needs more attention than a tube or hopper feeder, because nothing is enclosed or protected.
Cleaning routine
Clean the tray every two weeks as a baseline, and more often during humid weather or if you notice birds looking sick near the feeder. Remove all old seed and debris first, then scrub the surface with a stiff brush. Disinfect with a solution of no more than 1 part bleach to 9 parts water. Let the bleach solution sit for a few minutes, rinse thoroughly with clean water, and then let the feeder dry completely before you add fresh seed. Putting wet seed into a damp tray is the fastest way to grow mold and spread illness through your local bird population. The drying step is not optional.
Maintenance to extend the feeder's life
Check the wood finish once a year, usually at the start of spring. If the sealant is flaking or the wood feels soft or spongy anywhere, sand it back and reapply exterior varnish. Tighten any loose screws and check that the hanging hardware hasn't corroded. A feeder that wobbles is more likely to spill seed and more likely to tip over in a windstorm.
Troubleshooting common problems
| Problem | Likely cause | Fix |
|---|---|---|
| Seed gets wet and clumpy after rain | No drainage holes or tray is level with no runoff | Drill more drainage holes; tilt the feeder slightly or add a slight crown to the base so water runs off |
| Birds aren't visiting | Feeder is too exposed, too close to activity, or seed is wrong for local species | Move feeder closer to cover, try black-oil sunflower seed as a reliable all-species option, and give it a few days |
| Squirrels raiding constantly | Feeder is too close to a jump-off point or too low | Apply the 5-7-9 rule, add a baffle on the pole, or switch to a pole-mounted setup at 5+ feet |
| Mold or foul smell on tray | Seed sitting wet too long between cleanings | Increase cleaning frequency, improve drainage, and reduce fill quantity so seed is eaten quickly |
| Feeder swinging or tipping in wind | Single-point hang or shallow pole anchor | Switch to a four-corner hang with a central ring, or set the pole deeper and add a counterweight |
| Wood rails cracking or splitting | Screws driven without pilot holes or no waterproof glue at joints | Remove the rail, drill proper pilot holes, reattach with waterproof glue and screws, and seal the repair with exterior varnish |
If birds suddenly stop using a feeder they were visiting regularly, check the seed first. Wet or stale seed is often the culprit. Dump it, clean the tray, and refill with fresh stock. If the problem persists, look for signs of a predator nearby (cat prints, hawk activity) that may be making birds nervous about landing in that spot. Moving the feeder even a few feet can sometimes reset a location that birds have mentally flagged as risky.
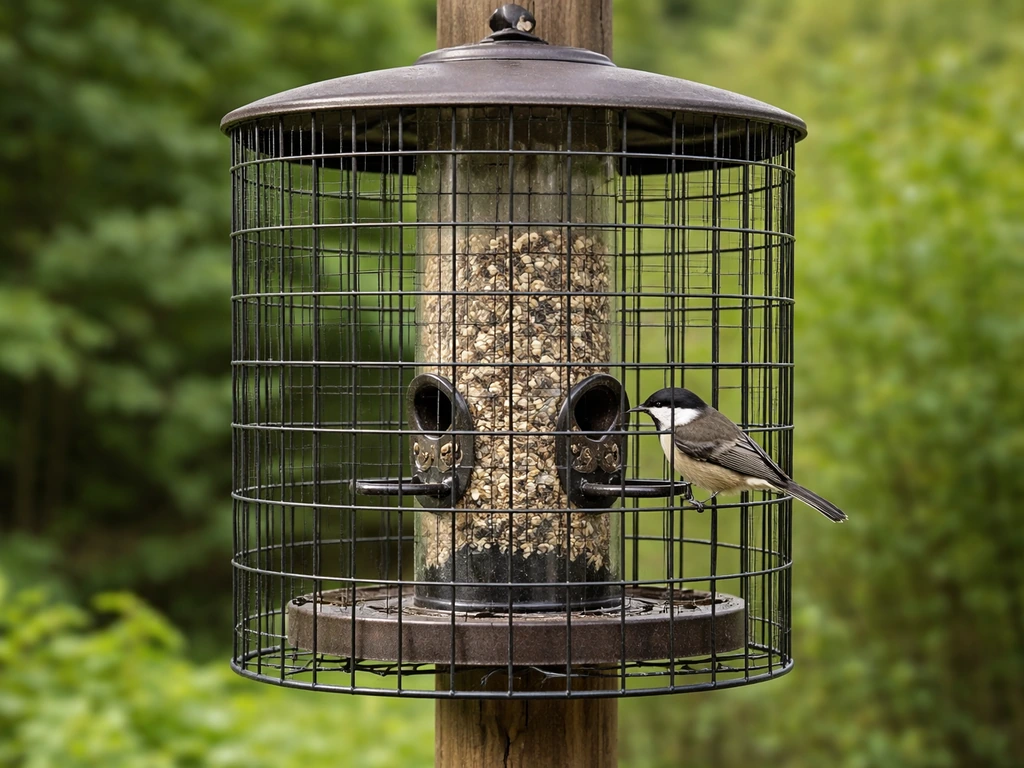
Once your platform feeder is up and working, it's a genuinely satisfying thing to have in the yard. The open tray design is the easiest starting point for any feeder project, and once you're comfortable with it, natural next steps include adding a roof to protect seed from rain, building a full feeding station with multiple feeder styles, or adding pest-proofing upgrades like a cage frame around the platform to keep larger birds and squirrels out without blocking the small species you actually want to feed. If you want to go beyond a single tray, follow our guide on how to build a bird feeding station with multiple feeder types building a full feeding station.
FAQ
How much seed should I put on a platform bird feeder so it does not mold or get soggy?
Use a seed type that matches the birds you want, but also spread it thinner than you think. Dense piles stay wet longer on a platform feeder, so try a light, even layer and refill after rain or heavy wind to reduce mold risk.
Can I use pressure-treated wood for a platform feeder if I seal it?
Avoid pressure-treated wood on the feeding surface, but sealing it can still matter. If you use rot-resistant wood, apply a wildlife-safe exterior finish on all sides and edges, then inspect annually for flaking, especially at corners where water collects.
Do platform bird feeders work in winter, and how should I adjust for freezing weather?
Yes, but only if the feeder stays dry. For winter use, switch to seed that tolerates cold (black-oil sunflower, safflower) and keep cleaning more frequent during thaw cycles, because wet feed then freezes and breaks apart into debris.
What should I do if birds stop using my feeder even though it is full?
If birds stop coming, do not keep adding more seed on top of old debris. Take everything out, scrub, disinfect, and refill with fresh seed, then wait a couple of days. Repeatedly topping off is a common reason platform feeders become ignored.
Are pinecone or fat-based platform-style feeders safe to leave out long term?
Pinecone and other temporary textured feeders can be used, but treat them as short-term. Their fat or paste can soften and fall off in warm weather, leaving a sticky mess that attracts ants and increases cleaning demands.
How do I prevent a platform feeder from swinging or spilling seed in strong wind?
For wind, stability beats aesthetics. Use multiple attachment points so the tray cannot rotate, keep the tray level, and consider adding a small lip or raised corners to reduce seed spill during gusts.
How often should I clean the feeder if I live in a humid area or get frequent rain?
Clean the tray more often if you see any clumping, darkened seed, or damp patches. Humidity and frequent drizzle are stronger predictors than season alone, so switch to weekly cleaning in those conditions and after any feeding day with heavy rain.
What is the best balance between giving birds cover and keeping predators away?
Feeders near shrubs help birds feel secure, but you still need a clear landing area for safe access. Aim for about 10 feet to cover, and remove or prune nearby dense growth that allows predators to hide right at the feeder height.
Even with good placement, squirrels still raid the feeder. What adjustments work best?
Yes, some squirrels will still learn. If you are seeing persistent raids, tighten the setup by using a squirrel baffle, confirm the feeder is at least 5 feet high and 7 feet from nearby structures, and avoid placing it where a roofline, tree limb, or fence edge gives a launch point.
What is the best way to reduce bird collisions when my feeder is near a window?
Window collisions usually happen when birds mistake reflections for open space. Use the “either very close or far away” rule (within about 3 feet of the glass, or more than 10 feet), and reduce reflective glare with curtains or temporary window film.
Next Article
How to Build a Cage Around a Bird Feeder for Squirrel Control
Step-by-step how to build a wire mesh bird-feeder cage for squirrels, with sizing, placement, tools, and maintenance tip