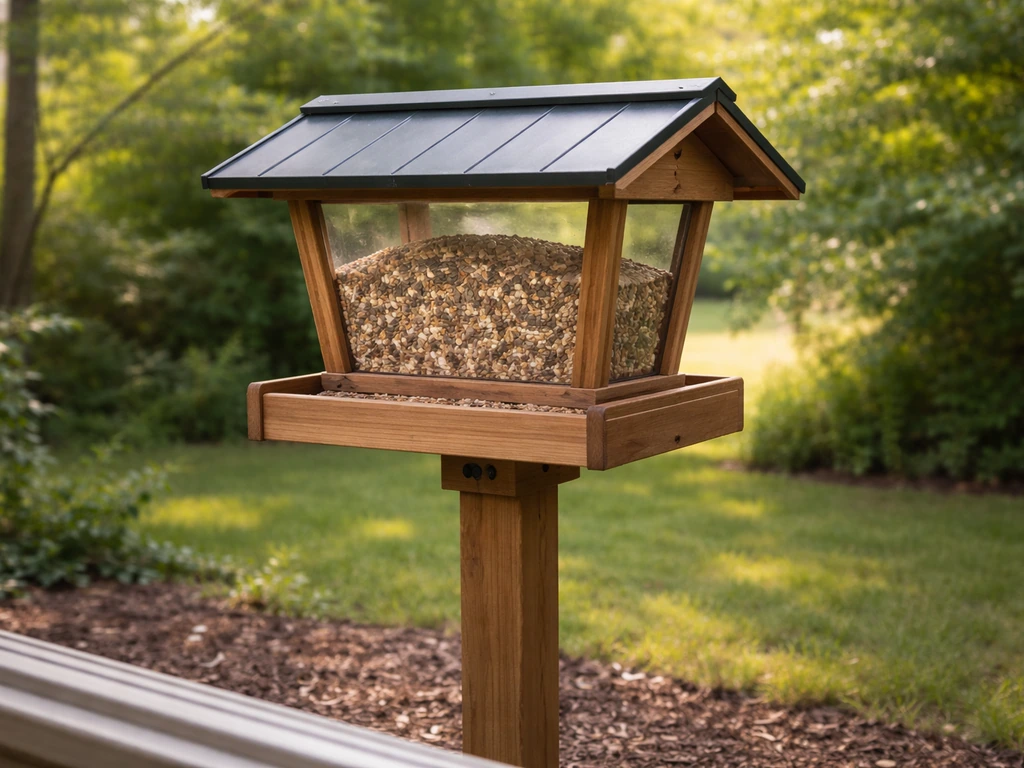
Build a small enclosed platform feeder with a roof and two entry holes sized around 1. If you want a similar approach but different access options, you can also compare this with how to make a bird feeder cage for a fully enclosed setup platform feeder. 5 inches, mount it on a pole 5 feet off the ground in an open grassy area, and fill it with live or dried mealworms twice a day. That setup gives bluebirds easy access while keeping starlings, sparrows, and squirrels out. The rest of this guide walks you through every step so you can have it built, mounted, and stocked today.
How to Build a Bluebird Feeder Today Step by Step
Marcus Brennan
9 Jun 2026
Platform feeder or bluebird house? Pick the right design first
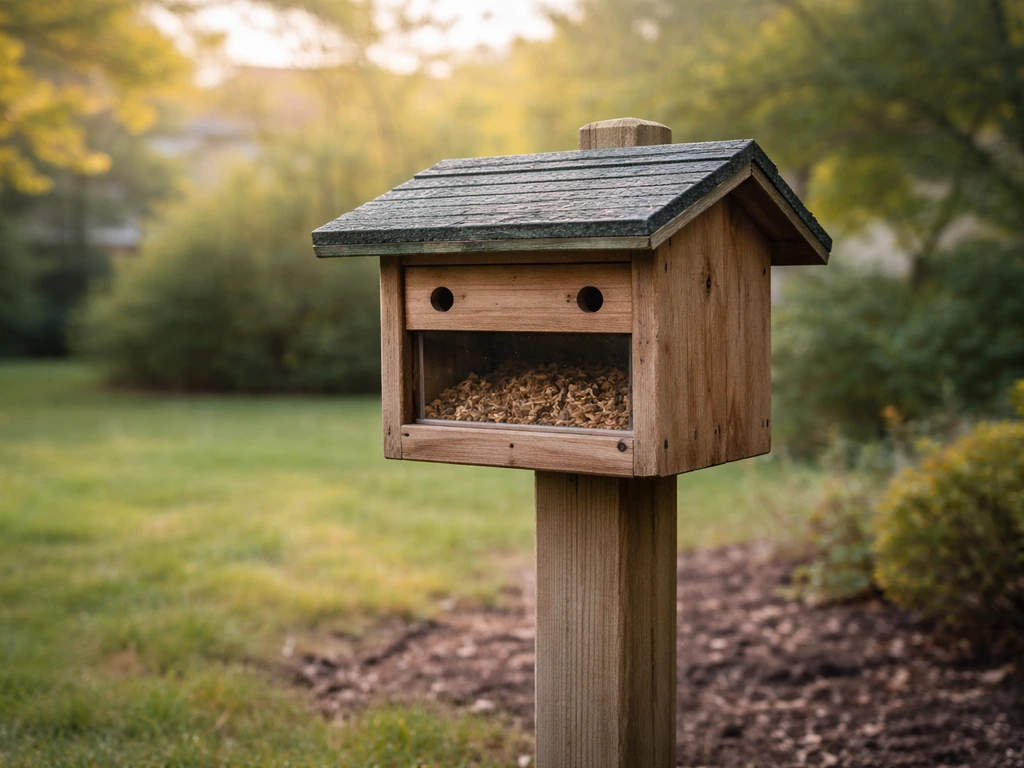
People sometimes search 'bluebird feeder' and mean a nesting box, but those are two different things. A nesting box is a shelter for raising young. A bluebird feeder is what you fill with food. UF/IFAS Extension also describes platform feeders as raised, flat surfaces onto which food is spread, which can help distinguish a “bluebird feeder” from other feeder styles blank" rel="noopener noreferrer">a bluebird feeder is what you fill with food. Bluebirds are not typical feeder birds. They don't go after seeds the way finches or jays do, so a standard tube or hopper feeder is useless to them. What works is a small, partially enclosed platform feeder. Think of it as a shallow tray with a roof and entry holes on the ends, sized to let a bluebird walk in but block larger birds like starlings.
A fully open platform feeder works too, and it's simpler to build, but it has two problems: rain soaks the mealworms quickly, and every bird in the yard can crowd in. The enclosed version takes maybe an extra 30 minutes to build and solves both problems. That's the design this guide focuses on. If your goal is really to make a big bird feeder, the same general building steps apply, just scale the platform dimensions up. If you've already built a blue jay feeder or a large open platform feeder, this is a smaller and more targeted version of that concept.
What you need: materials and tools
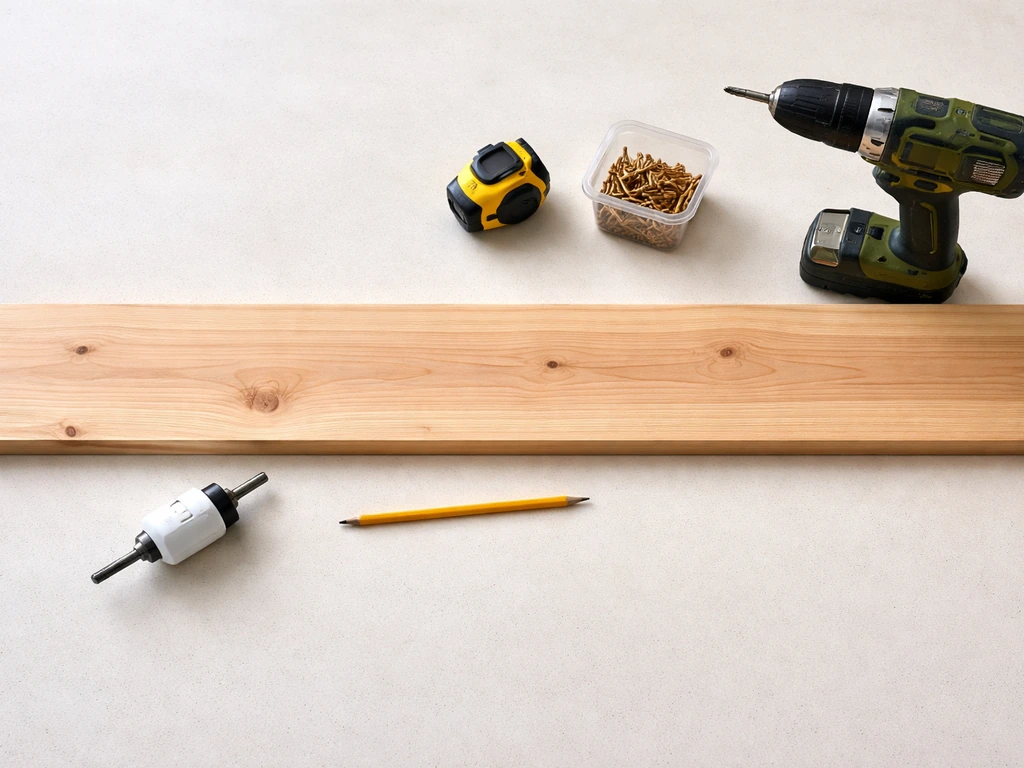
Cedar is the best wood for this project because it resists moisture and rot without needing paint or stain. Pine works fine too and is usually cheaper and easier to find. Avoid pressure-treated lumber since the chemicals can harm birds. One 6-foot cedar 1x6 board will give you almost everything you need. Here's the full list:
- One 6-foot cedar or pine 1x6 board (actual dimensions roughly 3/4 inch thick by 5.5 inches wide)
- One small piece of 1/4-inch hardware cloth or plastic mesh for the floor tray (about 4 x 8 inches) — this lets droppings and water fall through
- 1.5-inch exterior wood screws (about 20)
- Wood glue (optional but helps joints hold)
- One 1.5-inch hole saw drill bit for the entry holes
- Circular saw or hand saw for cuts
- Drill and drill bits
- Tape measure and pencil
- Sandpaper (80 and 120 grit)
- Exterior wood finish or linseed oil (optional, extends life)
- Mounting hardware: a metal pole bracket or flanged post mount if going on a pole, or heavy-duty screw hook if attaching to a post
Total material cost is usually under $20 if you have basic tools already. A 6-foot 1x6 runs about $8 to $12 at most hardware stores. The hole saw bit is the one specialty item you might need to buy or borrow.
Step-by-step build: measure, cut, and assemble
This build produces a feeder roughly 10 inches long, 6 inches wide, and 8 inches tall with a pitched roof. The whole thing takes about 1.5 to 2 hours including drying time if you use glue.
Cut your pieces
From your 1x6 board, mark and cut the following pieces. Label each one with a pencil as you go so you don't mix them up.
| Piece | Dimensions | Quantity |
|---|---|---|
| Floor/base | 10 inches x 5.5 inches | 1 |
| Side walls | 8 inches x 5.5 inches | 2 |
| End panels (with entry hole) | 6 inches x 5.5 inches, with a 1.5-inch hole centered 3 inches up from the base | 2 |
| Roof panels | 12 inches x 5.5 inches (overhang gives rain protection) | 2 |
Sand all cut edges before assembly, especially around the entry holes. Bluebirds land on and grip the hole edge when entering, so rough splinters are a real problem. Start with 80 grit to knock down any burrs, then finish with 120 grit for a smooth edge.
Drill the entry holes
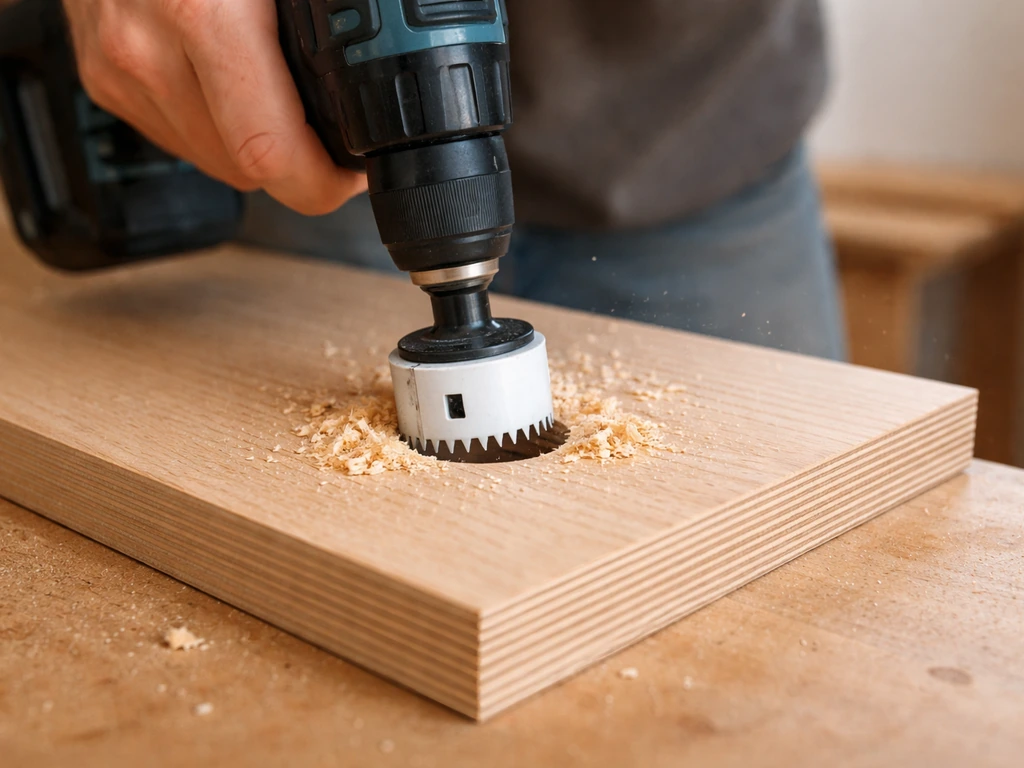
Use your 1.5-inch hole saw to drill one hole in each end panel. Center it horizontally and place it about 3 inches up from the bottom edge. A 1.5-inch opening is large enough for a bluebird to enter comfortably but tight enough to slow down most starlings. Do not add a perch below the hole. Perches are a common mistake. They give house sparrows a foothold and are completely unnecessary for bluebirds, which can cling to the hole edge or land inside the feeder directly.
Assemble the box
- Attach the two side walls to the long edges of the floor base. Use two screws per side, pre-drilling to avoid splitting the wood. The base sits inside the walls, not below them.
- Attach the two end panels to the ends of the assembled tray. Again, pre-drill and use two screws per panel.
- Cut a piece of hardware cloth or plastic mesh to fit inside the base area (about 4 x 8 inches). Staple or tack it down lightly so mealworms stay contained but droppings and water drain through. This is the mealworm tray.
- For the roof, angle the two panels so they meet at a ridge in the center. A simple pitch works: measure 6 inches from the base on each side piece and mark the ridge line, then cut a slight bevel on the top edge of each side wall if you want a tight fit, or just let the two roof panels lean together and screw them into a small ridge board (a scrap strip of wood, 10 inches long) at the top.
- Attach the roof panels to the top of the side walls using screws every 4 inches. The roof should overhang the ends by at least 1 inch to keep rain from coming in through the entry holes.
- Check that the box feels solid. Tighten any loose screws. If anything feels wobbly, a thin bead of exterior wood glue at the joints before the final tightening will help.
A common mistake at this stage is over-drilling and splitting the wood near the entry holes. If that happens, it's not a disaster. Fill the crack with exterior wood filler, let it cure, sand it smooth, and carry on. The birds won't care.
Where and how to mount it
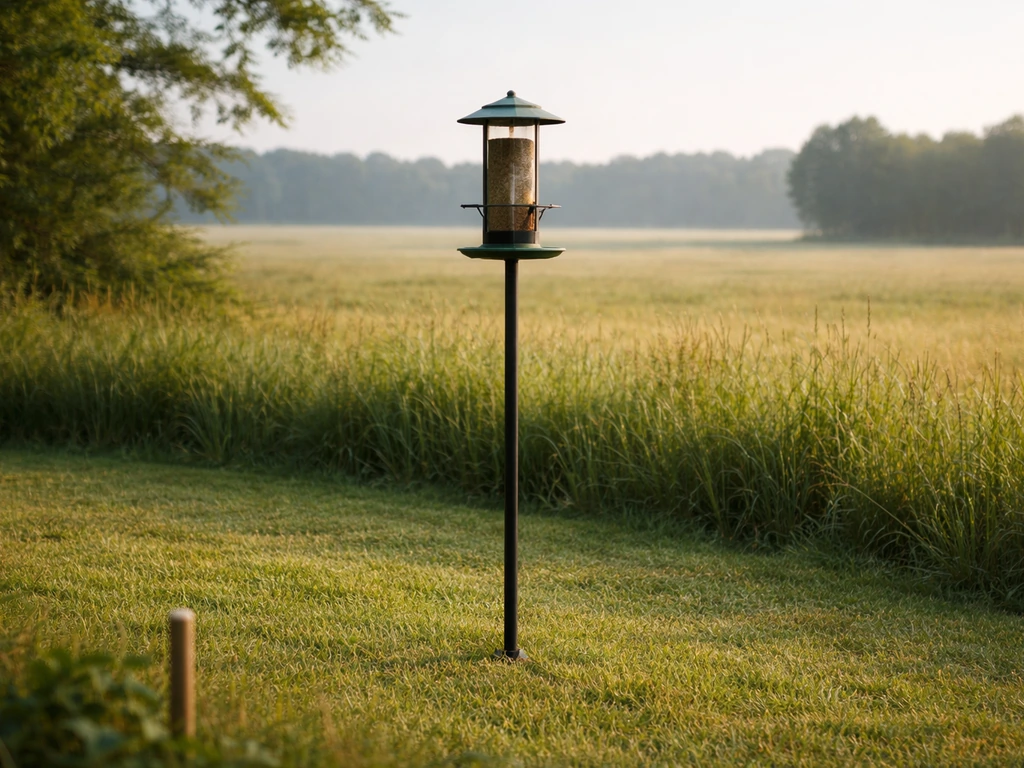
Placement matters more than most people expect. Bluebirds are open-country birds. They like mowed lawns, meadows, and open fields. Put your feeder at the edge of an open grassy area, not tucked into dense shrubs or under a tree canopy. A pole mount in the middle of a lawn is ideal.
For height and distance, follow the 5-7-9 approach: mount the feeder at least 5 feet off the ground, at least 7 feet from fences or deck railings, and at least 9 feet from overhanging branches. That combination makes it much harder for squirrels to reach it with a running jump or a drop from above. A smooth metal pole is better than a wood post for the same reason: squirrels struggle to grip smooth metal.
For weather protection, the overhanging roof you built handles most rain. But if your yard gets strong prevailing winds from one direction, orient the feeder so the entry holes face away from that wind. You can also angle the mounted pole slightly so the roof tilts toward the weather side. Bluebirds tolerate a range of temperatures, but mealworms spoil fast in heat and become sluggish in cold, so factor that into where you place the feeder seasonally.
What to put in it and how to feed
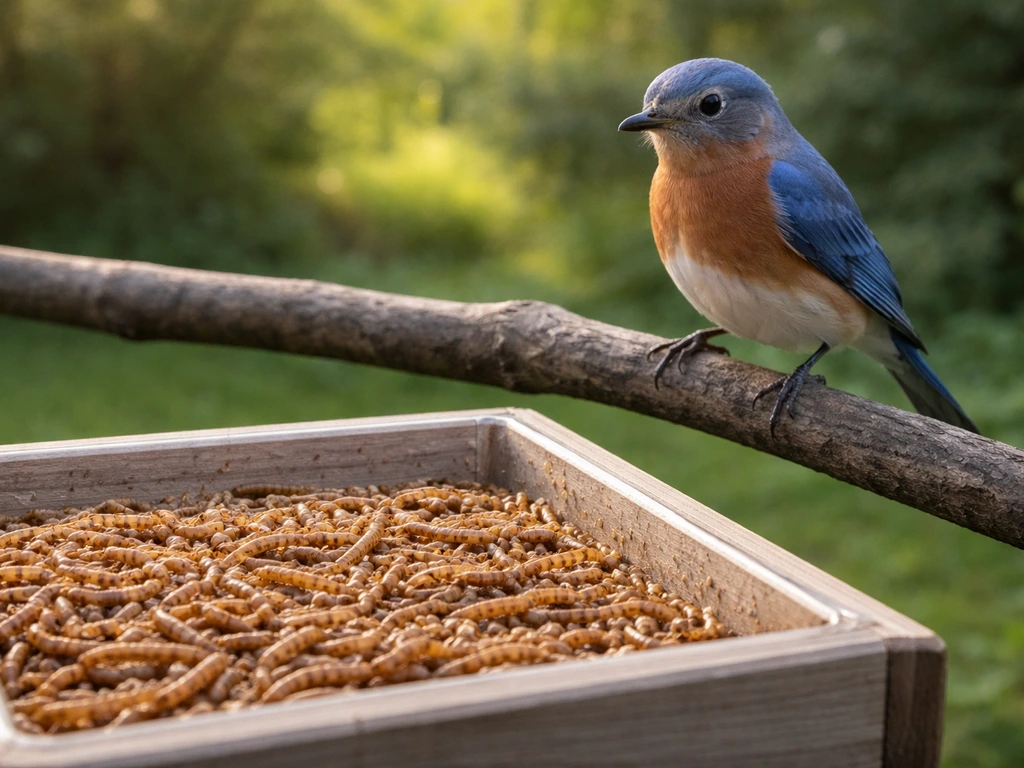
Mealworms are the single best food for bluebirds. Nothing else comes close. Bluebirds are primarily insect eaters, and mealworms replicate their natural diet perfectly. They'll eat them year-round, including in winter when natural insects are scarce. You have two practical options: live mealworms and dried mealworms.
| Type | Attractiveness to Bluebirds | Shelf Life | Cost | Notes |
|---|---|---|---|---|
| Live mealworms | Highest | 1+ month in fridge | Higher | Most effective for training bluebirds to the feeder initially |
| Dried mealworms | Good | Months in a sealed container | Lower | Convenient and still work well once birds are trained to the feeder |
Store live mealworms in a container with air holes in the refrigerator. Cold slows their metabolism and keeps them alive for over a month. Take out only what you need for each feeding. For dried mealworms, a sealed jar in a cool pantry is fine.
Offer mealworms just once or twice a day rather than keeping the feeder topped off all the time. Put out a small amount, maybe 20 to 30 mealworms per feeding, rather than a large pile. This keeps the food fresh, reduces waste, and lowers the chance that starlings or other birds find and empty the feeder before the bluebirds arrive. Put the mealworms directly into the mesh tray inside the feeder. The sides of the enclosure prevent them from crawling out, and a small glass or ceramic dish set inside the tray works even better since mealworms can't climb smooth walls.
Keeping out pests and unwanted birds
The biggest feeder threats for bluebird setups are European starlings, house sparrows, and squirrels. The enclosed design you just built handles a lot of this already, but there's more you can do. If you want to target blue jays specifically, you can use the same enclosed, anti-pest ideas as you choose a feeder style for their feeding habits blue jays feeder.
Dealing with starlings and sparrows
Starlings are large birds and can't comfortably fit through a 1.5-inch hole. If you ever see them forcing their way in or hovering at the entrance, consider reducing the hole to 1-3/8 inches, which is the minimum bluebirds need and is genuinely difficult for starlings. House sparrows are smaller and trickier. The most effective deterrent is removing the perch (which you already didn't add) and keeping the feeding times short and consistent so birds learn to expect food at specific windows rather than treating it as an all-day buffet. If sparrows persistently camp out at the entry holes, try temporarily moving the feeder to a different spot in the yard.
If starlings are a serious problem in your yard, Michigan DNR suggests a workaround where you retrofit the inside of the feeder with a secondary platform positioned just below the entry hole, which forces a bird to land and look down to find the food. Larger birds find this awkward; bluebirds adapt quickly.
Dealing with squirrels
The pole placement distances described earlier handle most squirrel access. Adding a squirrel baffle below the feeder on the pole is the other key step. A dome or cylinder baffle mounted about 4 feet up the pole stops climbing squirrels cold. If you're on a budget, a large plastic bowl zip-tied upside down to the pole works surprisingly well as a DIY baffle. Avoid hardware cloth as part of your feeder surface because birds' feet can catch in the mesh openings.
Keeping it clean and adjusting by season
A dirty feeder spreads disease among birds that visit frequently. Mealworms go rancid fast in warm weather, and feces builds up in the tray. Clean the feeder at least once every one to two weeks during active feeding season, and more often in summer heat.
For cleaning, take the feeder apart if possible. Wash all surfaces with hot soapy water, then rinse with a dilute bleach solution (about one part bleach to nine parts water), then rinse again thoroughly with plain water and let it air dry completely before refilling. A dishwasher on a hot cycle works well too if your feeder fits and has no metal mesh stapled in place. Never put food back into a damp feeder. Moisture accelerates mold and makes mealworms die faster.
Seasonal adjustments
- Spring and summer: Feed twice daily. Bluebirds are nesting and raising young and need high protein. Live mealworms are worth the extra cost during this period.
- Fall: Bluebirds start to prepare for winter or migrate. Keep offering mealworms but reduce the quantity slightly. This is also a good time to do a thorough cleaning and check the feeder for any weathering or cracked joints.
- Winter: In regions where bluebirds overwinter, they still eat mealworms. Cold-weather feeder placement matters more now. If possible, move the feeder to a slightly more sheltered spot out of the wind. Dried mealworms are fine for winter since live ones go sluggish in the cold anyway.
- After long rain periods: Check the tray inside the feeder. Even with a mesh bottom, debris and moisture accumulate. A quick rinse and dry takes five minutes and prevents mold.
One more thing worth knowing: bluebirds can take a week or two to find and trust a new feeder. Don't give up if nothing visits on day one. Place the feeder near where you've seen bluebirds foraging, scatter a few mealworms on the ground nearby as a visual cue, and be consistent with your feeding times. Once a bluebird finds it, they almost always come back.
FAQ
Can I build this feeder using scrap wood or a different board thickness? (What minimum size needs to stay the same?)
Yes, but only if the design still lets bluebirds enter and reach the mealworms without “all-day” access. Add food windows by feeding once or twice daily at consistent times, and remove any leftover mealworms afterward. If you use mesh or dish inserts, make sure they are easily removable so you can clean them quickly after each feeding.
What should I do if I cannot place the feeder 9 feet from overhanging branches?
If your yard is heavily wooded, prioritize the entry opening angle and maintain the 5-7-9 distances. A feeder tucked under branches becomes harder for bluebirds to approach and easier for squirrels to ambush from above. If you cannot reach 9 feet from overhanging branches, use more open placement or extend the pole so the roof and holes sit farther out from the canopy.
How many mealworms should I put out, and how do I know if the amount is too high?
Start with 20 to 30 mealworms per feeding, then adjust based on what you see in 2 to 3 days. Bluebirds usually do not empty a properly sized enclosed feeder quickly, so if starlings are arriving early or the tray is wiped out before bluebirds show up, reduce portions and shorten feeding duration.
What foods can I substitute if I cannot get mealworms right away?
Do not switch to bread, seed mixes, or birdseed cakes for bluebirds. Bluebirds are insect eaters, so mealworms are the core food. If you run out of mealworms for a short gap, your best move is to pause feeding rather than substitute with seeds that attract the wrong species and create a crowding problem.
I have house sparrows camping at the holes, even without a perch. What else can I change?
If you see sparrows repeatedly sitting at the entrance, remove any nearby perching opportunities (including plant stems or fence caps) within the bluebirds approach path. Then keep feeding times short and consistent for about a week so they learn the schedule. If it still fails, temporarily move the feeder to a different open edge area.
Can I use dried mealworms year-round, or is live better in certain seasons?
Yes, but handle mealworms carefully and keep the feeder dry. Use dried mealworms in cooler, wetter periods because they spoil more slowly than live ones. For live mealworms, reduce exposure time in warm weather, and ensure the roof overhang is directing rain away from the entry holes and tray area.
What if bluebirds can use the feeder but starlings keep hovering or trying to enter?
If you want to target bluebirds, treat the hole size as “tight by design.” A hole that is slightly too large can let starlings force their way in. If you notice starlings repeatedly testing the entrance, reduce toward 1-3/8 inches (only if your build allows an easy retrofit), then wait a few days to confirm that bluebirds still enter comfortably.
How do I adjust cleaning frequency if it rains a lot or temperatures spike?
Clean on a faster schedule during hot weather, especially if you notice smell, sliminess, or visible buildup. A practical rule is to clean after any wet weather that drives moisture into the tray, and then return to your 1 to 2 week cadence only if things stay dry and odor-free. Never refill into a damp tray.
How long should I wait before I assume the feeder is not working?
Yes, but avoid relying on the feeder to “teach itself” without time. Bluebirds can take 1 to 2 weeks to trust a new setup, so keep the placement and schedule consistent, and remove any leftover mealworms between feedings to reduce odor cues. If no activity appears after that window, relocate closer to known bluebird foraging areas and try again.
Next Article
How to Make a Big Bird Feeder: Step-by-Step Guide
Step-by-step guide to build a large bird feeder, choosing size, materials, mounting, weatherproofing, and troubleshootin