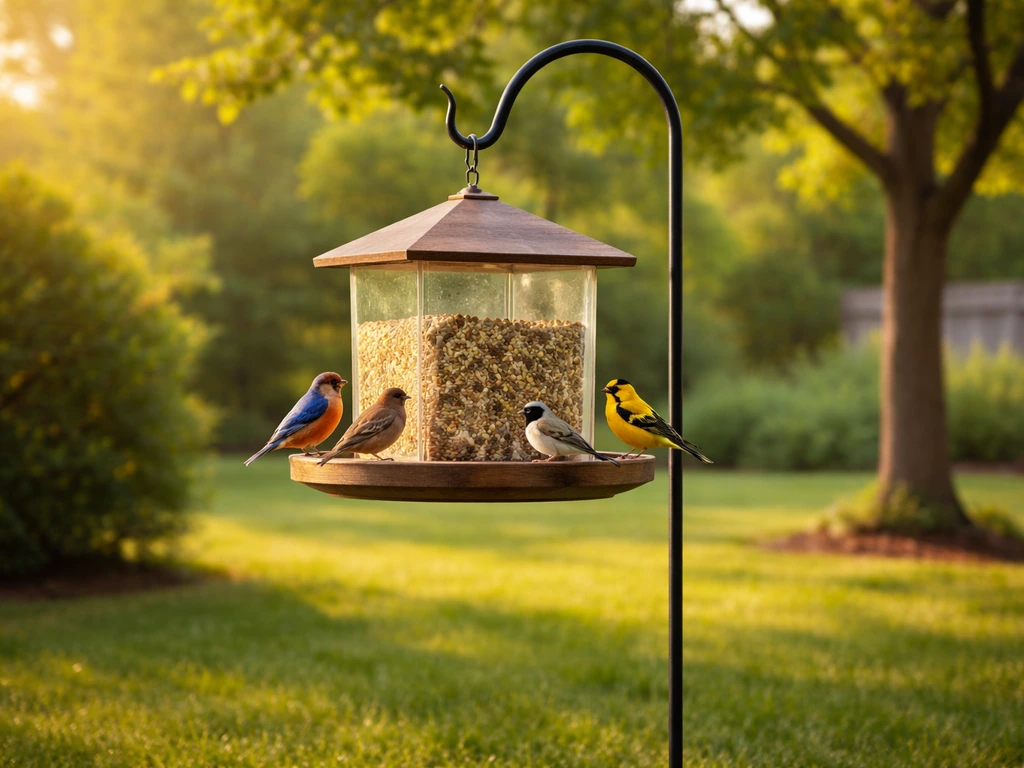
Pick your feeder type, grab a hook or pole, find a spot at least 10 feet from trees and squirrel-jumping-distance away, and mount it at eye level or slightly above. If you are still figuring out the basics, start with this guide on how to use a bird feeder safely and effectively. That is the core of it. The details below will help you do it right the first time, whether you are hanging a standard tube feeder, sticking a window feeder to your glass, or setting up a smart camera feeder with an app. Next, learn how to open bird feeder parts and refill correctly so it stays safe and easy to use.
How to Install a Bird Feeder Step-by-Step Guide

Marcus Brennan
29 Apr 2026
Choosing the right feeder type before you install anything
The type of feeder you pick will determine everything else about installation, so it is worth spending two minutes on this before you buy hardware. There are three main types you will run into: standard outdoor feeders, window feeders, and smart feeders. Each one mounts differently and comes with its own quirks.
| Feeder Type | Best For | Mounting Method | Main Tradeoff |
|---|---|---|---|
| Standard outdoor feeder | Most backyards, all skill levels | Hanging hook, shepherd's crook pole, or tree branch | Squirrels can be a problem without a baffle |
| Window feeder | Small spaces, apartments, close-up bird watching | Suction cups directly on glass | Weight limits are strict; needs frequent cleaning |
| Smart feeder (e.g., Bird Buddy, Birdfy) | Tech-savvy birders who want photos and AI ID | Pole, hook, or included stand plus Wi-Fi/app setup | Needs charging or solar; requires 2.4 GHz Wi-Fi nearby |
My honest recommendation: if you are just getting started, go with a standard tube or hopper feeder on a shepherd's crook pole. It is the easiest to install securely, the easiest to clean, and you can add a squirrel baffle later. Window feeders are great for renters or anyone without yard space, but they need more maintenance because birds eat and poop in the same small tray. Smart feeders are genuinely fun, but set one up only if you have reliable Wi-Fi reaching your yard and you are comfortable with an app pairing process.
Tools and materials you will actually need
Most installs take under 30 minutes. Here is what to gather before you start, split by feeder type so you are not hunting around mid-project.
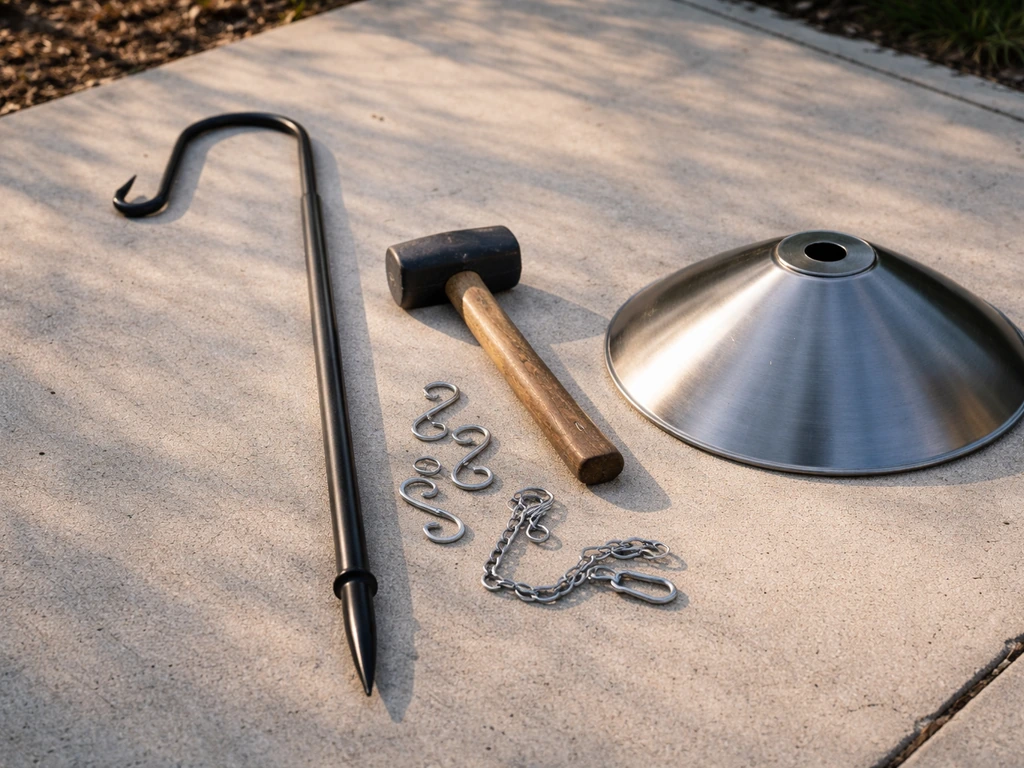
For a standard outdoor feeder
- Shepherd's crook pole or deck hook bracket (a 7-foot crook pole is the most versatile starting point)
- Rubber mallet or hammer for driving the pole into the ground
- S-hook or chain (most feeders include one, but have a spare)
- Squirrel baffle, either a cylindrical wrap-around baffle for the pole or a dome baffle to hang above the feeder
- Level (optional but helpful for pole alignment)
- Work gloves
For a window feeder
- Window feeder with suction cups (check that cups are at least 2 inches in diameter for better hold)
- Glass cleaner and a lint-free cloth
- A small amount of olive oil or cooking oil (improves suction cup seal significantly)
- Optional: window hook bracket if the feeder includes a hanging hook rather than direct suction cups
For a smart feeder
- Smart feeder unit (Bird Buddy, Birdfy Feeder 2, or similar)
- Pole, hook, or the feeder's included mounting hardware
- Charging cable (for models like the Birdfy Feeder 2 that charge indoors before outdoor use)
- Smartphone with Bluetooth and 2.4 GHz Wi-Fi access
- The brand's app downloaded before you go outside (Bird Buddy app or Birdfy app from App Store or Google Play)
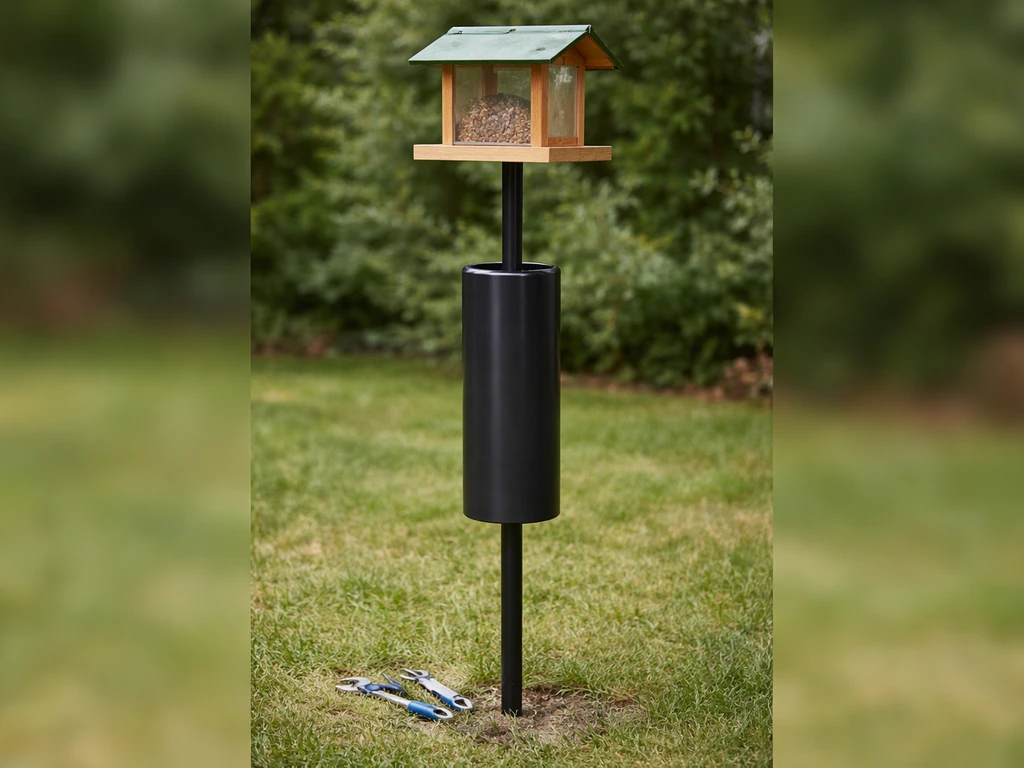
How to install a standard outdoor bird feeder, step by step
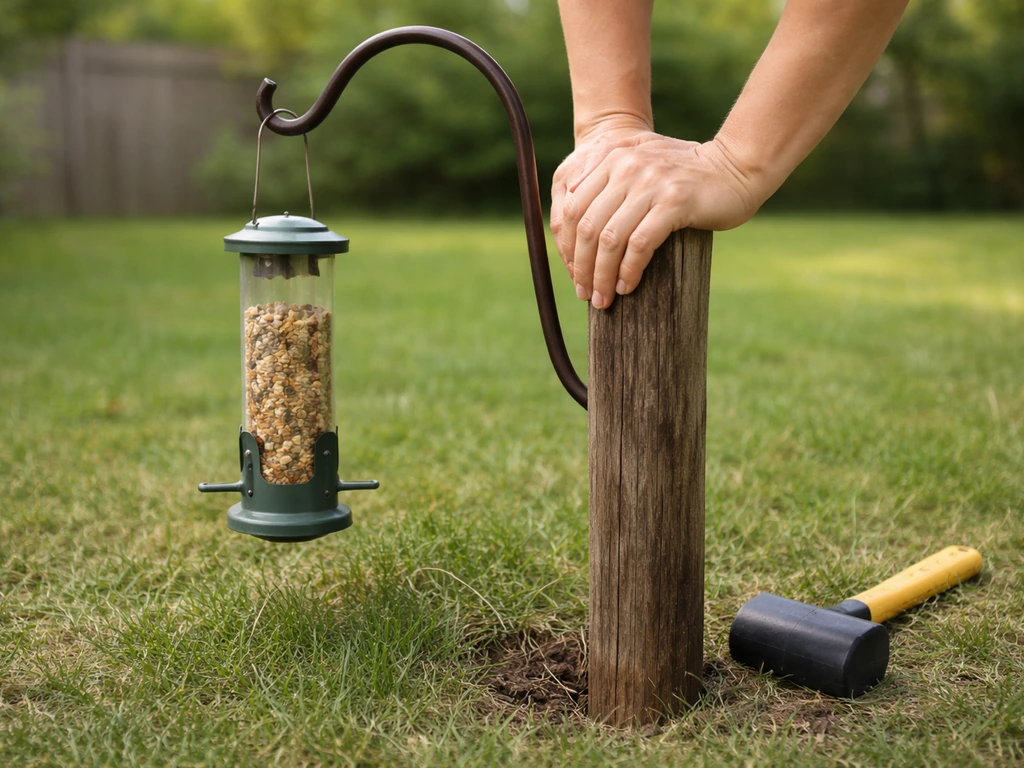
This covers the most common setup: a tube, hopper, or platform feeder hung from a shepherd's crook pole in the yard. Budget about 20 to 30 minutes for the first install.
- Pick your spot first. You want the feeder at least 10 feet from fences, trees, or anything a squirrel can launch from. More on exact placement in the section below, but nail this before you commit to a pole location.
- Push the shepherd's crook pole into the ground. Most poles have a pointed base for this. Drive it in with a rubber mallet until it feels firm, at least 12 inches deep for a 7-foot pole. Check it is reasonably plumb by eye or with a small level.
- Attach your squirrel baffle to the pole before hanging the feeder. If you are using a cylindrical pole baffle, slide it onto the pole and position it so the top of the baffle sits at least 4 feet off the ground. That height is important because squirrels can jump from low ground level right over a baffle that is too close to the soil.
- Hang the feeder using an S-hook through the pole's crook. Make sure the hook is fully closed or crimped so wind cannot bounce the feeder off.
- If you are using an above-feeder dome baffle instead, hang the dome first from the crook, then suspend the feeder 8 to 10 inches below the bottom of the baffle. That gap is the sweet spot recommended by Perky-Pet for their transparent baffle, and it holds true for most dome designs.
- Fill the feeder with seed before raising it to full height if possible. Carrying a full feeder up to a high hook is awkward and messy.
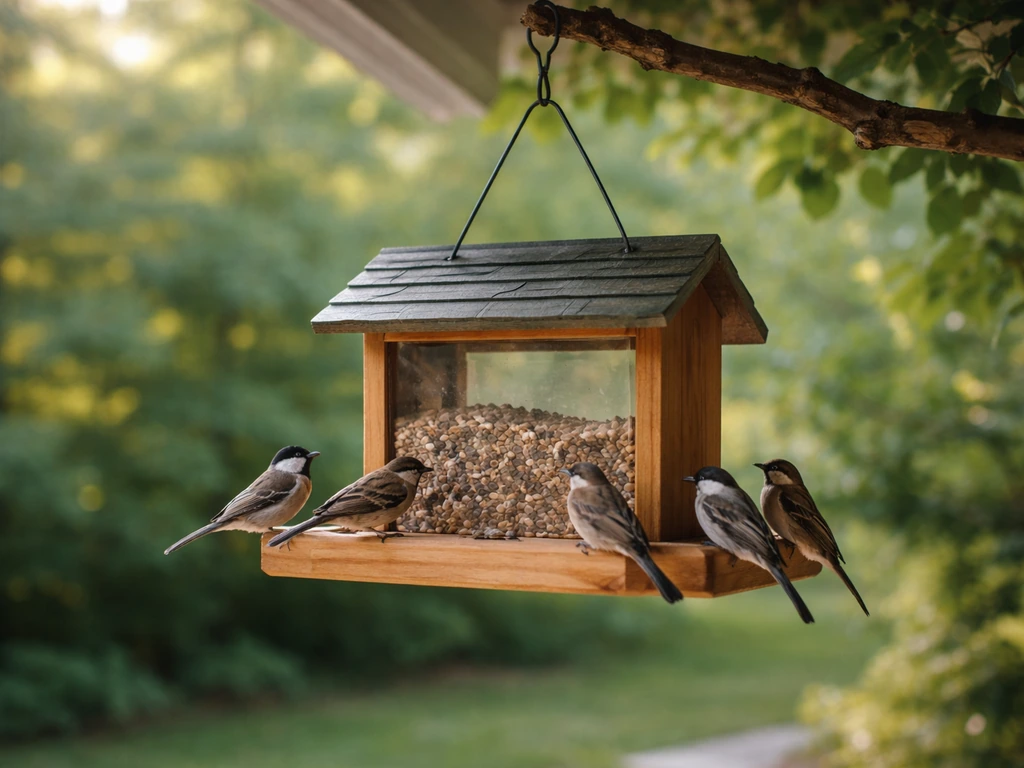
- Step back and watch. Birds typically take anywhere from a few hours to a couple of weeks to find a new feeder, depending on your yard's existing bird traffic.
How to install a window bird feeder, step by step
Window feeders are simple in concept but easy to mess up because a suction cup on a dirty window will fail within days. The prep work is the whole job here.
- Choose the right window. You want a window you can easily open or access from outside for refilling and cleaning. A kitchen window or one near a door works well. Avoid textured glass because suction cups will not seal properly on it.
- Clean the glass thoroughly. Wipe the spot where the suction cups will go with glass cleaner and a lint-free cloth. Any grease, dust, or streaks will prevent a good seal. Rinse the suction cups themselves with warm water.
- Apply a tiny drop of olive oil to each suction cup. This sounds odd but it genuinely works. Both Perky-Pet and Coopers of Stortford specifically recommend this in their window feeder instructions. The oil helps the cup form a tighter vacuum seal with the glass. You only need a thin film, not a glob.
- Press each suction cup firmly onto the glass and twist slightly to push out any trapped air. Hold pressure for a few seconds.
- Check the weight rating on your feeder and do not exceed it. Even a well-mounted suction cup will fail if you overload it with seed. Fill the tray lightly at first, especially on hot days when suction can weaken.
- Position the feeder where you can see it clearly from inside. That is the whole point of a window feeder, and it is motivating to check on it.
- Re-check the cups after the first 24 hours and press them in again if needed. New cups often benefit from a second press-in.
One critical placement note for window feeders specifically: place the feeder either within 3 feet of the glass or more than 30 feet away from it. This is a bird safety rule, not just a preference. A bird that takes off from a feeder close to the glass does not build enough speed to be seriously hurt if it clips the window. A feeder 30 feet out means birds have plenty of reaction time. The dangerous middle zone is 3 to 30 feet, where birds approach at full speed but are still close to the glass.
How to set up a smart bird feeder, step by step
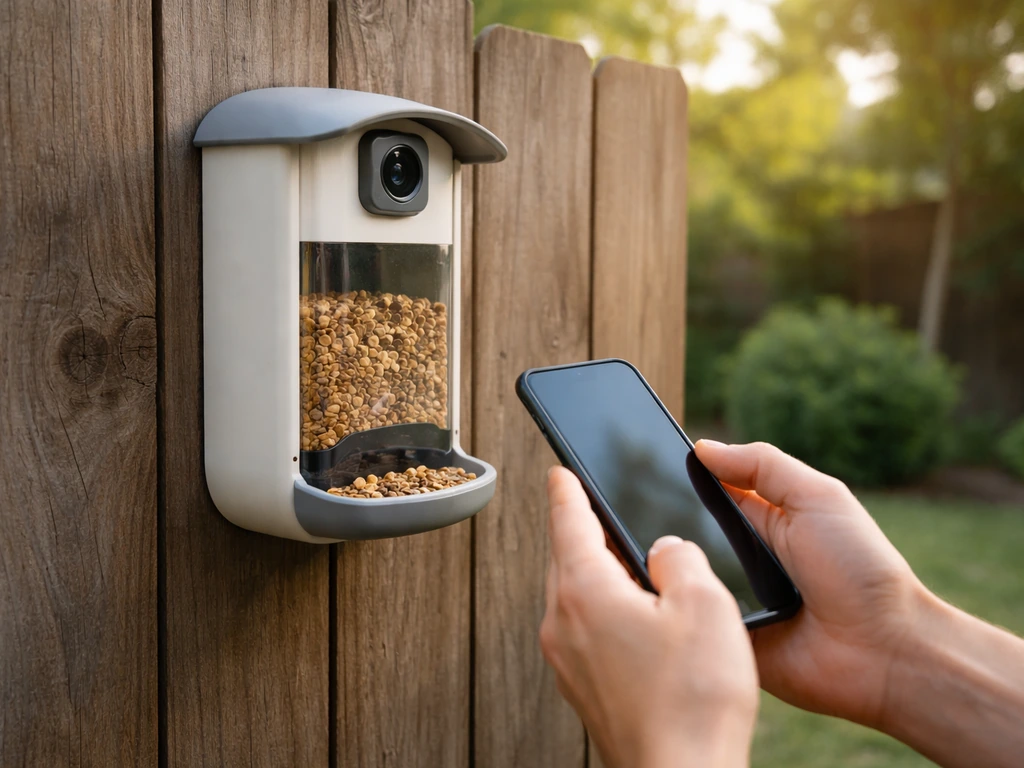
Smart feeders like the Bird Buddy or the Birdfy Feeder 2 are basically a regular feeder with a camera module that identifies visiting birds through an app. The physical mounting is the same as any standard feeder, but there is a device pairing and power setup that trips people up if they try to do it all outside. If you’re using a smart feeder, follow the smart feeder setup steps so the camera, app pairing, and power are configured correctly.
- Charge the unit indoors before going outside. The Birdfy Feeder 2, for example, has a built-in battery charged via cable. The Bird Buddy uses a 4000 mAh rechargeable battery. Get a full charge before mounting so you are not troubleshooting power issues on day one.
- Download the brand's app on your phone before you leave the house. For Bird Buddy, that is the Bird Buddy app. For Birdfy, download the Birdfy app from the App Store or Google Play. Both have QR codes in the box if you need them.
- Pair the device from inside or near your router first, not from the final outdoor spot. Bird Buddy pairs through the app itself, not through your phone's Bluetooth settings directly. Follow the in-app prompts, which will have you hold a button on the device to enter pairing mode. Birdfy uses the same general approach with on-screen prompts guiding the Wi-Fi connection.
- Use your home's 2.4 GHz Wi-Fi network, not the 5 GHz band. Smart feeders do not support 5 GHz, and this is the single most common setup failure. If your router broadcasts a combined network, check the app or your router settings to make sure you are connecting to 2.4 GHz.
- Once paired and updated, physically mount the feeder using a pole or hook just as you would a standard feeder. Place it where your Wi-Fi signal reaches. If you have a Birdfy Feeder Metal, the troubleshooting guide notes that pointing the camera toward your router can improve signal reception, so keep that in mind when choosing the direction the camera faces.
- Open the app and set your feeder's location. For Bird Buddy, this location data is used to calculate sunrise and sunset times for the deep sleep battery-saving mode, which kicks in automatically up to one hour after sunset and turns off up to one hour before sunrise.
- Fill the feeder, step back, and wait. The app will notify you when the camera detects a visitor.
Where to place your feeder for the best results
Placement is where most people make their first mistake, and it is also where you can fix a lot of problems without buying anything new. Here are the things that matter most.
Distance from squirrel launch points
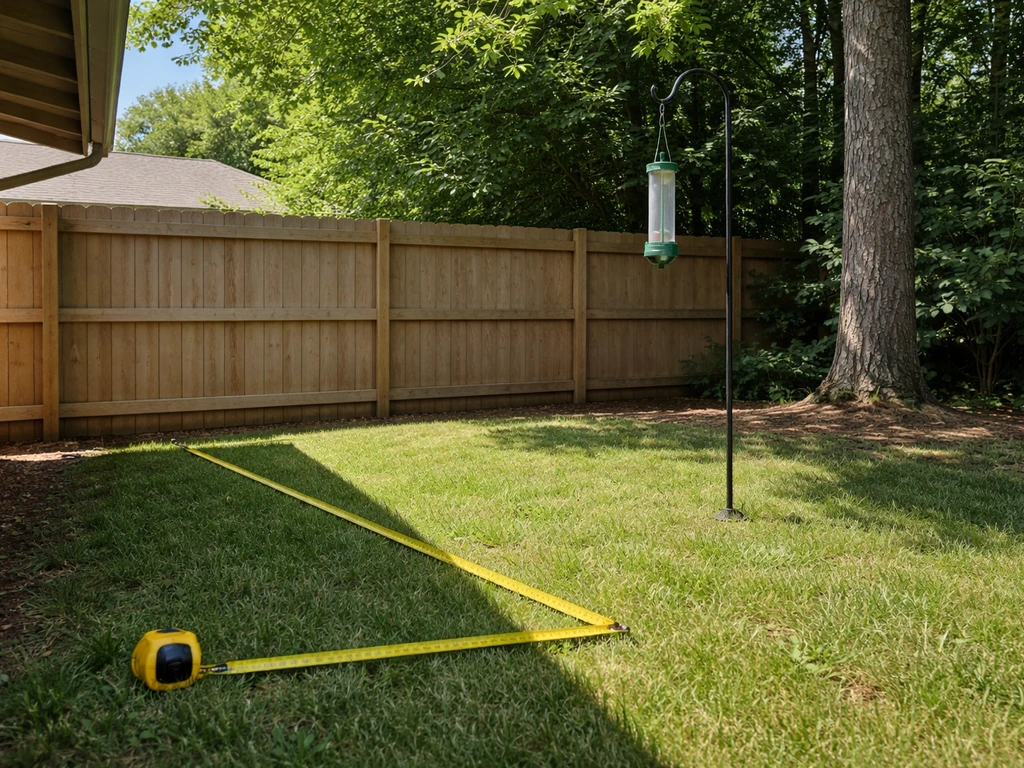
Squirrels can jump roughly 10 feet horizontally and drop down from above. Keep your feeder at least 10 to 12 feet from any tree, fence, roof overhang, or deck railing. If that is not possible in your yard, a pole-mounted baffle becomes essential rather than optional.
Height off the ground
Most standard feeders work best mounted 5 to 6 feet high. That is comfortable for you to refill without a ladder and high enough to keep ground predators from being an immediate problem. If you are using a pole baffle, remember the baffle top needs to be at least 4 feet up, so plan your pole height accordingly.
Accessibility for you, not just birds
This one is underrated. The Michigan DNR makes a point of it: blank" rel="noopener noreferrer">pick a location you can reach easily year-round, including in winter when the ground is muddy or icy. A feeder you have to trudge through snowdrift to reach will go unfilled for days, which defeats the purpose. Close to a path, patio, or garden bed you already visit regularly is ideal.
Window collision distance (the 3-foot or 30-foot rule)
As mentioned in the window feeder section, place any feeder either within 3 feet of glass or beyond 30 feet from it. The reflection in glass can look like open sky to a bird flying at speed, and the 3-to-30-foot middle zone is where the most collisions happen. This applies to your standard outdoor feeder placement near the house, not just window feeders.
Shelter nearby, open space immediately
Birds feel safer feeding when there is cover (a shrub, a hedge, a tree) within about 10 to 15 feet to dart to if a predator appears. But the feeder itself should be in open space so you can see it and so cats cannot crouch right underneath it. That combination of nearby shelter plus open immediate surroundings is the sweet spot.
Keeping it going: maintenance checklist after installation
A freshly installed feeder that goes unchecked for weeks becomes a mess of moldy seed and a disease risk for the birds you are trying to help. The BirdNET fact sheet (citing CDC 2026 data) makes clear that feeder hygiene is directly tied to disease risk for wild bird populations. This checklist keeps it manageable.
Weekly tasks
- Check seed levels and refill with fresh seed. Do not just top off old seed that has been sitting, especially after rain. Dump and refill.
- Look for clumped or wet seed inside the feeder and remove it. Wet seed molds fast and can make birds sick.
- Clear spilled seed from the ground below the feeder. This seed attracts rats and raccoons, and the Michigan DNR specifically calls out ground feeding accumulation as a disease and pest problem.
Monthly tasks
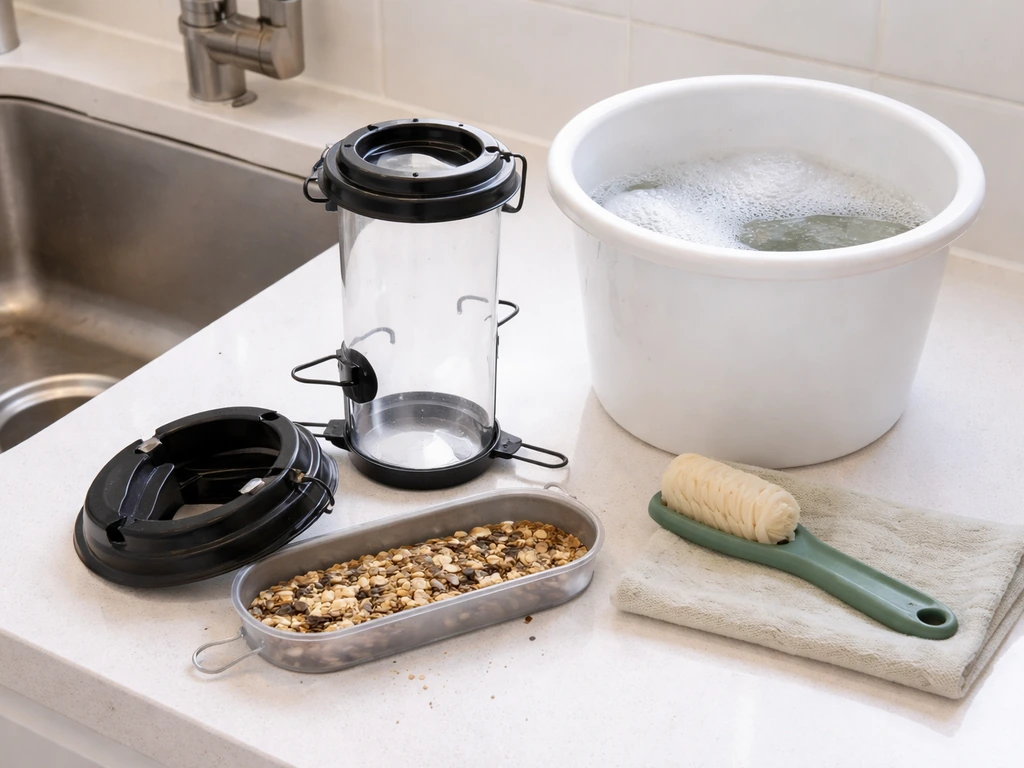
- Take the feeder down and wash it with hot soapy water or a dilute bleach solution (one part bleach to nine parts water). Rinse thoroughly and let it dry completely before refilling.
- Check suction cups on window feeders and re-press them. Reapply a thin layer of oil if they feel loose.
- Inspect hooks, S-hooks, and chains for rust or wear and replace anything that looks corroded.
- For smart feeders, check the battery level in the app and charge the unit if it is getting low.
Pest-proofing checks
- Confirm your baffle is still positioned correctly on the pole. Baffles can slip down over time, especially on smooth poles.
- If squirrels are still getting through, measure the distance from the nearest jumping point and move the feeder or extend the pole.
- Consider switching to a squirrel-resistant feeder like the Brome Squirrel Buster Standard if baffles alone are not solving the problem. That model also does not require dismantling the seed tube and spring assembly for cleaning, which saves real time.
- Check for wasps or bees around the feeder ports. If they are clustering, remove the feeder for a few days and reposition it slightly.
Once you have the installation and maintenance rhythm down, everything else is just refinement. You might want to look into adding a baffle specifically designed for your feeder type, assembling a more complex feeder like the Squirrel Buster Standard, or dialing in how to properly open and clean your particular feeder model without losing parts. The setup you put in today will start attracting birds quickly, and small adjustments over the first few weeks will make it noticeably more active.
FAQ
What height should I aim for if I do not have a ladder or want easy access for cleaning?
If you cannot reach your feeder without a ladder, lower it to about 5 to 6 feet when possible and keep it close to a path you already use. If you need higher placement for safety or baffles, plan for a stable step stool and store it near the setup so refills and cleaning do not get delayed.
How do I keep spilled seed from attracting pests or messing up the yard?
For ground-feeding risk, keep seed off the ground as much as possible by using a tray, platform edges, or a hopper/tube design that reduces spillage. Also choose a pole or mount location where wind will not blow seed directly onto walkways or where pets frequently roam.
My feeder is mounted, but it is not dispensing consistently. What should I check first?
If you are using a shepherd’s crook pole with a tube or hopper, confirm the pole is vertical and the feeder is level so seed does not bridge inside the tube. Many “no birds” installs are actually caused by feeder tilt that leads to uneven feeding.
How can I tell during the first day that my feeder placement or design will handle my weather?
Do a quick starter test before relying on it for weeks: load a small amount of seed, watch for the first 24 hours, and check again the next morning. If you see clumping, wet seed, or seed stuck at the openings, adjust the roof cover angle or swap to a feeder designed for your local rain and humidity.
Does the 3-to-30-foot window rule apply to regular yard feeders near the house too?
For standard outdoor feeders near windows, the same safety distance guidance applies, not just for suction-cup window models. Keep the feeder either within 3 feet of the glass or beyond 30 feet, and avoid aiming it so birds fly toward the window at speed.
What if I am far from windows, but I still see birds colliding or acting confused?
Yes. If there is a strong reflective surface nearby (like a fence, glossy siding, or bright patio cover), it can create “false escape routes” for birds. Angle the feeder so birds have a clear view of real open space, and consider moving the setup away from high-glare surfaces.
I added a baffle, but squirrels still get to the feeder. What is usually wrong?
A squirrel baffle only works if it blocks the squirrel’s path end-to-end. If the baffle top is too low, squirrels can reach under it or from adjacent branches, so verify the baffle height and that no nearby structure creates a bypass.
What should I verify before permanently mounting a smart camera feeder?
For smart feeders, power and signal matter as much as placement. Before final mounting, test that your Wi-Fi stays connected at that spot and that the power cable route does not pull or stress the camera module during rain and temperature changes.
How do I install a feeder so it remains practical during winter storms or muddy ground?
In very cold or icy conditions, prevent refusal to refill by keeping the feeder location accessible and avoiding placements that turn into a snow obstacle. If you expect freeze-thaw problems, consider a feeder with a more sheltered design and use an easy-to-access refill routine on the days you can reach it.
If no birds show up, what troubleshooting steps should I do in order?
If birds are not visiting after a couple of weeks, reassess food type first (many areas respond better to different seeds), then check whether the feeder is in a spot with nearby cover 10 to 15 feet away. Finally, confirm the feeder is actually protected from dominant wind and that it is not surrounded by predator-friendly hiding spots.
Next Articles
How to Install a Baffle on a Bird Feeder Step by Step
Step-by-step how to install or DIY a bird feeder baffle on the pole to block squirrels, with tools, fit, and troubleshoo

How to Set Up a Bird Feeder: Placement and Setup Guide
Step-by-step setup for a backyard bird feeder: ideal placement, hanging vs mounting, Tris model tips, and quick fixes fo
How to Use a Bird Feeder: Setup, Food, and Maintenance
Step-by-step bird feeder setup, food choice, placement, maintenance, and DIY tips for more birds and less waste and pest