Opening a bird feeder sounds simple until the lid won't budge, the cap is jammed with old seed, or you realize you're not sure which part is supposed to come off first. The good news: once you know your feeder's closure type, the whole thing takes about 30 seconds. This guide walks you through identifying what you have, opening it correctly, and handling the stubborn cases where it just refuses to cooperate.
How to Open a Bird Feeder: Tube and Lid Steps

Marcus Brennan
20 Apr 2026
Identify Your Feeder Type and Closure Method First
Before you touch anything, take a look at your feeder and figure out what kind it is. The opening method depends entirely on the design, and guessing wrong is usually how plastic tabs get snapped off. The most common feeder types you'll run into are tube feeders, hopper feeders, platform/tray feeders, and suet cage feeders. Each one opens differently.
| Feeder Type | Common Closure Method | Where It Opens |
|---|---|---|
| Tube feeder (basic) | Twist-off or pull-off top cap | Top of the tube |
| Tube feeder (squirrel-proof, e.g. Squirrel Buster) | Push-down-and-turn lid plus removable center post cap | Top lid + internal post cap |
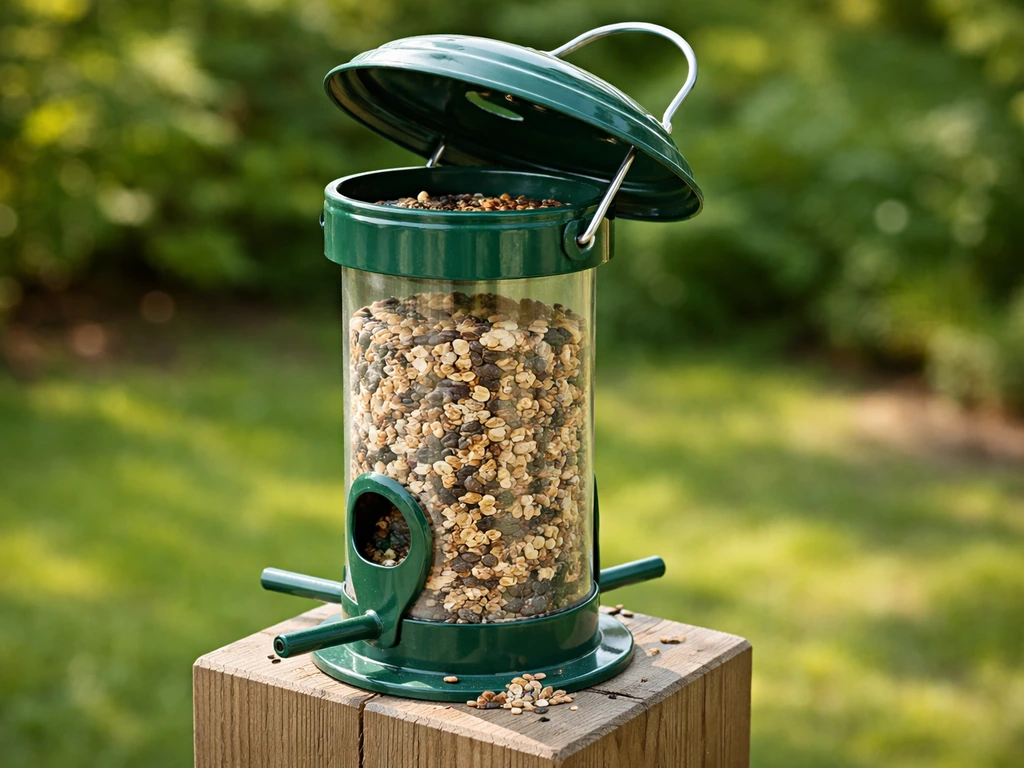
| Hopper feeder | Hinged or lift-off roof panel | Top roof, sometimes both sides |
| Platform/tray feeder | No closure, open top; may have a drain screen | Fully open, just refill directly |
| Suet cage feeder | Hinged door with a clip or latch | Front or bottom panel |
| Nyjer/thistle sock | Drawstring or twist tie at top | Top tie or knot |
If you have a tube feeder, look at the very top. Most have either a simple cap that pulls or twists off, or a more involved multi-step closure if it's a squirrel-resistant model. Hopper feeders almost always open from the top, where the roof lifts up. Suet cages usually have a single hinged panel that swings open when you release a small metal clip. Knowing this before you start saves you from forcing the wrong part.
How to Open a Bird Feeder Without Breaking It
The number one mistake people make is gripping the feeder by a part that isn't meant to take pressure, then pulling hard when something doesn't move. Plastic components, especially on older feeders left outside through winter, can be brittle. A little patience here really does prevent a cracked tube or a snapped hinge.
Start by taking the feeder down from its hook or pole if it's still hanging. Working with two hands on a stable surface is much easier than wrestling with a swinging feeder. Give it a quick look over before opening: check for visible cracks, check that you've identified the correct opening point, and note whether the closure looks like it twists, lifts, or unclips.
- Take the feeder down and set it on a flat surface or hold it at waist height with a firm grip on the body.
- Identify the closure point (top cap, lid, latch, or roof panel) before applying any force.
- Apply gentle, controlled pressure in the correct direction: twist counterclockwise for threaded caps, lift straight up for pull-off lids, or press-and-turn for locking lids.
- If it doesn't move with moderate pressure, stop and go to the troubleshooting section below rather than forcing it.
- Once open, set the lid or cap somewhere clean so you don't lose small parts like O-rings or center post caps.
For metal feeders, be careful of sharp edges, especially on suet cages where the wire frame can be rough. A pair of work gloves is worth it if you're dealing with an older cage that's starting to rust or has bent wires.
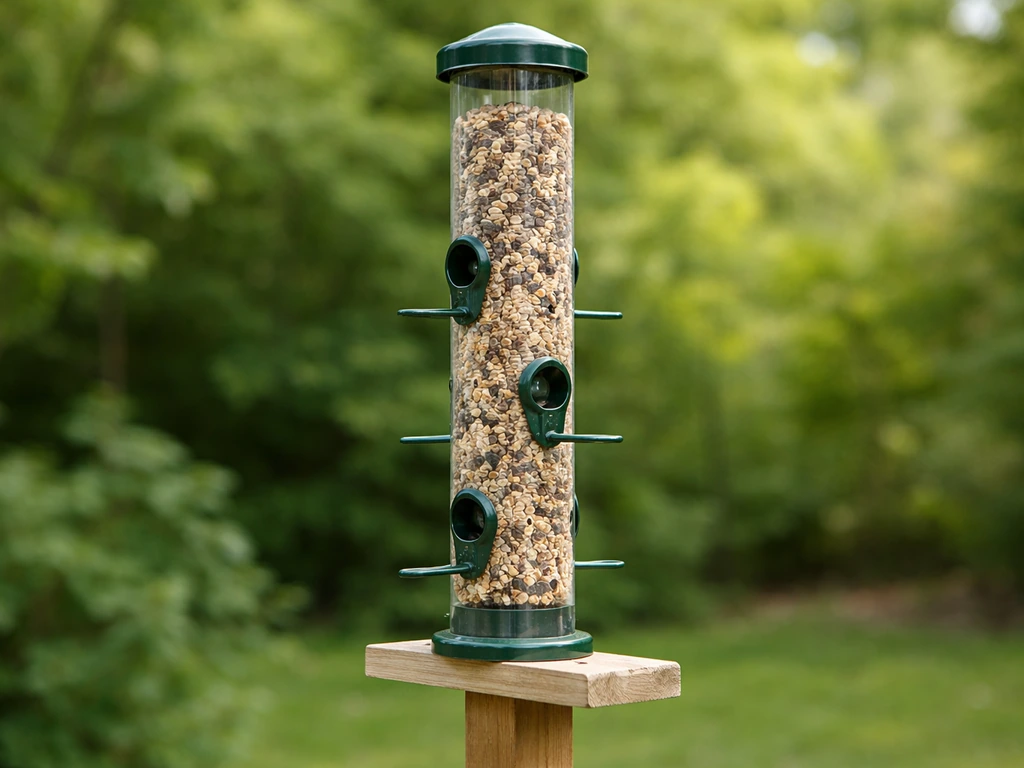
How to Open a Tube Bird Feeder (Top Cap and Side Port Styles)
Tube feeders are the most common type in backyard setups, and they come in a few variations. Clear polycarbonate tubes are popular because you can see the seed level without opening anything, but the caps and closures still need regular access for refilling and cleaning.
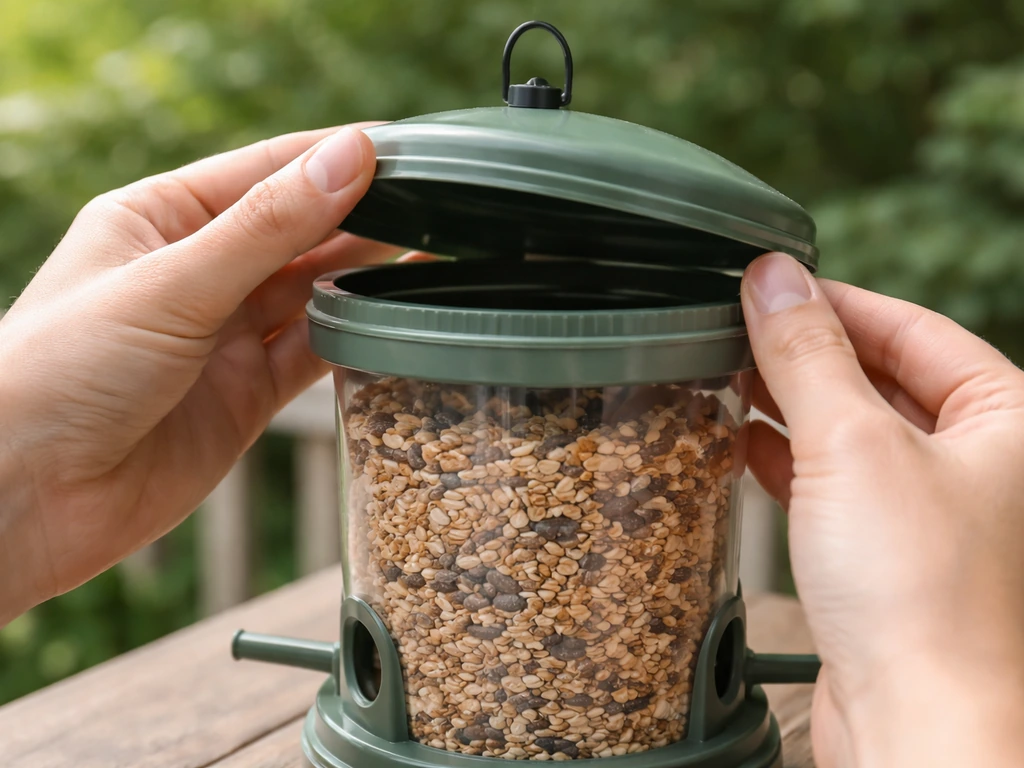
Standard twist-off or pull-off top cap
Most basic tube feeders have a top cap that either pulls straight off or twists off like a jar lid. To open: grip the tube body firmly with one hand, then use the other hand to either pull the cap straight up (for friction-fit caps) or twist counterclockwise and lift (for threaded caps). The cap should come away cleanly. If there's a hanger wire looped through the top, you may need to slide the cap off around the wire or unhook the wire first, depending on the design.
Squirrel Buster Classic (push-down-and-turn lid + center post cap)
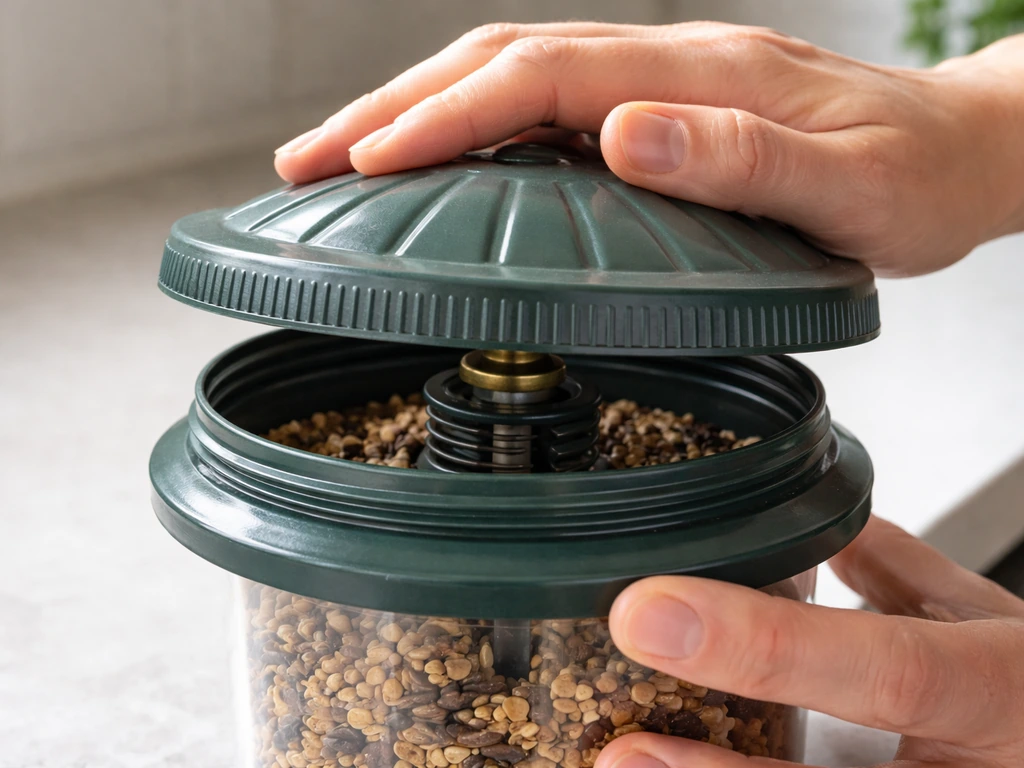
The Squirrel Buster Classic uses a multi-part closure that trips up a lot of people the first time. Here's the correct sequence based on the manufacturer's own instructions: first, push the lid down slightly while turning it to unlock it, then lift the lid off entirely. After the lid is removed, you'll see a yellow center post cap sitting in the middle of the tube opening. Pull that cap straight up to remove it. Now the tube is fully open for refilling. To close, reverse the steps: replace the center post cap first, then set the lid back on and push down while turning to lock it.
Squirrel Buster Plus and similar rod-locking designs
The Squirrel Buster Plus uses a long internal rod system. To open it, unhook the rod at the base (there's usually a small hook or clip), then lift the top cap off the tube. Refill, then replace the top cap and re-hook the rod at the bottom to secure everything. It sounds complicated in writing but takes about 20 seconds once you've done it once. If you want a deeper walkthrough of assembling this specific model, that's covered in detail in a dedicated guide on assembling the Squirrel Buster Standard. If you have the Squirrel Buster Standard and want the right parts and steps from the start, follow the guide on how to assemble squirrel buster standard bird feeder.
Side-access or quick-clean tube feeders

Some tube feeders, particularly models marketed as 'quick-clean' or 'easy-clean,' have a base that detaches rather than a top cap. You twist or pull the bottom tray off, which allows the seed to fall out and gives you access to clean the interior from below. If your tube has no obvious top opening but has a visible seam or locking ring near the base, that's the access point.
When the Feeder Won't Open: Jammed, Stuck, or Rusted
A stuck feeder is genuinely frustrating, especially when you know the birds are waiting. Here are the most common causes and what actually fixes them.
Seed buildup around the lid or cap
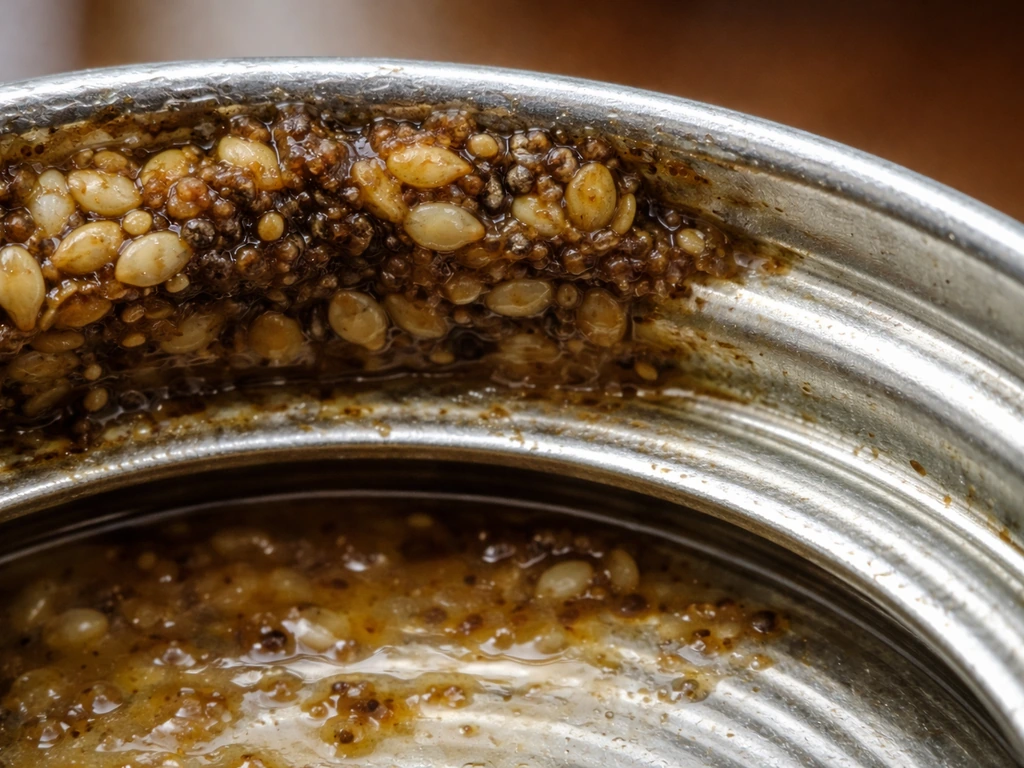
Old, wet, or compacted seed is the most common reason a cap won't twist or lift. The seed swells as it absorbs moisture and basically glues the cap in place. Fix: run warm water over the joint between the cap and tube for 30 to 60 seconds to soften the debris, then try again with gentle twisting pressure. A butter knife or the flat edge of a popsicle stick can help break the seal around the edge without scratching the plastic. Don't use metal tools that could crack or gouge the tube.
Warped or misaligned lid
Plastic warps in extreme heat, and metal lids can bend if the feeder has been knocked around. A warped lid that's supposed to twist may feel like it's stuck when it's actually just slightly misaligned. Try pressing the cap down more firmly while turning, or gently squeezing the sides of the cap inward as you twist. Sometimes just repositioning your grip by a quarter turn is enough to find the alignment point where it releases.
Rust on metal parts
If you have a metal-topped feeder and the hinge or latch has rusted, don't just crank on it. Apply a small amount of WD-40 or white lithium grease to the rusted joint, wait 5 to 10 minutes, then try again. For badly rusted hinges on suet cages, you may need to use pliers with a rag wrapped around them to get enough leverage without crushing the wire frame. Once it's open, make a note to replace the hardware before it rusts solid again.
Over-tightened closure
This one is almost always self-inflicted: someone (maybe you, maybe a family member) tightened the cap down harder than it needed to be during the last refill. For threaded caps, try the rubber band trick: wrap a wide rubber band around the cap to improve your grip and try turning counterclockwise with more control. You can also use a rubber jar opener from the kitchen. Avoid pliers directly on plastic caps since the pressure will crack them.
Building Opening into Your Cleaning and Refilling Routine
The best time to think about how your feeder opens is every single time you refill it, not just when it's stuck. Making opening and closing part of a consistent routine means you'll catch small problems (a developing crack, early rust, seed starting to clump) before they turn into big ones.
For most feeders, a good rhythm is to refill every 3 to 7 days depending on bird activity, and do a proper clean every 2 weeks or whenever you see any mold, slime, or clumped seed inside. All About Birds recommends cleaning bird feeders with a dilute bleach solution of no more than 1 part bleach to 9 parts water blank" rel="noopener noreferrer">do a proper clean every 2 weeks. When you open for a routine refill, take 10 extra seconds to wipe the inside of the cap and the top edge of the tube with a dry cloth. That alone prevents most seed-buildup jams. For a full clean, bring the feeder inside, disassemble it completely, blank" rel="noopener noreferrer">soak in a 9:1 water-to-bleach solution for a few minutes, rinse thoroughly, and let it air dry completely before refilling. Putting seed into a damp feeder is the fastest way to create a mold problem.
If you want to go deeper on the full setup and first-use process, the guides on how to set up a bird feeder and how to use a bird feeder cover those steps in detail. If you're also starting from scratch, review how to use a bird feeder for placement, setup, and feeding basics. For hanging and installation specifics, the how to install a bird feeder guide is worth a read too. If you want to protect your feeder from squirrels and other pests, you can also follow this guide on how to install a baffle on a bird feeder how to install a bird feeder.
Keep It Opening Easily: Maintenance Habits That Actually Work
Once you've had to soak a stuck cap in warm water for 20 minutes, you'll be motivated to prevent it from happening again. These habits take almost no time and make a real difference.
- Apply a thin film of food-safe petroleum jelly or coconut oil to the threads or sealing edge of your cap every month or so. This prevents seed paste from bonding to the joint and makes the cap turn smoothly.
- Don't overfill the tube past the top port. Seed crammed up into the cap area is the primary cause of cap jamming.
- After heavy rain, check that the cap is still seated correctly. Water can cause plastic to swell slightly and throw off the fit.
- Once a season (spring is ideal), do a full disassembly and inspect every closure point: check for hairline cracks in plastic caps, test that latches click cleanly, and look for early rust on any metal hardware.
- If a metal hinge or latch is showing surface rust, hit it with a light coat of WD-40 or white lithium grease before it becomes a problem, not after.
- Store your feeder indoors over winter if you take it down for the cold season. Freeze-thaw cycles are hard on plastic threads and can warp lids that then never quite fit right again.
One last thing: keep any small removable parts (like the yellow center post cap on a Squirrel Buster Classic) in a known spot when you're cleaning. Those pieces are easy to lose and surprisingly hard to replace. A small bowl or cup on your potting bench works perfectly as a staging area when you're doing a full disassembly. Small habit, big frustration saved.
FAQ
What should I do if I can’t open a bird feeder without damaging the plastic?
No. If the cap is stuck from wet or compacted seed, forcing the closure harder can crack older plastic. Start by running warm water over the cap-to-tube joint for 30 to 60 seconds, then try gentle twisting. If it still won’t move, switch to a soft pry using the edge of a popsicle stick, not a metal tool.
How can I open a twist-off tube feeder if it feels misaligned or stuck?
If you have a threaded or twist-top tube feeder, align your grip and turn counterclockwise slowly, then lift only after the threads release. If it feels “jammed,” reposition your hands by about a quarter turn first, because many caps bind when slightly misaligned instead of actually stuck.
Can wiping parts after refilling help prevent future jams, and what exactly should I check?
Yes for most routine refills. Wipe the dry cloth around the inside of the cap and the top edge of the tube before reseating it, and check that any rubber gaskets or seals (if your model has them) are seated flat. A mis-seated gasket can cause a cap to bind on the next opening.
How do I tell whether my feeder opens from the top or the bottom?
For most tube and hopper models, you should open from the top for refilling, but “quick-clean” designs can empty from the base. If you see a seam or locking ring near the bottom and no obvious top cap path, treat the base as the access point and remove the bottom tray rather than fighting the top closure.
What’s the safest way to loosen a rusted metal hinge or latch?
It depends on the closure type and age. For stubborn metal hinges or latches with light rust, apply a small amount of WD-40 or white lithium grease to the joint, wait 5 to 10 minutes, then try again. If you’re dealing with severe rust on a suet cage, use pliers with a rag wrapped around the contact points to avoid crushing bent wire.
I opened it once before, but now the cap won’t budge, what’s a good first troubleshooting step?
If a cap seems locked in place, it’s often because too much force was applied the last time. Try improving grip with a wide rubber band or a rubber jar opener, then turn counterclockwise with controlled pressure. Avoid pliers directly on plastic caps since that’s a common cause of cracks.
How do I avoid breaking a squirrel-resistant lid when opening for the first time?
If you have a feeder with a squirrel-resistant mechanism that requires a specific sequence (like some Squirrel Buster models), don’t skip directly to lifting. Mis-sequencing can lock the internal post or rod. Follow the “unlock first, then lift” order, then remove the internal cap or rod only after the lid is off.
Can I use water to unstick a jam without increasing mold risk later?
Warm water is usually the right move for seed glue and swollen residue. If you soak or hose an assembled feeder excessively, water can remain inside and increase mold risk later. After you open, dry any interior surfaces and let the feeder air-dry fully before adding seed, especially after a warm-water attempt.
Where should I store small removable pieces so they don’t disappear or get reinstalled incorrectly?
Yes, and it’s particularly important for multi-part designs. Keep removable parts in a small staging cup so they don’t get lost during cleaning or refilling, then confirm they’re fully seated before closing. For Squirrel Buster Classics, the center post cap must be replaced before locking the lid back on.
How should my cleaning schedule change if I notice mold, slime, or clumped seed?
Yes. If you notice seed clumping, slime, or any visible mold, cleaning becomes urgent rather than routine. Remove the seed, disassemble, soak in a properly mixed bleach solution, rinse thoroughly, and air-dry completely before refilling so the next opening doesn’t become a jam from remaining moisture.
Next Article
How to Make a Tube Bird Feeder Step by Step
Step-by-step how to make a tube bird feeder with materials, safe mounting, maintenance, and fixes for leaks and clogs.