Dig a hole at least 18 to 24 inches deep, set your pole so roughly one-third of its total length is underground, pack the soil back in layers while tamping firmly, and check for plumb before the soil sets. That core process works for most standard steel or aluminum bird feeder poles in average garden soil, and it will hold through wind, squirrel pressure, and seasonal ground movement as long as you do the prep right.
How to Put a Bird Feeder Pole in the Ground

Marcus Brennan
2 May 2026
Choosing the right location and setup plan
Before you grab a shovel, spend five minutes walking your yard. The wrong spot can mean re-doing everything after the first rainstorm, so it pays to be deliberate here. You want a location that gives birds a clear flight path in (about 10 to 15 feet from dense shrubs or trees is a good target), but that also gives you a comfortable view from a window. Closer to the house than you think is usually better, both for birdwatching and for managing squirrels.
Check what's underground before you dig anything. blank" rel="noopener noreferrer">Call 811 (the national dig-safe hotline in the US) or your local utility line service so they can mark buried electrical, gas, and water lines. For 811 requests, you must call (or submit online) two full working days before digging so a utility locator can mark underground lines in the planned excavation area blank" rel="noopener noreferrer">call 811 two full working days before digging. It's a free call and they usually respond within a few business days. Also look for irrigation lines yourself, since those often aren't mapped by utility companies. Hitting a sprinkler line is a common and annoying surprise, especially in irrigated lawns.
Think about drainage at the same spot. Low-lying areas that pool water after rain will cause your hole to fill up and eventually allow the pole to shift or rust at the base. A slightly raised or well-draining patch of yard is ideal. If your only good option is a wetter area, the drainage prep steps below become even more important.
- 10 to 15 feet from trees or fences to limit squirrel jumping distance
- Clear sightlines from at least one window in the house
- Well-draining soil, avoid low spots that collect standing water
- At least 5 feet from any underground utility line markers
- Away from areas where kids or pets run, to prevent collisions with the pole
Preparing the ground for a sturdy pole installation
Good ground prep is what separates a pole that stays put for years from one that wobbles after the first windstorm. Most people skip this part and regret it.
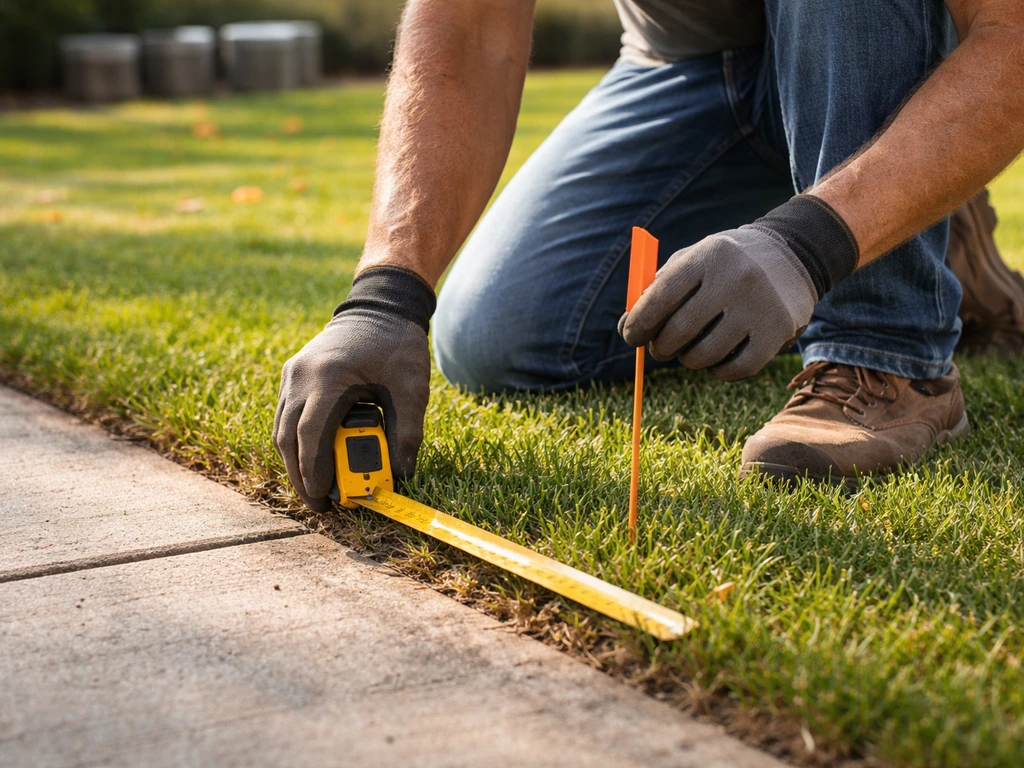
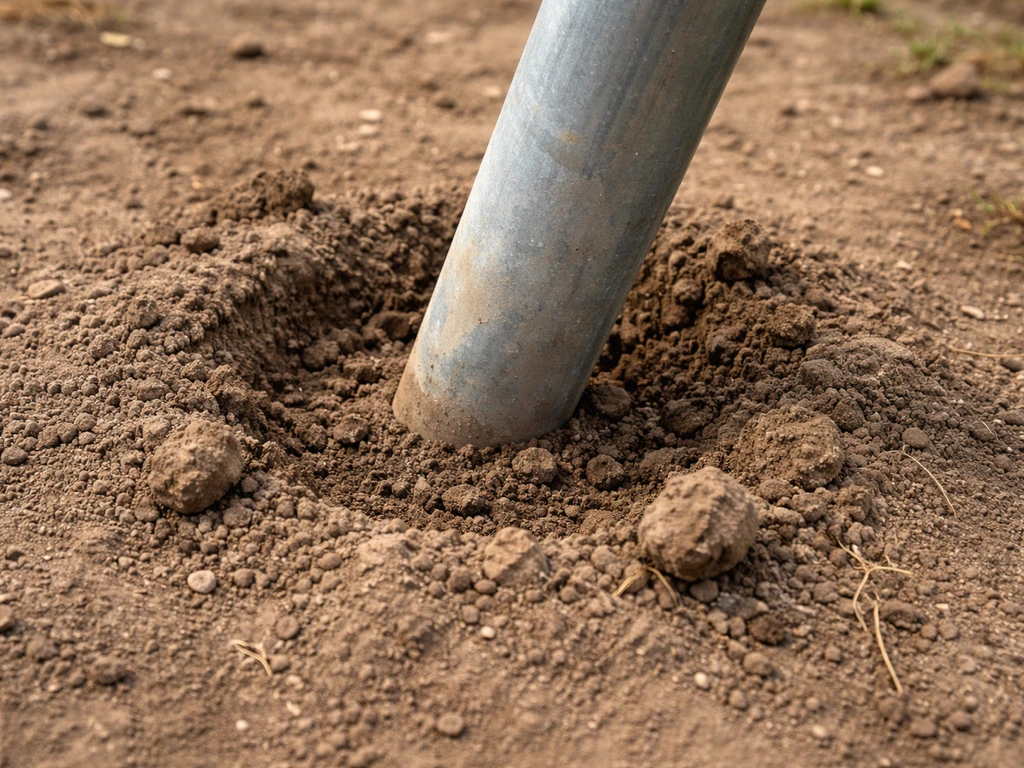
Start by marking the center of your hole with a stake or can of spray paint. Use a post-hole digger or a clam-shell digger rather than a regular spade. A round, narrow hole is far easier to backfill tightly than a wide, ragged one. Rent a post-hole digger from a hardware store for around $30 to $50 a day if you don't have one. If your soil is clay-heavy or very rocky, a rented power auger is worth every penny.
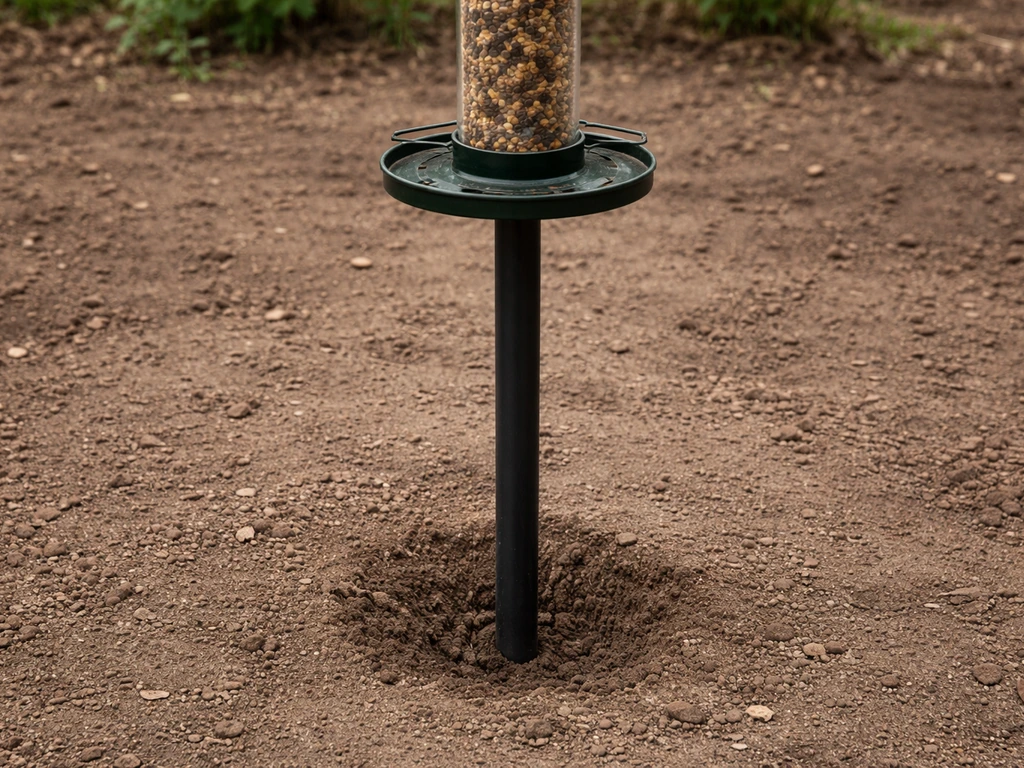
Dig the hole to at least 18 to 24 inches deep for a typical 5- to 8-foot bird feeder pole. A good rule of thumb is to bury roughly one-third of the pole's total length. So a 6-foot pole should have about 2 feet underground. For taller or heavier setups (like a multi-arm shepherd's hook or a pole with a large platform feeder), go deeper, closer to 30 inches.
Once you're at depth, add about 6 inches of crushed stone, pea gravel, or coarse gravel to the bottom of the hole. This layer does two things: it lets water drain away from the pole's buried end (which dramatically slows rust and rot), and it gives a firm, stable base for the pole to rest on. This is a step borrowed from flagpole installation guides and it makes a real difference in longevity.
Step-by-step method to install the bird feeder pole
Here's the full process from hole to finished installation. Budget about 45 to 90 minutes for this if you're working alone, slightly less with a helper.
- Call 811 and wait for utility line marking before digging anything.
- Mark your installation spot and confirm the location meets the criteria above.
- Dig the hole with a post-hole digger to a depth of 18 to 30 inches depending on pole height. Keep the hole as narrow as possible, ideally only an inch or two wider than the pole's diameter.
- Add 6 inches of gravel or crushed stone to the bottom of the hole and tamp it flat with a stick or the end of a scrap 2x4.
- Lower the pole into the hole and rest it on the gravel layer. If you're using a ground sleeve (a separate outer tube that stays in the ground permanently), install that first.
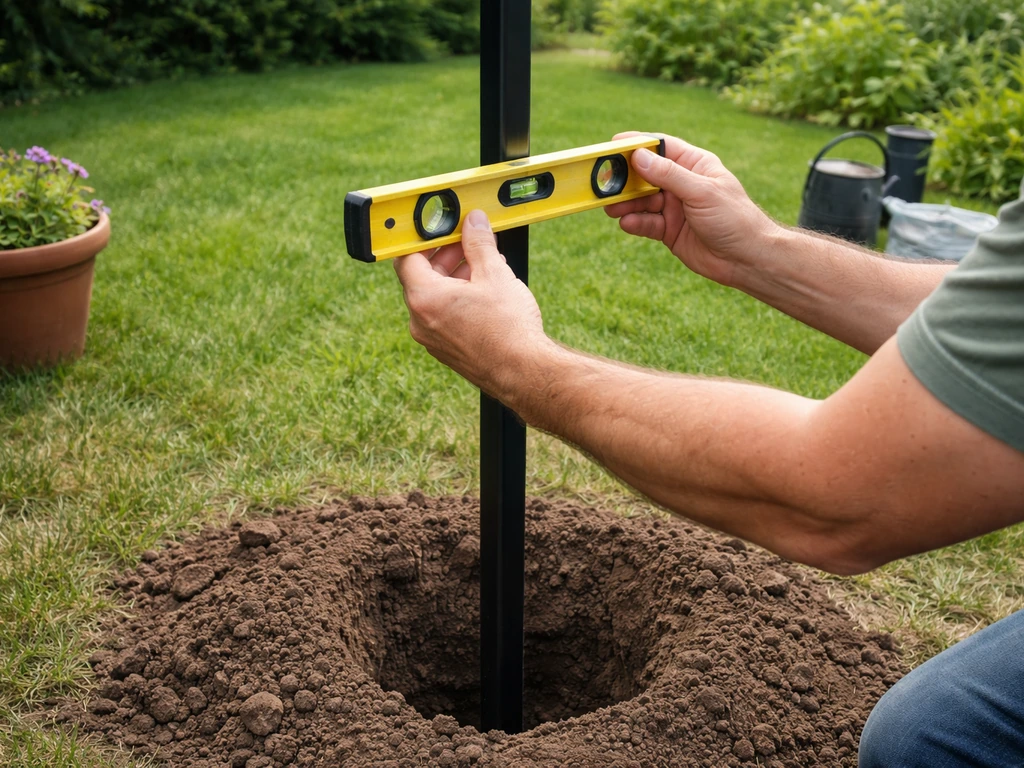
- Have a helper hold the pole vertically, or prop it temporarily with a stake and some twine, while you check for plumb with a level on two sides of the pole at 90 degrees to each other.
- Begin backfilling with the soil you removed, working in 4- to 6-inch layers. After each layer, tamp it down firmly with your foot or a tamping bar before adding the next layer. Do not dump all the soil in at once.
- Check plumb again every two or three layers. It's easy to nudge the pole out of alignment as you tamp, and catching it early is much easier than correcting it at the end.
- Fill to within 1 to 2 inches of the ground surface. If you're using a ground sleeve, the top of that sleeve should sit about 1 to 2 inches above grade so water doesn't pool at the rim and drain into the sleeve hole.
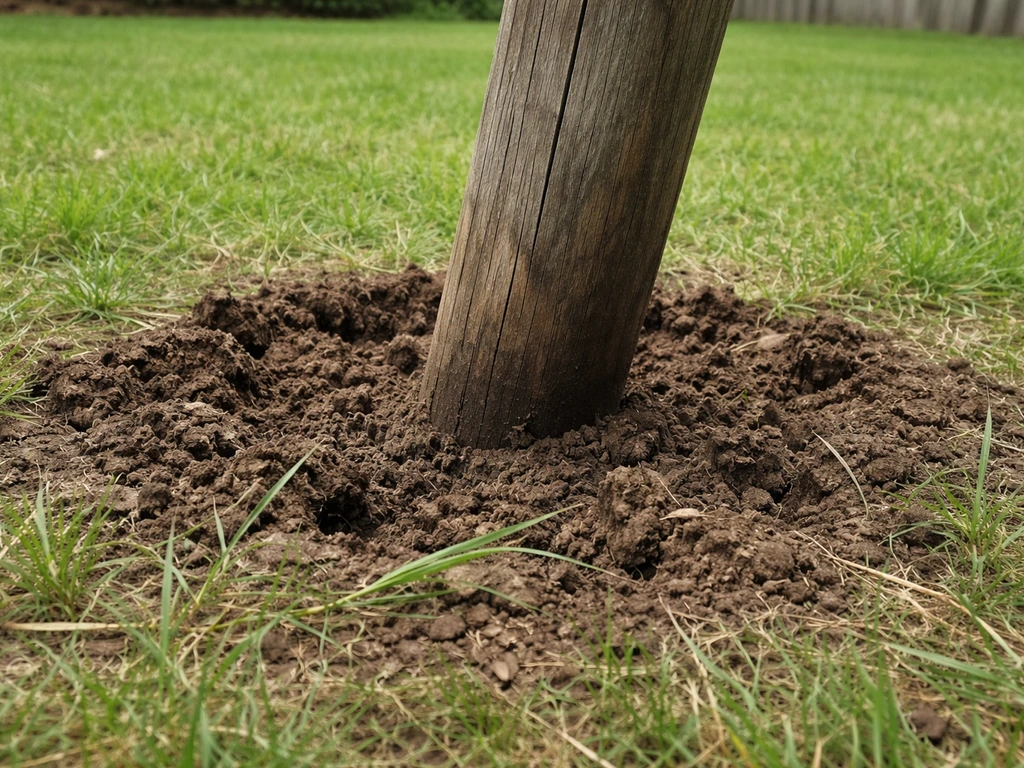
- Mound and tamp the final layer of soil slightly above grade so it sheds rainwater away from the pole base rather than directing it toward it.
- Attach your feeder arm, hooks, or platform, then hang the feeder and confirm the pole hasn't shifted during assembly.
If you're using a concrete base instead of packed soil (more on this below), mix a small batch of fast-setting concrete, pour it around the pole in the hole, and hold the pole plumb until the concrete begins to set, usually 20 to 30 minutes with fast-set products. Leave it to fully cure for 24 hours before hanging any weight on the pole.
Securing the pole for stability: soil types, depth, and bracing
Not all soil is created equal, and what works well in a sandy loam backyard in Georgia may not hold at all in the clay-heavy soil of the Pacific Northwest or the rocky ground of New England. Here's how to adjust your approach based on what you're working with.
| Soil Type | Challenge | Best Fix |
|---|---|---|
| Sandy or loose soil | Poor grip, pole shifts easily | Use concrete around the base, or add a wider ground sleeve with concrete fill |
| Clay-heavy soil | Holds water, heaves in freeze-thaw cycles | Dig deeper (30+ inches), add a thick gravel drainage layer, avoid concrete which can heave |
| Rocky ground | Hard to dig, inconsistent support | Rent a power auger, pack gravel and smaller rocks tightly around the pole, use bracing stakes |
| Average loam | Loosens with irrigation or heavy rain | Layer-tamp backfill carefully, mound soil at surface to shed water |
| Waterlogged or low-lying | Constant moisture accelerates rust and loosening | Choose a different location if possible, or use a galvanized sleeve and heavy gravel base |
For loose or sandy soil specifically, concrete is usually worth the extra 20 minutes of work. Use a fast-setting bag product like Quikrete, which you can mix directly in the hole. You don't need a lot, about half a bag for a standard bird feeder pole is typically enough. Avoid using concrete in clay or heavy soils that freeze in winter because the freeze-thaw cycle can crack the concrete and actually push the pole out of the ground over time.
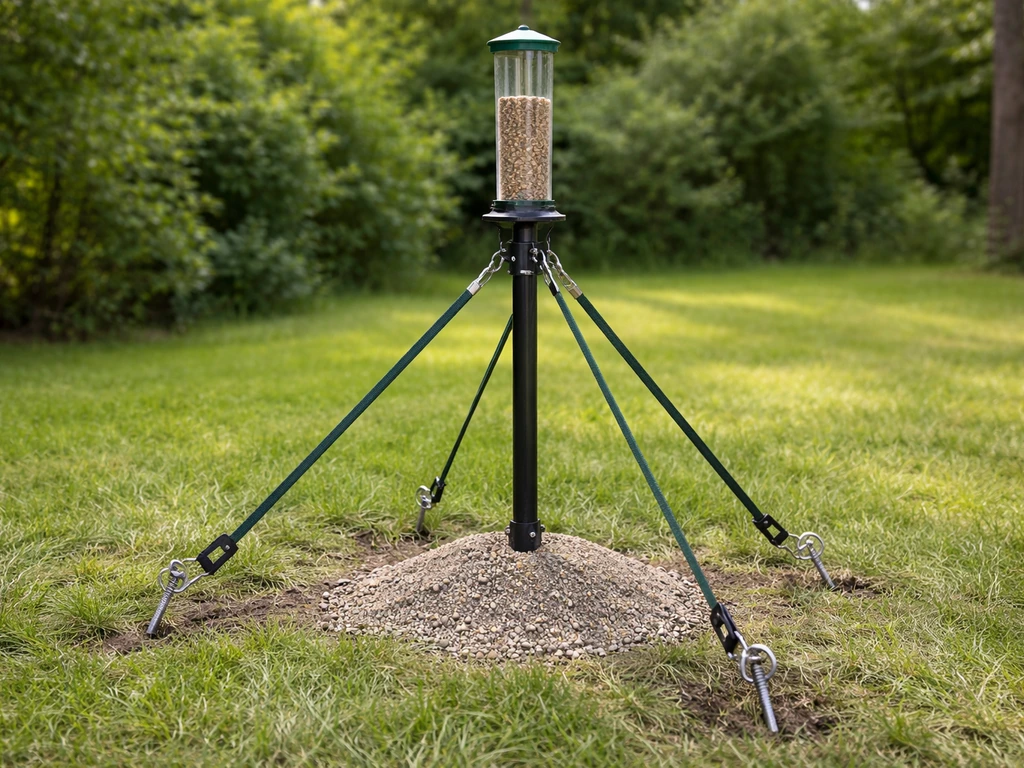
For extra stability in any soil, especially for taller or top-heavy setups, you can add guy wires or bracing stakes. If you want the fastest results, focus on the base and anchoring method that keeps the pole from shifting in both wind and wet soil how to stabilize a bird feeder pole. Drive two or three short tent stakes or rebar stakes into the ground at 45-degree angles around the pole, and run thin wire or cable from the pole to each stake. If you need to shorten bird feeder wire for tying the feeder securely, do it before you connect it to the pole or stakes. This is overkill for a standard shepherd's hook but makes sense for a tall, heavy platform feeder pole or any setup in a particularly windy yard. Keeping a pole straight after installation is a related challenge that deserves its own attention, and there are specific techniques worth knowing for that. These steps are a big part of how to keep bird feeder pole straight once it is in the ground.
Common mistakes and troubleshooting wobble or leaning poles
Even with the best installation, poles can shift over time. Here are the most common problems and what actually fixes them.
The pole wobbles side to side
This almost always means the hole wasn't deep enough, the backfill wasn't tamped in layers, or the hole was too wide and left gaps around the pole. To fix it, excavate a few inches of soil around the base, pack in dry fast-setting concrete or tightly tamped gravel, and let it set. If the pole is on a sleeve, tighten any set screws and check that the sleeve itself is still solid.
The pole is leaning after a few weeks
Leaning is usually caused by soil settling unevenly, freeze-thaw movement, or animal activity around the base (squirrels and chipmunks love to dig near poles). Pull the pole slightly back toward plumb, re-tamp the soil on the loose side, and if needed add a few shovels of new soil on the low side to prevent future lean. For persistent leaning in soft soil, adding a stake-and-brace system on the lean side is the most reliable fix. Keeping a pole straight over the long haul is something many backyard birders find themselves revisiting seasonally.
The pole loosens after rain or irrigation
If the soil softens significantly when wet and the pole starts to move, you either need a concrete footing or a much larger gravel base to distribute the load. Also check that your soil isn't draining toward the base of the pole, which continually saturates the area. Mounding the soil surface at the base (like a gentle slope away from the pole) helps redirect surface water.
The pole has shifted after squirrel or animal activity
Squirrels climbing, yanking, and shaking a pole can loosen it faster than you'd think, especially in softer soil. If this is a recurring issue, a concrete footing is the most reliable solution. You might also consider adding anti-squirrel measures to the pole itself, like a baffle or a coating to make the pole slippery, which reduces the force they exert on the pole in the first place. Reducing squirrel climbing pressure is a key part of keeping the whole setup stable long-term.
Mistakes to avoid from the start
- Skipping the utility line check before digging
- Making the hole too shallow (less than 18 inches for any standard pole)
- Dumping all the backfill in at once instead of tamping in layers
- Using concrete in freeze-prone clay soil
- Forgetting to check plumb during backfilling, not just at the start
- Ignoring drainage, which is the number-one cause of long-term instability
- Installing in a spot that's convenient rather than one with good soil and drainage
Maintenance checks after installation
Installation is not a one-and-done job. A few minutes of inspection two or three times a year keeps everything safe and functional. Here's a simple checklist to run through every spring and fall, and after any major storm.
- Grab the pole near the base and give it a firm push and pull in multiple directions. There should be no movement at ground level. Any wobble means the base needs attention.
- Sight down the pole from a few feet away to check that it's still plumb. A lean of more than a couple of degrees needs correcting before it gets worse.
- Check the soil around the base for animal digging, erosion, or settling. Tamp and top up with fresh soil as needed, and maintain the outward slope so water drains away from the pole.
- Inspect the bottom of the pole (if accessible) or the ground sleeve rim for rust. Treat any surface rust with a wire brush and a coat of rust-inhibiting spray paint. A galvanized pole or sleeve resists this much better long-term.
- Check all connection points: the feeder hook, arm brackets, and any set screws on a ground sleeve. These can loosen from vibration and repeated feeder refills.
- If you added a baffle, wire deterrents, or a coating to the pole to manage pests or stability, inspect those too and reapply or re-tighten as needed.
- After a hard freeze and thaw cycle, re-check plumb and base firmness, since freeze-thaw movement is one of the most common causes of gradual lean.
A pole that gets these seasonal checks stays solid for many years. Most stability problems that backyard birders blame on the pole or the soil are actually just deferred maintenance, caught early they take five minutes to fix, left alone they mean re-doing the whole installation. Take care of the base and everything above it, from the feeder to the deterrents on the pole itself, will work the way it's supposed to. After you get the pole secured, it helps to know what to put on the bird feeder pole so the setup attracts birds and resists squirrels what to put on bird feeder pole. For the best results, apply the best grease for bird feeder pole to the moving or metal contact points so rust and sticking are less likely over time. After the pole is secure, you can learn the simple way to put a slinky on a bird feeder pole to help deter squirrels.
FAQ
My pole has a sleeve or base bracket, how do I position it when installing in the ground?
If your pole has a specific base plate or mounting bracket, place that hardware at the buried end exactly as the manufacturer intends (some are meant to sit on gravel, not direct soil contact). For smooth-ground stakes or sleeves, keep the pole aligned and use the sleeve set screws snugly after backfilling and again after the first watering, so the pole does not creep as the soil settles.
What should I do if I hit rocks, tree roots, or a wet layer at the bottom of the hole?
Do a “dry run” by marking the hole outline first, then remove soil and feel the bottom. If you hit large rocks, roots, or a layer that stays waterlogged, don’t just dig deeper blindly. Either move the location, clear obstacles to a deeper uniform depth, or switch to a concrete footing if you cannot find stable, well-draining soil.
Can I put landscaping fabric or mulch around the base after installing the pole?
Yes, but only under the right conditions. If you cover the base with a decorative or weed barrier, keep it a few inches away from the pole so water can drain into the gravel layer rather than trapping moisture at the buried end. Avoid burying fabric tightly around the pole, it can hold water and speed up rust.
How can I tell if my drainage prep is actually working after heavy rain?
If the yard is compacted clay, thinly mounded soil surface water can still funnel toward the hole during storms. Aim for a slight crown away from the pole, then make sure the bottom fill drains through the gravel layer. If the pole base still stays soggy for 24 to 48 hours after rain, a gravel-only approach may not be enough and you may need a concrete footing or a larger gravel base.
Is it safe to use concrete in freezing climates, and how much should I use?
Handle concrete carefully. Don’t pour concrete in large volumes around a pole in freezing areas, unless you are using a footing approach designed for freeze-thaw. For typical small poles, either use the soil-and-gravel method in stable ground or use a fast-setting concrete mix only as directed for a small footing, then keep soil mounded away from the base.
How often should I check plumb during installation, and how can I correct it if it shifts?
Measure plumb after each major change, not only before the soil sets. A practical method is to plumb the pole once at depth, backfill in layers, then re-check plumb at the halfway point and again when the hole is fully filled. If you see drift, correct it immediately by adjusting before the final tamp.
What are common wiring mistakes that can loosen a bird feeder pole or cause corrosion?
Avoid wrapping feeder wire too tightly or leaving it dragging in the dirt near the pole base. Shorten or re-route the wire so it hangs with gentle slack during normal movement, and secure it before connecting to the pole or bracing stakes. Contact with soil increases corrosion and can add leverage that loosens the pole over time.
How long should I wait before putting weight on the feeder after installing the pole?
Your timeline depends on ground conditions. Expect the soil-packed method to stabilize after a couple of waterings, and re-check plumb after 1 to 3 days, then again after a week. For concrete footing, the pole should not be load-bearing until full cure, about 24 hours for many fast-set mixes, but wetter cold conditions can extend that.
How do I pick the best location if I need both good bird traffic and a clear view from my window?
Choose a spot where birds have cover nearby but not so close that dense branches block their approach. If the view from your window matters, align the feeder so it sits in a typical flight line toward cover, usually 10 to 15 feet from dense shrubs or trees, while still giving you safe clearance for your window and routine filling.
When should I add guy wires or bracing stakes, and are they necessary for a standard shepherd’s hook?
Add bracing only when the setup is top-heavy or in very windy exposure. A tall shepherd’s hook, platform feeders, or double-armed poles generally benefit from 2 to 3 guy or brace points, and the brace angle matters, steeper anchors pull less effectively. If you need braces, install them at the same time as the pole so you brace the base, not just the visible shaft.
Next Article
How to Stabilize a Bird Feeder Pole: Step-by-Step Fixes
Diagnose wobble causes and follow step-by-step fixes to stabilize a bird feeder pole with stakes, ballast, bracing, and