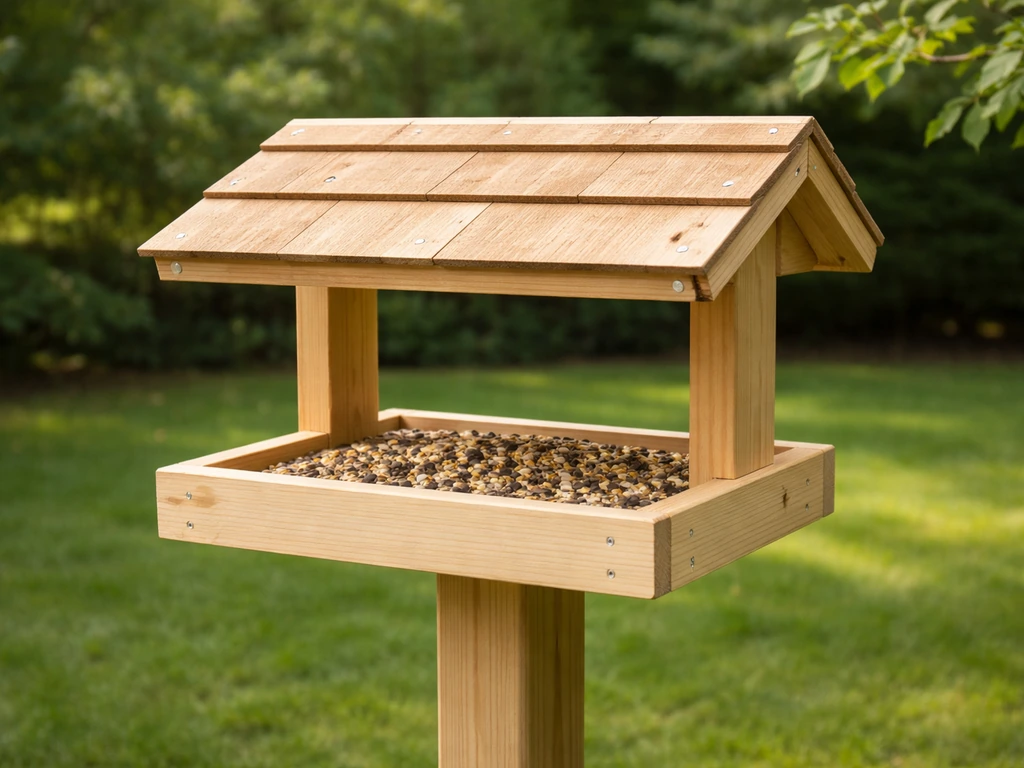
You can build a sturdy, roofed platform bird feeder in a single afternoon using a few cedar boards, basic hardware, and a handsaw or circular saw. The key things to get right are drainage holes in the platform, a roof slope of at least 2:12 (meaning 2 inches of rise for every 12 inches of run), and a roof overhang of at least 2 inches on all sides so rain blows off the food rather than onto it. Get those three details right and the feeder will handle most weather reliably for years.
How to Make a Platform Bird Feeder With a Roof

Marcus Brennan
29 Apr 2026
Plan and design your roofed platform feeder
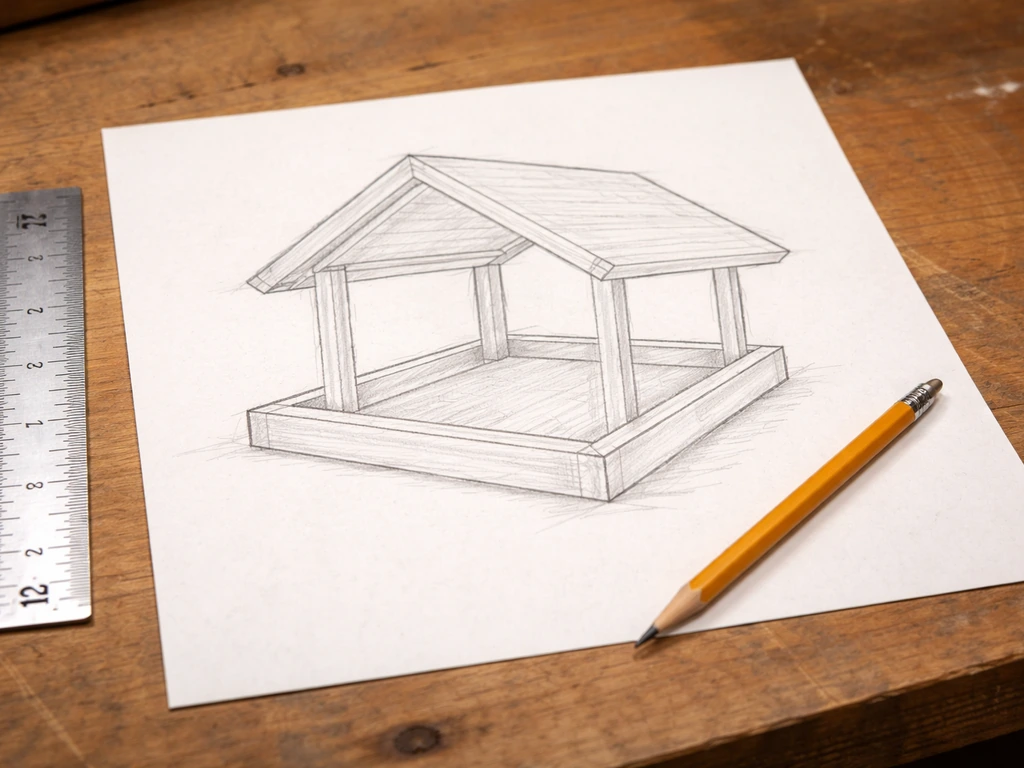
Before you cut anything, sketch a rough plan on paper. A practical platform size is about 24 inches by 24 inches (roughly 2 feet square). That gives you room for several species to feed at once without the build getting unwieldy. The platform sits on four corner posts or hangs from a single central chain or rope, and the roof sits above it on four upright supports attached to the platform corners.
Think of the feeder as three main parts: the platform (the flat tray where seed sits), the support structure (legs or hanging hardware), and the roof (the sloped cover above everything). Each part needs its own decisions, but they all connect. A good rule of thumb is to make the roof 4 to 6 inches wider and deeper than the platform on all sides so the overhang does its job. For a 24-inch platform, aim for a roof footprint of roughly 28 to 32 inches.
Decide early whether you want to hang the feeder from a tree branch or pole, or mount it on a post. Hanging feeders are easier to reposition and often simpler to build. Post-mounted feeders are more stable in wind and easier to add a squirrel baffle to. Either works well with a roofed platform design.
Choose materials and tools (budget-friendly options)
Cedar is the classic choice for outdoor bird feeders because it naturally resists rot and insects without chemical treatment. A single 1x6 cedar board at 8 feet long costs around $10 to $15 and gives you enough wood for both the platform and roof frame. Pressure-treated lumber is cheaper but is best avoided for the parts birds actually contact since the preservatives can be harmful. Pine works if you seal it well, and recycled fence boards or pallet wood can substitute if you sand them smooth and check for sharp edges.
For the roof surface itself, you have a few good options. Thin cedar shingles look great and last well. A piece of scrap EPDM rubber membrane (the same stuff used on shed roofs) is nearly indestructible and easy to cut to size. Cedar plywood sealed with exterior polyurethane also works. Avoid asphalt shingles at very low slopes (below 2:12) since water can be pulled back under the tabs by capillary action and you end up with a leaky roof.
- 1x6 cedar board, 8 feet (platform, rim boards, roof frame)
- 1x4 cedar or pine, 4 feet (roof ridge and supports)
- Four 1/2-inch or 3/4-inch wooden dowels or small corner posts, 12 inches each (roof uprights)
- Exterior wood glue
- 1-inch and 1.5-inch exterior screws or galvanized nails
- Sandpaper (80 and 120 grit)
- Exterior wood sealant or linseed oil
- EPDM membrane offcut, cedar shingles, or exterior plywood for roof skin
- Eye bolt and S-hook or screw eye (for hanging version)
- Drill with 1/4-inch bit for drainage holes
For tools, you need a saw (a basic handsaw is enough, a circular saw is faster), a drill, a tape measure, a square, and clamps. That is genuinely the full list. You do not need a router, jigsaw, or any special woodworking equipment for this project.
Cut, assemble, and weatherproof the platform
Cut your platform base from the 1x6 board. For a 24-inch square platform you will rip or join boards side by side, or use a 1/4-inch or 1/2-inch exterior plywood panel cut to size. Whichever you choose, the platform needs to be flat and solid with no flex in the center when you press on it.
- Cut the platform base to your chosen size, usually 24 by 24 inches.
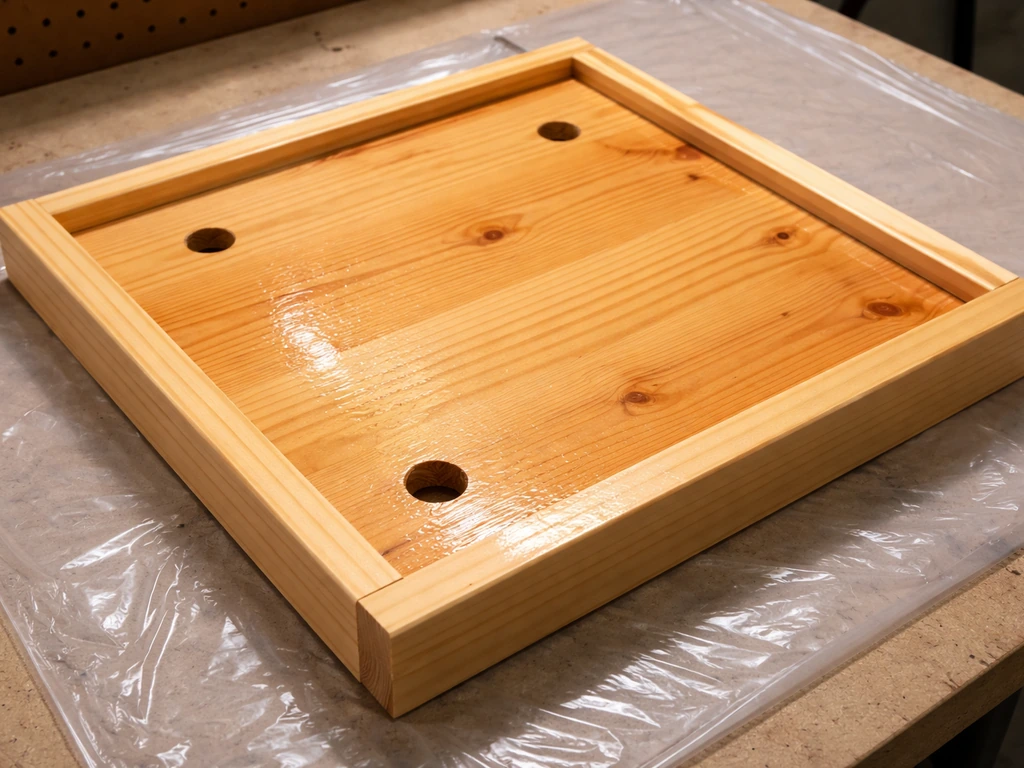
- Cut four rim boards to form a low lip around the edge (about 3/4 to 1 inch tall). These keep seed from rolling off. Make the side boards overhang the front and back by about 1/4 inch so water drips away from the corners rather than soaking into end grain.
- Drill drainage holes in the platform base before you attach the rim. Use a 1/4-inch drill bit and space holes every 3 to 4 inches across the surface. This is non-negotiable: without drainage, water pools, seed rots, and mold builds up fast.
- Sand all faces smooth, paying attention to edges where birds will land.
- Glue and screw the rim boards onto the platform edges using exterior screws. Pre-drill to avoid splitting.
- Apply two coats of exterior wood sealant or raw linseed oil to all surfaces, letting the first coat dry fully before the second. This step doubles the life of the platform in wet weather.
Once the platform is sealed and dry, attach four short corner uprights (your dowels or small posts, 10 to 12 inches tall) vertically at each corner. These will carry the roof. Use exterior screws driven up through the platform base into the bottom of each upright, plus a small dab of exterior glue. Check they are plumb before the glue sets.
Build and attach the roof (slope, overhang, and drainage)
The roof is where most first-time builders either skip details or overcomplicate things. Keep it simple: a single-pitch (shed-style) roof or a basic gable roof both work well. A shed roof is easier to build; a gable roof sheds water equally on both sides and looks more traditional. Either way, your slope must be at least 2:12 to shed water reliably. That means for every 12 inches the roof runs horizontally, it rises at least 2 inches vertically. Going steeper (3:12 or 4:12) is even better for a small feeder roof since it also sheds seeds and bird droppings.
- Cut two roof panels from your chosen roofing material (or one panel for a shed-style roof). For a 28-inch-wide roof with a gable, each panel is roughly 14 inches wide by 30 to 32 inches long.
- Cut a ridge board and two end gable boards to form the roof frame, or for a shed roof just cut a front support bar taller than the rear bar to create the slope.
- Assemble the frame so the slope is at least 2: 12. Mark a 2-inch rise over a 12-inch run on your end piece as a guide.
- Attach the roof panels to the frame with exterior screws or nails, starting from the lower edge and working up (the same direction water flows).
- If using EPDM membrane, drape it over the frame and allow it to overhang the edge by about 2 inches (50 mm) all around. Secure the edges with a staple gun and a thin batten or termination strip so the edge curls slightly downward, directing water away from the structure.
- If using cedar shingles, start at the bottom edge and work up the roof in overlapping rows, nailing each course near the top so the next course covers the nail heads.
- Set the finished roof assembly onto the four corner uprights and screw it down. Check that the overhang extends at least 2 inches beyond the platform rim on all sides.
The overhang is the roof doing its actual job. Rain that lands just outside the platform edge hits the overhang and drips off, not onto your seed. Without it, even a well-sloped roof lets wind-driven rain reach the food. Two inches is the practical minimum; three to four inches is better if you live somewhere with regular sideways rain.
Add bird-friendly features and safety details

A few small additions make a real difference to how well birds use the feeder. First, the drainage holes you drilled earlier are the most important bird-friendly feature on the whole build because they prevent the seed rot and mold that make birds sick. Double-check that none of them got blocked by glue or sealant during assembly and clear them with a nail or skewer if needed.
- Rough up the platform surface lightly with 80-grit sandpaper after sealing so birds can grip it when they land, especially in wet conditions.
- Keep the rim boards low (3/4 to 1 inch) so smaller birds like juncos and sparrows can hop on and off easily. Tall rims trap water and make it harder for ground-feeding species.
- Round or bevel any sharp corners on the rim and roof edges with sandpaper to remove splinters.
- Do not use paint with lead or chemicals inside the platform tray. Plain sealant or linseed oil on the exterior surfaces is safe. Leave the inside of the tray untreated or use a food-safe sealant.
- Leave a small gap (about 1/4 inch) between the rim board ends and the corner uprights. This gives water one more exit path and prevents the rim corners from trapping debris.
- Consider a mesh or hardware cloth platform insert (1/4-inch galvanized mesh stapled into the tray) instead of solid wood. Mesh drains instantly and dries much faster, which directly reduces mold.
Placement, hanging, and initial setup
Where you put the feeder matters as much as how you build it. The single most important placement rule involves windows: feeders placed between 3 and 30 feet from a window put birds at real collision risk because they build up enough flying speed to injure themselves on the glass. Stay either closer than 3 feet (where birds cannot build dangerous momentum) or farther than 30 feet. In a typical backyard, placing the feeder on a post or in a tree 15 feet from the house sounds reasonable but sits squarely in the danger zone. Either pull it right up to just outside a window or move it to the far end of the yard.
For hanging, drill a centered eye bolt through the roof ridge with a large washer underneath to spread the load. Use a galvanized S-hook and a length of wire or chain rated for at least 10 to 15 pounds. A full platform feeder with wet seed and a wooden roof can easily hit 5 to 7 pounds, so do not rely on thin twine. For a post mount, attach a 4x4 post flange or a large pipe flange to the bottom of the platform and set it on a 4x4 post buried at least 18 inches in the ground (or in a post anchor).
Height between 4 and 6 feet off the ground works well for most setups. High enough that cats cannot easily reach it, low enough that you can refill and clean it without a stepladder. Position it in partial shade if possible. Full sun dries seed faster which sounds good, but in summer it also makes seed go rancid more quickly and makes the feeder uncomfortable for birds on hot days.
Maintenance, cleaning, and pest-proofing troubleshooting
Cleaning schedule and how to do it
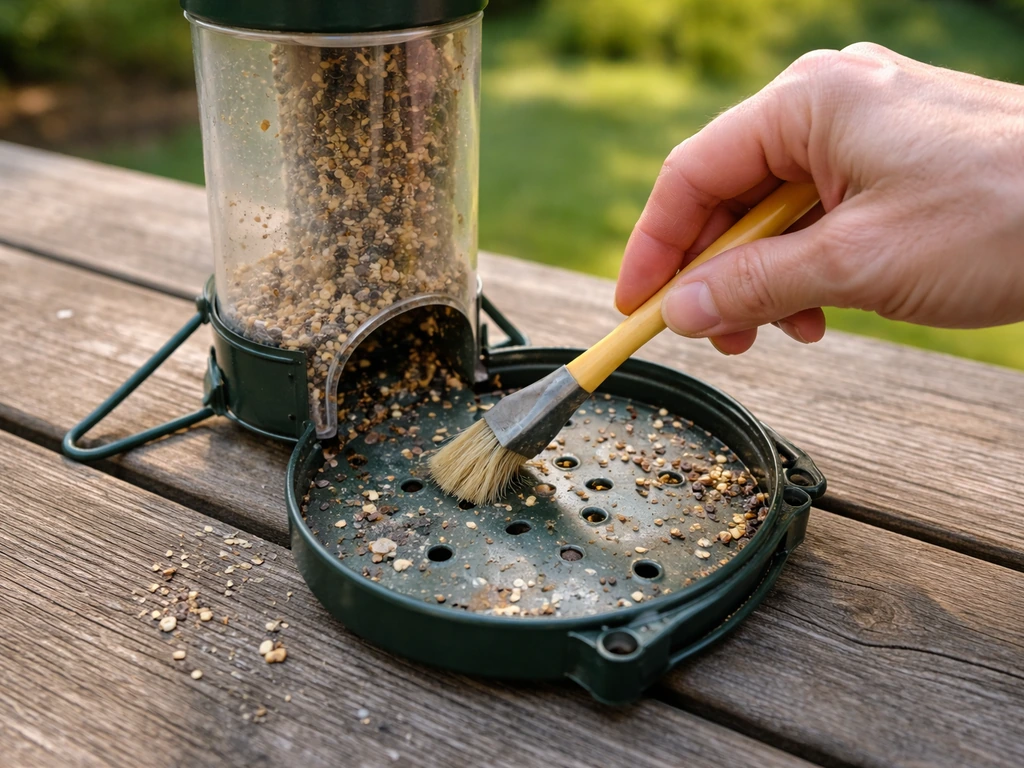
Clean the feeder every two weeks as a baseline, and bump that up to weekly during wet weather or if you spot sick-looking birds in the yard. The cleaning method is straightforward: scrub the platform and roof supports with a stiff brush and a 9:1 water-to-bleach solution (9 parts water, 1 part household bleach). Audubon recommends soaking feeders in a solution of 1 part bleach to 9 parts water for about 15 minutes before rinsing and thoroughly drying 9:1 water-to-bleach solution. That ratio comes from multiple wildlife health recommendations and genuinely kills the fungal and bacterial pathogens that spread disease between birds. Let the solution soak for a couple of minutes, scrub off any stuck seed or droppings, rinse thoroughly with clean water, and let everything air dry completely before you add fresh seed. Refilling a damp feeder undoes all your cleaning work almost immediately.
Every few months, check the roof attachment screws, the drainage holes (clear any that are clogged), and the joint where the uprights meet the platform. Those joints are the first places water gets in and rot starts. A fresh coat of sealant on any bare wood you find will extend the feeder's life considerably.
Dealing with squirrels and other pests
Squirrels are the most common frustration with any platform feeder, and a roof actually makes things easier because it gives you something to mount a baffle on. A torpedo or dome baffle on the hanging chain or pole below the feeder is the most reliable deterrent. Audubon notes that the only sure way to keep squirrels off a conventional feeder is to mount it on a pole at least 20 feet from a branch or roof and add a metal squirrel guard (baffle) just below the feeder. Position it so there is at least 18 inches of smooth baffle surface between the squirrel's starting point and the feeder. Squirrels are persistent jumpers, so placement height and distance from nearby branches matters: keep the feeder at least 10 feet from any tree, fence, or structure they can launch from.
Another approach that actually works: set up a separate squirrel feeding station with corn or cheap seed a good distance away from your main feeder. Redirecting them rather than fighting them is genuinely effective and less aggravating than an ongoing battle. It sounds like giving up but in practice it keeps squirrels satisfied elsewhere and your bird seed intact.
For raccoons, the same baffle approach works, but you also want to bring the feeder in at night or make sure there is nothing below it (like a post) they can shinny up. Raccoons are stronger and smarter than squirrels, so a smooth metal pole baffle (at least 18 inches diameter) is more reliable than a plastic dome for deterring them.
Ants are a less obvious problem but they will absolutely colonize a platform feeder. Smearing petroleum jelly on the hanging wire or pole works temporarily, but a small ant moat (a cup of water threaded onto the hanging chain above the feeder) is cleaner and more reliable long-term. You can make one from a plastic bottle cap with a small hole drilled in the center.
When things go wrong: quick fixes
| Problem | Likely cause | Fix |
|---|---|---|
| Seed stays wet or molds quickly | Drainage holes blocked or missing | Clear holes with a nail; add more holes; switch to mesh platform insert |
| Roof lets in rain at edges | Overhang too short or EPDM edge not sealed | Add a wider drip strip or re-staple membrane with a 2-inch overhang and downward edge curl |
| Feeder swings too much in wind | Hanging chain too long or attachment point too high | Shorten chain, add a second anchor point, or switch to a post mount |
| Squirrels get past the baffle | Feeder too close to launch point, or baffle too small | Move feeder 10+ feet from any structure; upgrade to a 18-inch metal pole baffle |
| Birds avoid the feeder | New smell from sealant, or feeder too close to a window or building | Let feeder air out for a few days; check placement distances from windows and buildings |
| Uprights or roof feel wobbly | Screws loosening from wet/dry cycles | Re-drive screws with a touch of exterior glue; add a corner bracket at each roof upright |
One last thing worth saying: do not wait for the perfect build before putting it out. A simple platform with drainage holes and even a basic flat roof with an overhang is going to attract birds and work better than most store-bought feeders. If you want to take this project further, use these principles to build a bird feeding station with multiple feeder options for different species. If you want a complete walkthrough beyond the basics, see our guide on how to build bird feeder designs step by step. You can refine the slope, add shingles, or swap in a mesh floor on your next version. The birds will show up for the seed long before you have perfected the carpentry. If you want to go further after this build, a full feeding station with multiple feeder types on a single pole setup is a natural next step, and so is adding a cage around the outside to manage larger pest birds while still welcoming the smaller species you are trying to attract.
FAQ
Can I make the platform from plywood instead of cedar boards, and still keep it bird-safe?
Yes, as long as the deck still has real drainage. If you use plywood or boards, slope the platform slightly toward the drainage holes (even 1/8 to 1/4 inch of drop) and do not seal over the drain openings. Sealing is fine everywhere else to reduce rot.
What roof covering options last longest on a small feeder roof?
Use a material that can survive staying dry and exposed to seed residue, and avoid anything that sheds pieces. EPDM works well for the roof surface, cedar shingles work, and exterior plywood with a proper exterior topcoat works. For the roof thickness, avoid very thin, flexible panels because they can sag and ruin the slope over time.
What should I do if water still pools on the platform after I build it?
Try to keep the seed above the wet wood, and always use drainage. If you notice standing water, the fix is usually clearing blocked holes and ensuring the platform is level enough to avoid pooling but has clear channels to the holes. Wet seed left in a shallow pocket will mold even with a sloped roof.
How steep does the roof really need to be, and is sealant a substitute for slope?
If you cannot achieve at least a 2:12 slope, your best move is to increase the roof pitch rather than relying on sealant alone. Sealant can help joints, but it cannot fully compensate for water flow problems that cause leakage and seed-wetting.
Should I add a drip edge or flashing on the roof?
Yes. You can add a simple drip edge using an extra strip of wood or metal under the roof edge so runoff falls in a predictable line. The key is to keep it under the overhang area so wind-driven rain still lands outside the platform edge.
Can I use the same bleach mix to clean the roof and any squirrel baffles, and how long should I soak?
For cleaning, do not soak the entire feeder for long periods. Scrub, allow a short soak (a couple of minutes), rinse thoroughly, and let it fully air dry before refilling. Also remove and clean any baffle components separately, since grease and seed dust can build up.
How do I know when the feeder hardware is failing, and what should I inspect first?
If you used outdoor screws, periodically check for corrosion and tightened joints every few months, then again after harsh winters. Replace stripped screws right away, because loosening at the upright-to-platform joint is where rot starts.
Birds visited at first, then stopped. What are the most common reasons a roofed platform feeder stops working?
Start by confirming the platform holes are clear and that the roof overhang is actually covering the windward edge. If birds are hesitant, you can reduce the seed type mess by using a seed mix that matches your target birds and smaller feeders, but do not block drainage or stop airflow. Also, give birds time, they often arrive after a few days once they trust it.
Can I hang the feeder with rope or a lighter chain instead of wire or chain?
Yes, but keep the weight rating in mind and avoid thin chains that can twist. Use a properly sized eye bolt with a large washer on the roof ridge, and choose chain or wire rated for at least your estimated maximum load with a safety buffer for wet seed and birds.
What if my backyard layout puts the feeder near a window, how can I reduce collision risk?
You generally want the feeder out of the 3 to 30 foot window from windows. If your yard forces you into that range, use alternatives such as moving the feeder outside the window setback or placing it very close to prevent dangerous speed buildup. Another option is reducing risk by using patterned window film, but placement rule is still the first priority.
How do I prevent ants from nesting in and under the feeder long-term?
If you see ants, do not rely only on temporary tricks. Use an ant moat that creates a barrier on the suspension point, and wipe away oily residue if you used petroleum jelly earlier. Also check nearby entry points, ant trails often bypass small barriers by climbing on nearby structures.
What mounting method is safest in wind, a hanging setup or a post mount?
For a post mount, bury depth matters, at least 18 inches is a good baseline. Use a stable post anchor or flange, and avoid mounting directly to a thin deck board or unstable surface that can tip in wind. The feeder should stay plumb so water drains to the holes, not toward the edges.
How can I protect a roofed feeder from raccoons without harming birds?
If you get raccoons or strong pests, make sure nothing provides a climb route, especially below the feeder. A larger, smooth baffle on the pole is more effective than a plastic dome, and many people bring the feeder down at night during high-activity periods.
Should I adjust cleaning frequency or seed handling in summer versus rainy seasons?
Plan for seasonal cleaning changes. During wet weather or when you see sick-looking birds, move to weekly cleaning and discard any seed that clumped or stayed damp. In hot weather, consider partial shade and smaller fill amounts so seed does not sit and heat up.
Next Articles

How to Build a Platform Bird Feeder Step by Step
Step-by-step plans for a wood platform bird feeder plus easy bottle, jug, and pinecone options, with safe mounting and u
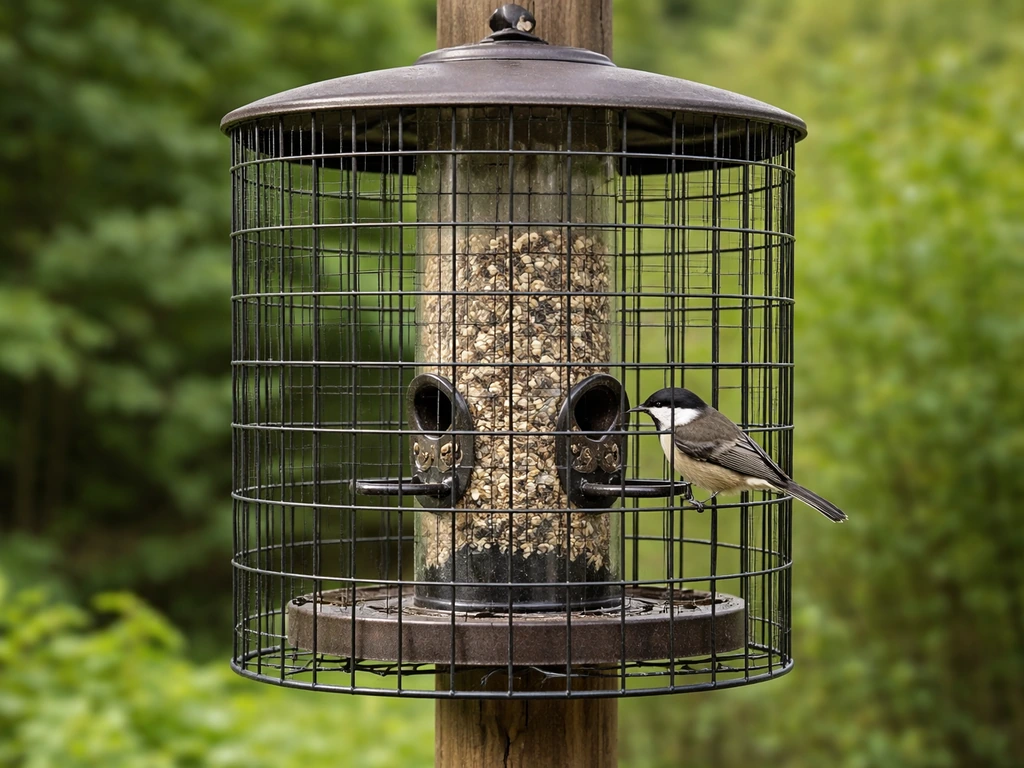
How to Build a Cage Around a Bird Feeder for Squirrel Control
Step-by-step how to build a wire mesh bird-feeder cage for squirrels, with sizing, placement, tools, and maintenance tip
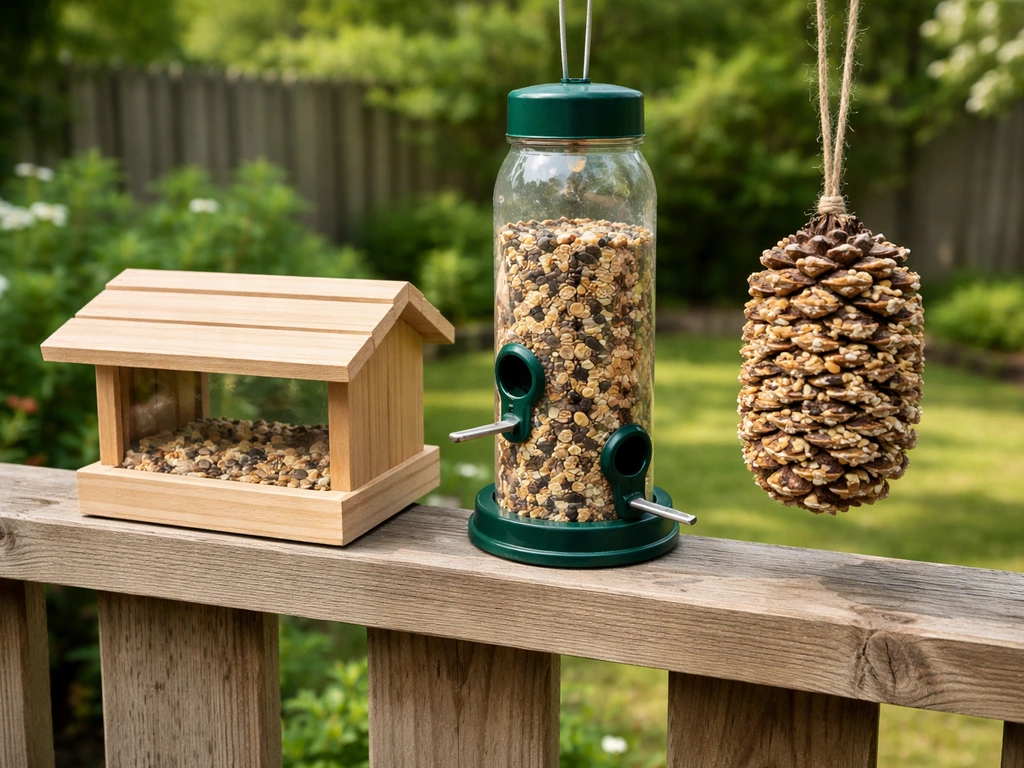
How to Build a Bird Feeder: Simple DIY Steps for 3 Types
Step-by-step DIY guide to build 3 bird feeder types, choose materials and food, place safely, and keep pests out.