You can make a functional mealworm bird feeder in about 20 minutes using a shallow plastic container, a piece of scrap wood, and some basic hardware. The simplest version is just a smooth-sided dish mounted on a post or hung from a branch so mealworms can't crawl out and birds can reach in easily. If you want something more weatherproof or bluebird-specific, a small enclosed tray feeder with a roof and mesh sides works even better. Either way, you don't need specialty supplies or woodworking skills to get started today.
How to Make a Mealworm Bird Feeder Step by Step
Marcus Brennan
31 May 2026
What a mealworm feeder is and which birds will actually show up
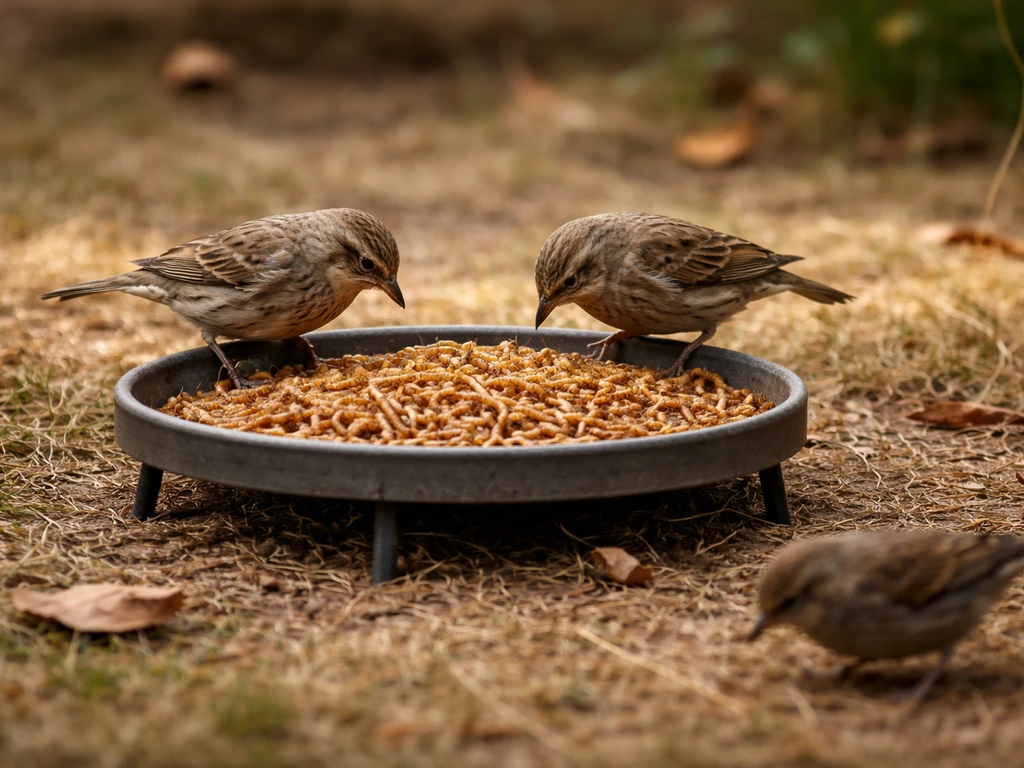
A mealworm feeder is any setup that holds live or dried mealworms in a way that keeps them accessible to birds and contained enough that they don't escape or get rained on. Unlike seed feeders, there's no dispensing mechanism needed. The whole goal is a shallow, escape-proof container that birds can land on and pick from.
Mealworms are one of the few foods that reliably attract Eastern and Western bluebirds, which is the main reason people build dedicated mealworm feeders. Beyond bluebirds, you'll also pull in chickadees, titmice, wrens, nuthatches, robins, and sometimes woodpeckers. These are all insect-eating species that don't typically visit seed or suet feeders (though some, like chickadees, eat both). If bluebirds are your target, the feeder placement and design matter a lot more than for generalist feeders, which I'll get into below.
One thing worth knowing upfront: live mealworms attract more species and get consumed faster than dried ones. Picky birds like bluebirds strongly prefer live worms, especially if they haven't been conditioned to a feeder before. Dried mealworms work fine for chickadees, wrens, and robins and are much easier to store and manage. If you're trying to establish bluebirds at a new feeder, start with live worms and transition to dried ones gradually once they're regulars.
What you'll need before you build
The materials list depends on which build you choose, but here's what covers both the simple dish version and the enclosed tray version.
For the simple open-dish feeder
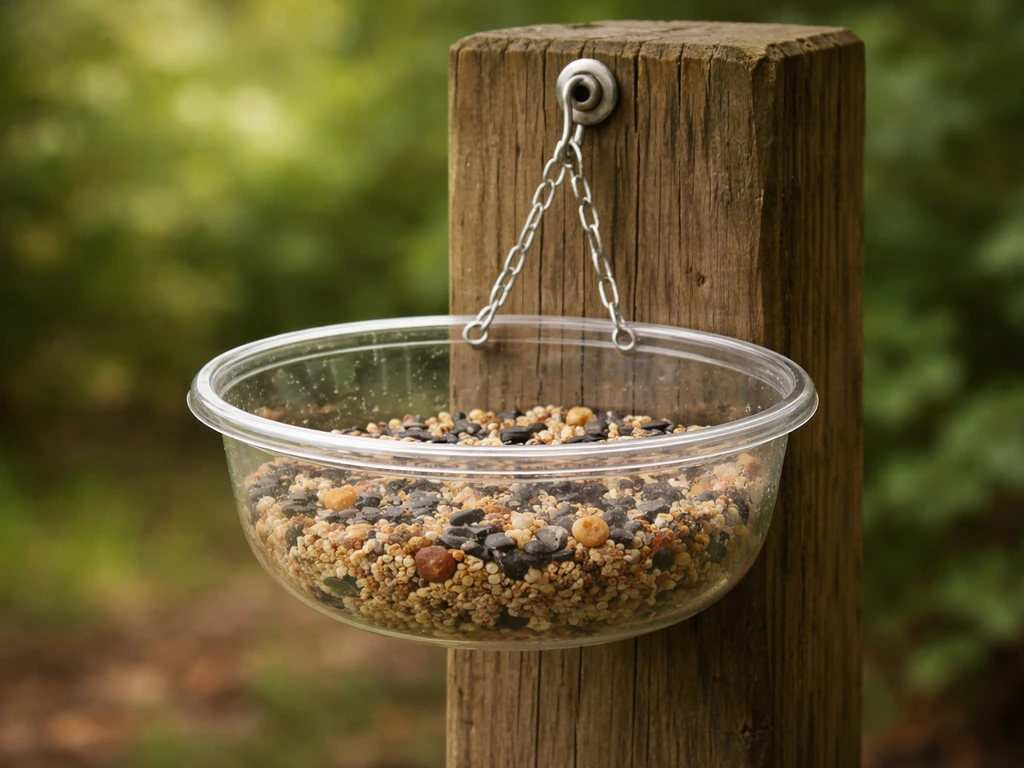
- A smooth-sided plastic or glass bowl or dish (old cereal bowls, deli containers, and Tupperware all work great)
- A wood scrap, post, or shepherd's hook to mount or hang it from
- Two or three wood screws, or zip ties if you're attaching to a hook
- A drill with a small bit (optional, for drainage holes in the bottom)
- Sandpaper to smooth any rough cut edges if you're trimming a container
For the enclosed tray feeder with a roof
- A small piece of 3/4-inch pine or cedar board (roughly 12 x 8 inches for the tray floor, 12 x 10 inches for the roof)
- Hardware cloth or mesh with 1 3/8-inch to 1 1/2-inch openings for the sides (this sizing lets smaller insect-eaters in but makes it harder for larger birds to barge through)
- Four small wood screws or staples for attaching mesh sides
- A saw (hand saw works fine)
- A drill
- A length of wire or chain for hanging, or a post bracket
- Waterproof wood glue (optional, for extra durability)
- Eye screws for hanging
Cedar is worth using for the tray version if you have it, because it holds up better to moisture and resists rot without needing to be painted or sealed. Pine works too but will degrade faster. For either build, plan on spending under $10 if you're sourcing new materials, and often nothing if you're raiding a junk drawer and recycling bin.
Two build options: pick the one that fits your setup
Option 1: The 15-minute open dish feeder
This is the fastest path to a working feeder. It's exactly what bird feeding guides like the Gammel Garden Museum activity materials describe: an old bowl or shallow plastic dish used as a mealworm station. It works well for most species and is a great way to test whether birds in your yard will take to mealworms before you invest in anything more elaborate.
- Find a smooth-sided bowl or dish with walls at least 1.5 to 2 inches tall. This height keeps live mealworms from crawling out. Glass and smooth plastic both work; avoid textured containers because mealworms can grip and escape.
- Drill 4 to 6 small holes (about 1/8 inch) in the bottom for drainage so rain doesn't pool and drown your worms or cause mold.
- If you're mounting it on a post: set the bowl on a flat wood scrap, drill a small pilot hole up through the wood and into the bottom of the bowl, and drive a screw through from underneath. Keep it snug but not cracked.
- If you're hanging it: loop wire or a zip tie around the bowl's rim or handle (if it has one) and attach to a shepherd's hook or tree branch. Make sure it hangs level so worms don't all pile up on one side.
- Add mealworms and set it out. Done.
Option 2: The enclosed tray feeder with a roof
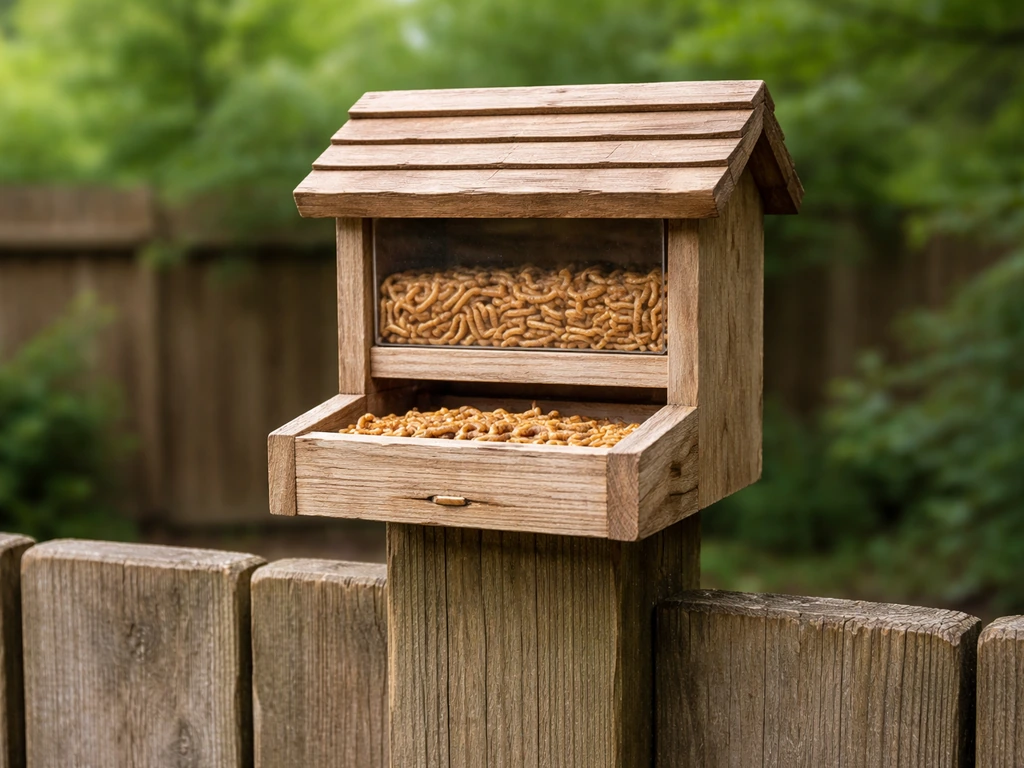
This build is what serious bluebird enthusiasts use. If you want a different style that uses a bundt pan for feeding stations, here’s how to make a bundt pan bird feeder. A roof keeps rain off the worms (wet mealworms rot fast), and mesh sides let you control which birds can enter. Sialis.org, which focuses specifically on bluebird feeding, recommends a feeder like this placed about 100 feet from a nestbox, with the dish inside protected from sun and rain. This build takes about 45 minutes to an hour.
- Cut your tray floor to roughly 8 x 6 inches. This gives birds enough room to land and maneuver without making the feeder so large it's harder to clean.
- Cut your roof piece about 2 inches wider and longer than the floor on all sides so it overhangs and sheds rain.
- Cut four side panels from hardware cloth to match the tray height you want (4 to 5 inches works well). Use 1 3/8-inch mesh openings if you specifically want to restrict access for larger birds. Staple or screw the mesh to the edges of the tray floor.
- Attach the roof above the mesh sides using eye screws or small corner brackets. Leave a gap of at least 1 inch between the top of the mesh and the roof edge on two sides so birds can fly in easily.
- Drill drainage holes in the tray floor (same as option 1, 1/8-inch holes spaced a few inches apart).
- Screw two eye screws into the top of the roof and thread wire or chain through them for hanging. For a post mount, attach a bracket or corner brace to the underside of the tray floor.
- Place a smooth-sided glass or plastic dish inside the tray to hold the mealworms. This makes cleaning much easier than washing the whole feeder every time.
Loading mealworms without making a mess
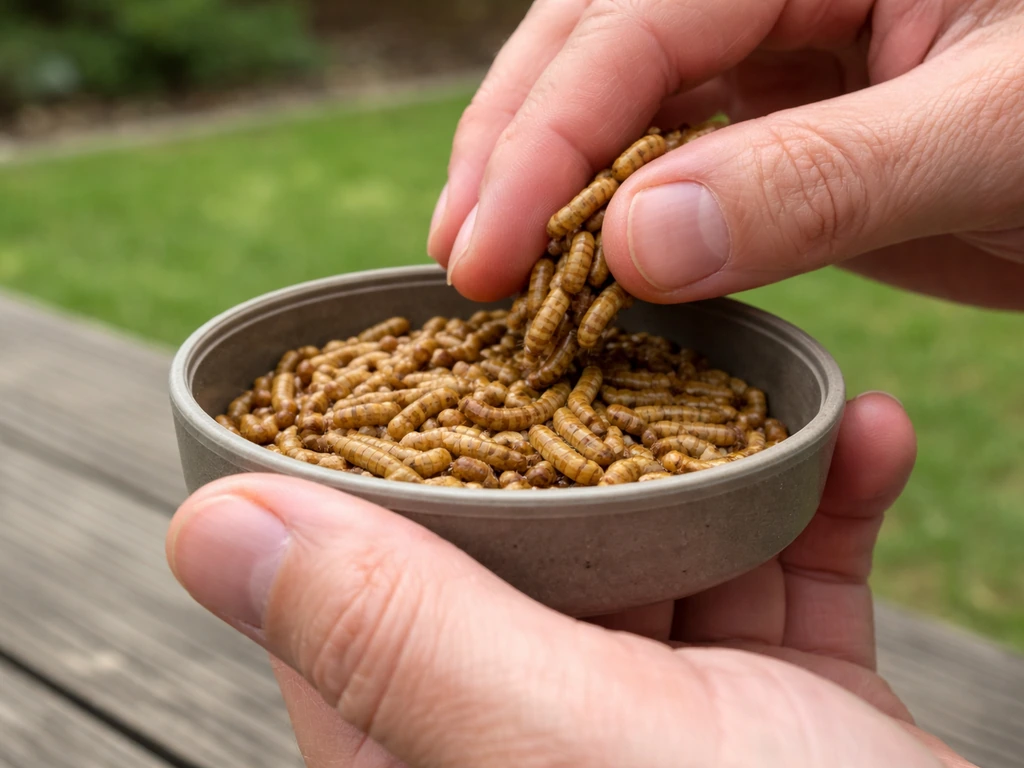
The mess issue with mealworms is real, especially with live ones. Here's how to keep things manageable.
Start with the right portion size. Sialis.org recommends about 15 live worms per bluebird per day as a guideline. If you have a pair plus fledglings, you're looking at 30 to 60 worms per feeding session. Don't dump in a huge pile at once. Smaller, more frequent servings means less waste and less chance of worms escaping, spoiling, or attracting unwanted visitors.
For live mealworms: always use your smooth-sided inner dish, and don't overfill it. A dish with 1.5 to 2-inch walls is your main escape deterrent. If you find worms still getting out, try a slightly taller container or lightly coat the inside top edge of the dish with petroleum jelly, which makes the surface too slippery to grip.
For dried mealworms: these are dramatically easier to manage. They don't crawl, don't need refrigeration between feedings, and birds eat them nearly as willingly as live ones once they're used to the feeder. The only downside is that picky species like bluebirds may ignore them at first. If you're using dried worms, try soaking them in a small amount of water for 10 to 15 minutes before serving to rehydrate them slightly. This makes them more appealing and easier for birds to digest.
Refill timing matters too. In warm weather (above 75°F), live mealworms left out for more than a couple of hours can die and start to degrade. Check the dish at least twice a day in summer and remove any dead or discolored worms before refilling. In cooler weather, you have more of a window, but still aim to refresh daily.
Where to hang it and how high
Placement makes or breaks a mealworm feeder. Get this part right and birds will find it within days. Get it wrong and you'll wait weeks while the worms rot.
Height: Mount or hang the feeder between 4 and 6 feet off the ground. This puts it in the natural sightline of ground-foraging birds like robins and bluebirds, while keeping it accessible enough for you to refill without a ladder. Wrens and chickadees will visit at almost any height, but bluebirds in particular are more comfortable approaching feeders that are close to shrub or post height rather than high in a tree.
Location: If you're targeting bluebirds, Sialis.org is explicit about distance from the nestbox: place the mealworm feeder about 100 feet away from any bluebird nest box. This keeps feeding activity from drawing predators to the nest site. For general insect-eaters, place the feeder within sight of shrubs or trees so birds have a nearby perch to retreat to, but not so close to dense cover that cats can stalk from it. An open area with 10 to 15 feet of clear space around the feeder is a good target.
Sun and shade: Avoid full-sun spots for mealworm feeders. Direct afternoon sun heats the dish and kills live worms quickly, and it speeds up spoilage of dried ones too. A location with morning sun and afternoon shade is ideal. This is one reason the enclosed tray design with a roof is worth the extra effort if you live somewhere with intense summer heat.
Unlike seed feeders (like a sunflower seed feeder that can be placed almost anywhere convenient), mealworm feeders reward a bit more thought about species-specific placement. You can choose the same general placement guidelines for a sunflower seed bird feeder, but mealworm feeders still need more species-specific protection from sun and spoilage sunflower seed feeder. The extra 10 minutes spent choosing the right spot pays off faster than almost any other decision in this project.
Keeping the feeder clean and the mealworms fresh
Mealworm feeders get dirty faster than most other feeder types because you're dealing with insect frass (droppings), dead worms, and bird droppings all mixing together in a small dish. A good cleaning routine prevents disease from spreading to the birds you're trying to help.
How often to clean
All About Birds recommends cleaning feeders at least once every two weeks as a baseline, and more often during wet weather or heavy use. For a mealworm feeder specifically, I'd push that to once a week minimum in summer, and a quick rinse of the inner dish every two to three days. The inner dish is the dirtiest part, so keeping that separate and washable makes the job much faster.
The cleaning process
- Remove the dish and dump any remaining mealworms or debris.
- Wash the dish with hot soapy water to remove organic buildup.
- Disinfect using a dilute bleach solution: either 2 ounces of bleach per gallon of water (per Minnesota DNR guidance) or 1 part bleach to 9 parts water, which is about a 10% solution (per BirdNET and All About Birds). Both are effective. Adding 1 to 2 teaspoons of dish soap per gallon to the bleach solution helps cut through grease and frass.
- Let the solution soak for a few minutes, then scrub with a brush.
- Rinse thoroughly with clean water. Bleach residue can harm birds, so don't skip this step.
- Let everything air dry completely before refilling. This is important because moisture plus mealworm debris is exactly what mold needs to start growing.
For the tray or wood parts of the feeder, wipe them down with the bleach solution and a rag rather than soaking. Soaking wood repeatedly will cause it to warp and degrade faster, especially if you used pine. Cedar holds up better to this kind of treatment.
Dealing with ants, bigger birds, and other pests
A mealworm feeder is basically a bug buffet, which means it attracts more than just the birds you want. Here's what actually works for the most common problems.
Ants
Ants will find your feeder within hours if it's hung near vegetation or a structure they're already traveling. The most effective solution is blank" rel="noopener noreferrer">an ant moat, which is a small cup or reservoir filled with water that ants can't cross. Cornell Cooperative Extension recommends this approach and even describes a DIY version: thread your hanger wire through a hole in a spray-can cap, seal it, and fill the cap with water. Cornell University and its extension network publish guidance for DIY ant barriers, which can help with feeder designs like this blank" rel="noopener noreferrer">DIY ant barrier guidance. Any ant that tries to cross the wire to reach the feeder hits the water barrier and stops. You can also buy ready-made ant moats designed for hummingbird feeders for a few dollars, and they work just as well on mealworm feeders. Just keep the moat filled, especially in dry weather when it evaporates faster.
Larger unwanted birds
Starlings and grackles will dominate an open mealworm dish and drive away the smaller birds you're trying to feed. If this is a problem, the enclosed tray design is your best tool. The mesh sizing matters here: openings around 1 3/8 inches make it noticeably harder for larger birds to squeeze through while still allowing bluebirds, chickadees, wrens, and nuthatches easy access, as Sialis.org's modified bluebird feeder design demonstrates. You can also use a weight-sensitive baffle on a hanging feeder, similar to what people use on seed feeders, though these are overkill for most backyard situations.
Raccoons and squirrels
Raccoons are primarily a problem if you leave live mealworms out overnight. The simple fix is to bring the inner dish inside at dusk. If you're using a post-mounted feeder, a pole baffle (a cone or tube that wraps around the post below the feeder) stops squirrels and raccoons from climbing up. This is the same pest-proofing approach used on seed feeders like suet or finch feeders, and it works just as reliably here.
Mealworms dying before birds eat them
If you're consistently finding dead worms in the dish, it's almost always one of three things: too much sun on the feeder, portions that are too large for the number of birds visiting, or poor ventilation causing heat buildup in an enclosed feeder. Solve it by moving to a shadier spot, serving smaller amounts more frequently, and making sure your enclosed feeder has adequate open sides for airflow.
Mold in the dish
Mold almost always follows wet conditions: rain getting into an open feeder, or mealworm moisture combined with frass sitting in the dish for too long. The drainage holes you drilled in step one help prevent standing water. If mold is recurring, step up your dish rinsing to every other day and make sure the feeder has a roof or some overhead cover. As the Minnesota DNR notes, mold and bacteria thrive when food gets wet, and this is one of the more serious hygiene risks for bird feeders.
A quick comparison: open dish vs enclosed tray feeder
| Feature | Open Dish Feeder | Enclosed Tray Feeder |
|---|---|---|
| Build time | 15 minutes | 45 to 60 minutes |
| Materials cost | Under $2 (reused dish) | Under $10 new materials |
| Weather protection | None without separate cover | Good (roof sheds rain and sun) |
| Pest control | Limited | Better (mesh sizing restricts larger birds) |
| Ease of cleaning | Very easy (just the dish) | Easy if inner dish is separate |
| Best for | General insectivores, quick setup | Bluebirds, long-term use, pest-prone yards |
| Live worm retention | Good with tall smooth-sided dish | Excellent (enclosed sides contain worms) |
If you're brand new to mealworm feeding, start with the open dish. It lets you learn how many birds visit, how fast they eat, and whether the location works before you invest time in the enclosed version. If bluebirds are your target or you're dealing with a lot of competition from starlings, go straight to the enclosed tray design.
One more thing: mealworm feeders work best as part of a broader yard setup. Pairing one with a reliable seed source (like a finch feeder for smaller seed-eaters, or a sunflower seed feeder for bigger species) means you're supporting a wider range of birds and giving the insect-eaters less competition at the mealworm station specifically. The more variety in your yard, the more consistent your bird activity tends to be throughout the season.
FAQ
Can I leave a mealworm bird feeder out in the rain, and what changes if I do?
Covering the dish with a roof or adding mesh sides helps, but the key is water management. Drill or ensure drainage so rain does not pool, and in steady wet weather switch to shorter refills (smaller portions more often) to reduce frass and moisture build-up that leads to mold.
How do I adjust my feeder for cold or freezing temperatures?
Yes, but only if the container design keeps worms from escaping. Use the shallow dish as the feeding surface, keep the walls 1.5 to 2 inches (or taller), and do not overfill. In freezing weather, check more frequently because leftover live worms may be dead or damaged and the mess can accumulate faster.
What is the best way to transition from live mealworms to dried for bluebirds?
If your goal is bluebirds, start live and accept that it may take time for a transition. A practical approach is to offer dried worms for short windows after live worms are reliably eaten, then gradually reduce live worms over several days while keeping the same placement and dish size to avoid rejection.
How much should I put in if I am not sure how many birds will show up?
Take the worms that are actually eaten as your guide. If the dish is consistently full for more than a few hours in warm weather, you are over-serving. Reduce to a smaller batch per visit, then increase only if birds are clearly finishing it quickly.
How should I store live and dried mealworms so they stay usable in the feeder?
Mealworms typically store longer if you keep them cool, dry, and in breathable packaging, and you discard any that smell bad, look swollen, or develop webbing or mold. For dried worms, keep them sealed to prevent moisture pickup, and do not rehydrate if you are seeing contamination already.
Will a mealworm feeder attract other animals, and how can I prevent that?
You can, but it changes feeding behavior and cleanliness. For hedgehogs and similar animals, open dishes are more likely to attract them at night, and dead worms can become a food source. If you must feed other wildlife, use a daytime schedule and bring the dish in after sunset to reduce unwanted visitors.
What should I do if starlings keep dominating the mealworm feeder?
Starlings and grackles are harder to exclude in an open dish, even with distance. If you keep getting them, use the enclosed tray with appropriately sized mesh and consider switching to smaller entrances rather than trying to block them by placement alone.
What is the quickest safe cleaning routine between full cleanings?
An inner-dish swap can reduce disease spread. Keep one clean dish on hand, rinse and replace the dirtiest one at each quick check, and deep clean weekly at minimum. Focus your bleach wipe-down on wood and tray surfaces, and avoid soaking parts that can warp or degrade.
How can I stop raccoons from eating the worms?
Bring the inner dish in at dusk, then empty and rinse before reloading. If you cannot bring it in, use a post-mounted setup with a pole baffle and avoid leaving live worms overnight, because raccoons learn fast when food is available consistently.
My worms keep turning up dead, even though I refill. What are the most common causes?
Yes, and it is usually a sign you need to change either location or design. Check for full-sun exposure, verify the walls are tall enough to contain worms, and make sure any enclosed tray has openings that allow airflow so heat does not build up and shorten worm life.
What should I do if I notice mold or a musty smell in the feeder?
Mold risk goes up when worms and frass sit wet. Fix it by improving drainage, using a roofed design where possible, and tightening your rinse schedule during rainy spells. If you see mold, discard remaining contents, scrub the dish, and restart with fresh worms.
If birds are not using the feeder, what should I troubleshoot first?
Rather than adding a complicated mechanism, adjust the simplest variables first. Ensure a shallow dish with escape-proof walls, keep portions small, and confirm feeder height and perch access for the birds you want. If birds still do not feed, re-check placement for sun and for nearby escape perches.
Next Article
How to Make a Lard Bird Feeder with Seeds
Step-by-step guide to make a lard bird feeder with seeds, plus safe mounting, pest prevention, and troubleshooting tips.