Most bird feeder problems come down to four things: birds can't reach the food, the seed is wet or moldy, pests are taking over, or the feeder itself is broken, leaking, or poorly placed. Before you spend money on a replacement, run through this quick checklist. If you do need a replacement, see how to buy a bird feeder so you choose one that matches the birds and problems you have. Once you’ve narrowed down the issue, you can follow a simple guide on how to start a bird feeder for the best chance of attracting birds. Nine times out of ten, a 20-minute fix is all it takes to get birds back at your feeder today.
How to Fix a Bird Feeder: Quick Troubleshooting Guide

Marcus Brennan
11 Jun 2026
Diagnose the problem first
Standing back and watching your feeder for five minutes tells you almost everything. Is the feeder empty but birds aren't coming? Are birds showing up but flying away without eating? Is seed piling up but going untouched? Is something else eating all the food before birds get a chance? Each of those symptoms points to a different fix, and jumping to the wrong one wastes your time.
Here's a simple way to sort out what's actually wrong. Check for these signs before you touch anything:
- Birds visit but leave quickly without feeding: ports are clogged, perches are missing or broken, or seed is clumped/moldy inside
- No birds at all: the feeder may be in a bad spot, the seed type is wrong, or a nearby predator (or aggressive pest) is making birds nervous
- Seed disappears overnight or very fast: squirrels, raccoons, or rats are the likely culprit, not birds
- Seed is wet, clumped, or smells off: moisture is getting in through leaks, a missing cover, or poor drainage
- The feeder is dripping, sagging, or tilting: structural failure, loose hardware, or an unbalanced hang
- Seed pours out constantly and litters the ground: a port or opening is too large, or the feeder isn't level
Once you've matched your symptom to a category, go straight to that section below. No need to read everything.
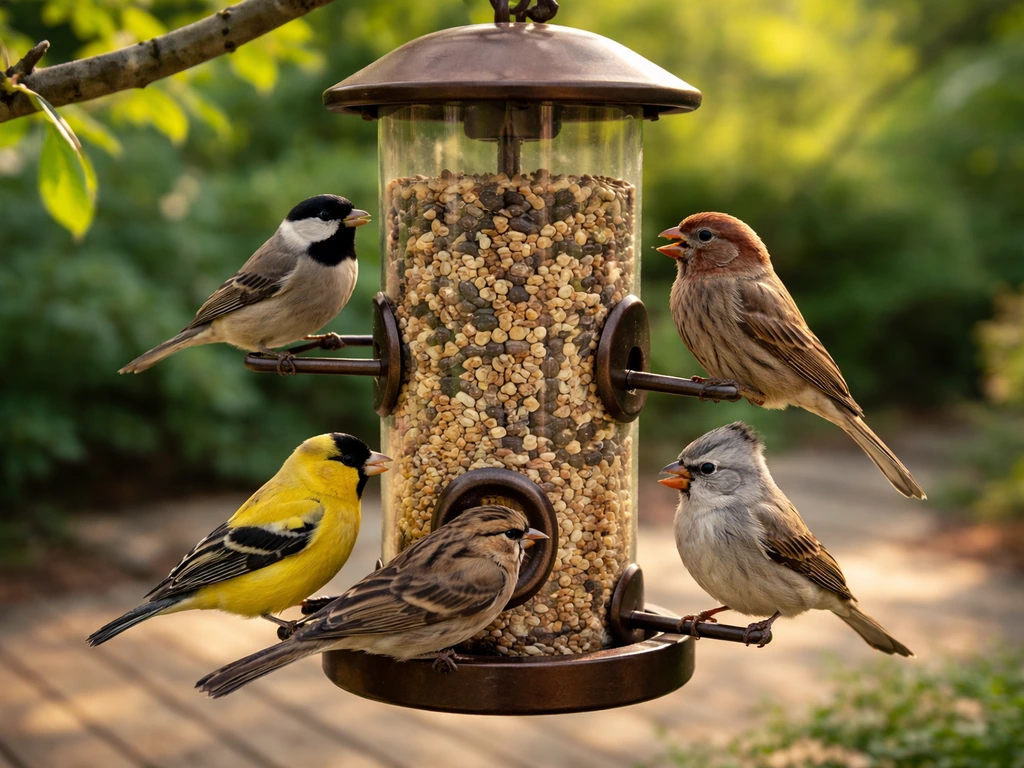
Fix food access issues: ports, perches, and seed type
The most common reason birds visit and then leave is that they literally can't get the seed out. Ports get clogged with compacted or wet seed, especially after rain. Perches break off, wobble, or are sized wrong for the birds you're trying to attract. And sometimes the seed is just the wrong size or shape for the feeder's openings.
Unclog and clear the ports
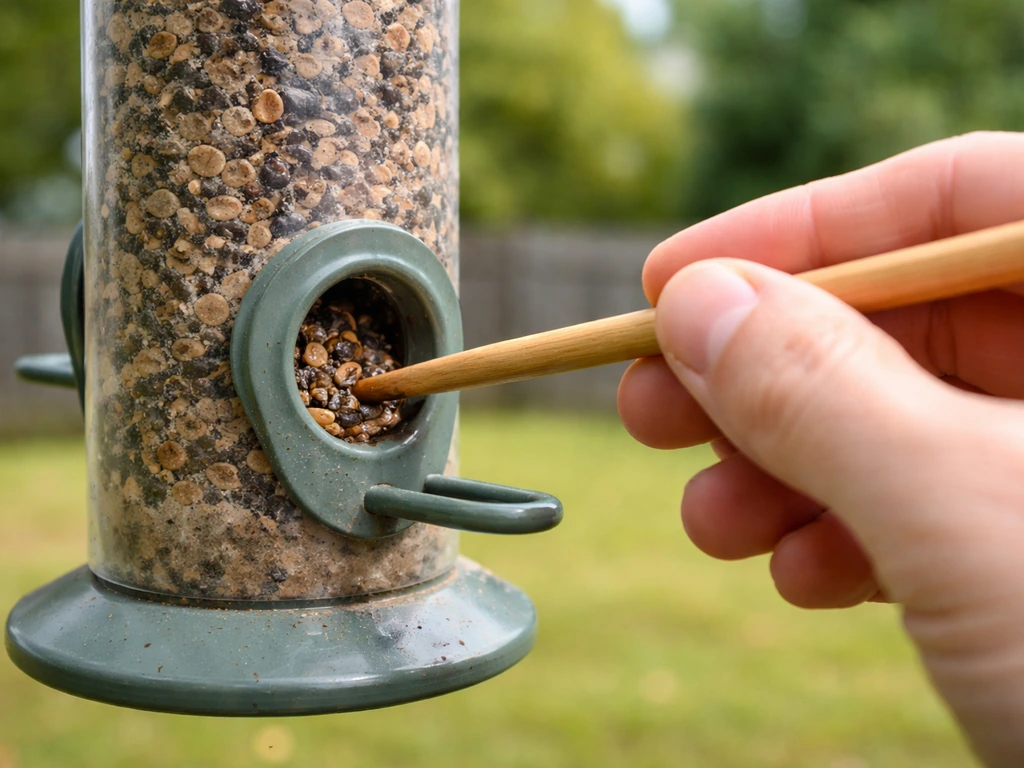
Take the feeder down and dump out all the seed. Look into each port opening. If you see compacted seed, a dark wet mass, or debris, that's your problem. A chopstick, a pencil, or a pipe cleaner works perfectly for clearing clogged tube feeder ports. For hummingbird feeders, check for debris blocking the tiny feeding holes. A small brush or even a toothpick clears these out. Once clear, rinse the ports with warm water and let everything dry before refilling.
Repair or replace broken perches
A wooden dowel perch that's snapped off is a quick fix. Pick up a 1/4-inch or 3/8-inch wooden dowel from any hardware store, cut it to match the original length, and press or glue it into the existing hole. A dab of waterproof wood glue holds it fine. If the original hole has widened and won't grip the dowel snugly, wrap the end of the dowel with a few layers of electrical tape before inserting it. For metal or plastic feeders with proprietary perch pieces, check if the manufacturer sells replacement parts. If not, a short length of stiff wire or a bent coat hanger threaded through the port hole can serve as a functional stand-in.
Match seed to feeder opening size
If you switched seed types and birds stopped feeding, the two probably don't match. Large sunflower seeds won't flow through the small ports designed for nyjer/thistle, and small millet falls right out of openings sized for sunflower seeds. If you're seeing constant spillage or birds struggling to extract seed, try switching to the seed type that matches the feeder's port size. A general rule: small round ports for nyjer or fine mixed seed, larger rectangular or round ports for sunflower hearts or safflower, and open tray or platform feeders for almost anything.
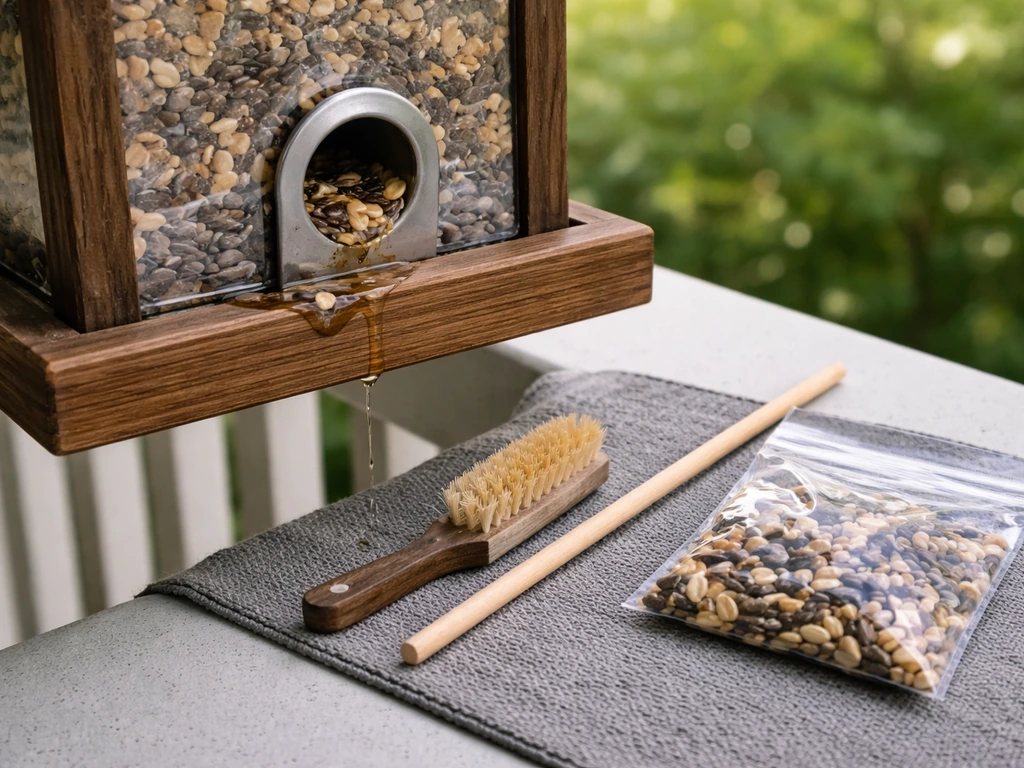
Stop leaks and wet or moldy seed
Wet seed is a serious problem beyond just waste. Moldy or damp seed can make birds sick, and wildlife health experts are clear: blank" rel="noopener noreferrer">do not give birds moldy or damp seed. If you see clumped, discolored, or slimy seed in your feeder, remove it all, clean the feeder thoroughly, and let it dry completely before adding fresh seed.
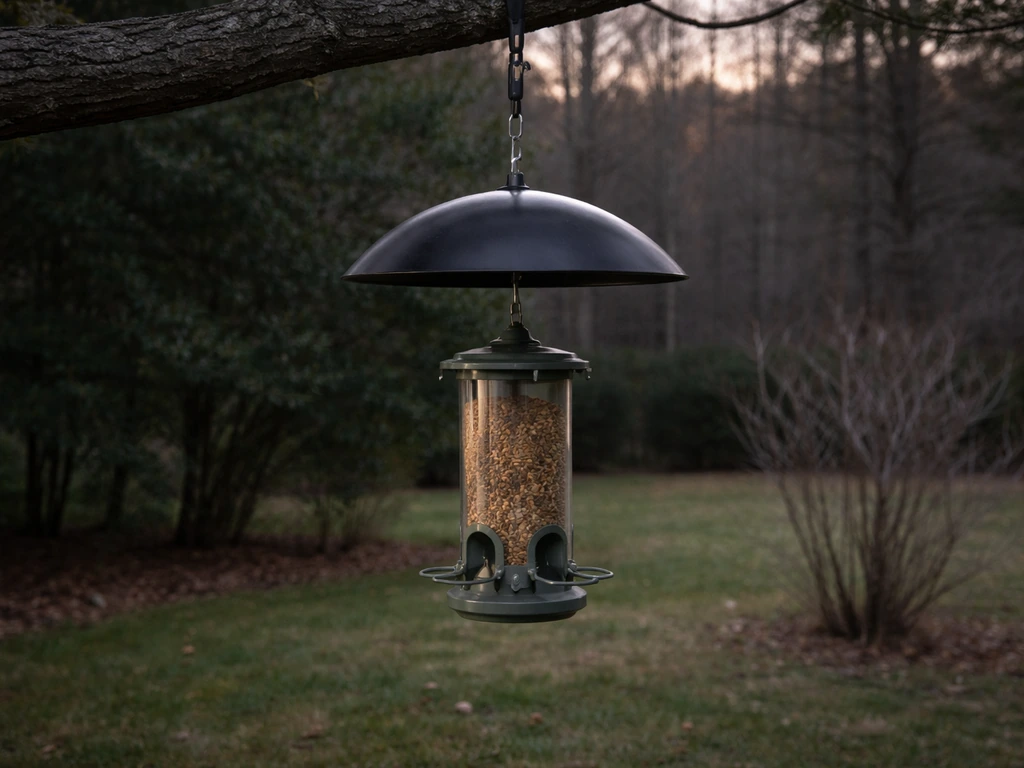
Find and seal the leak
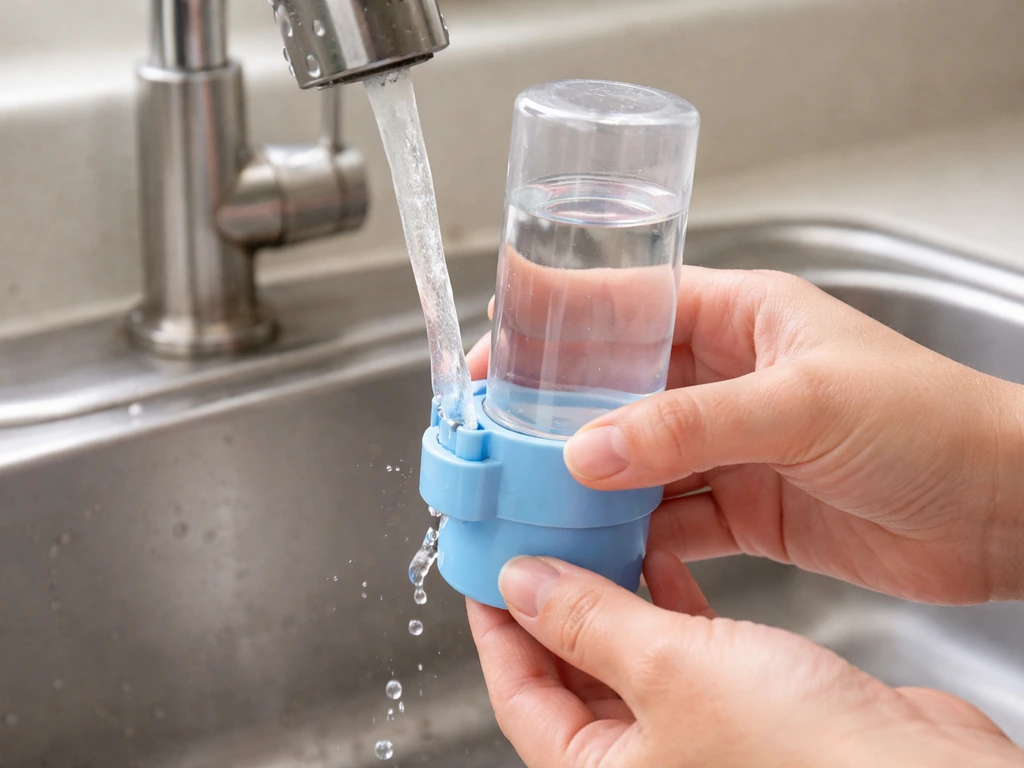
Fill the feeder with water over a sink and watch where it drips. Common leak points are the seam between a tube and its base cap, a cracked plastic housing, or a loose or misaligned gasket on hummingbird feeders. For hummingbird feeders specifically, the rubber gasket inside the lid must sit completely flat. If it's warped, folded, or misaligned, nectar will seep out of every port when the feeder tilts. Reseat or replace the gasket. Also check how the feeder hangs: tilting more than about 15 to 20 degrees from level can cause nectar to pour out of the ports even with a perfect gasket.
Improve drainage so rain doesn't pool
For tray and platform feeders, pooling rainwater is the number one cause of moldy seed. If your feeder doesn't already have drainage holes, drill three or four 1/4-inch holes in the lowest point of the tray. For hopper and tube feeders, check that the bottom cap or tray can drain or be easily removed to shake out wet seed after rain. A removable roof or weather guard above the feeder cuts moisture significantly and is worth adding if you live somewhere rainy.
Clean the feeder before refilling
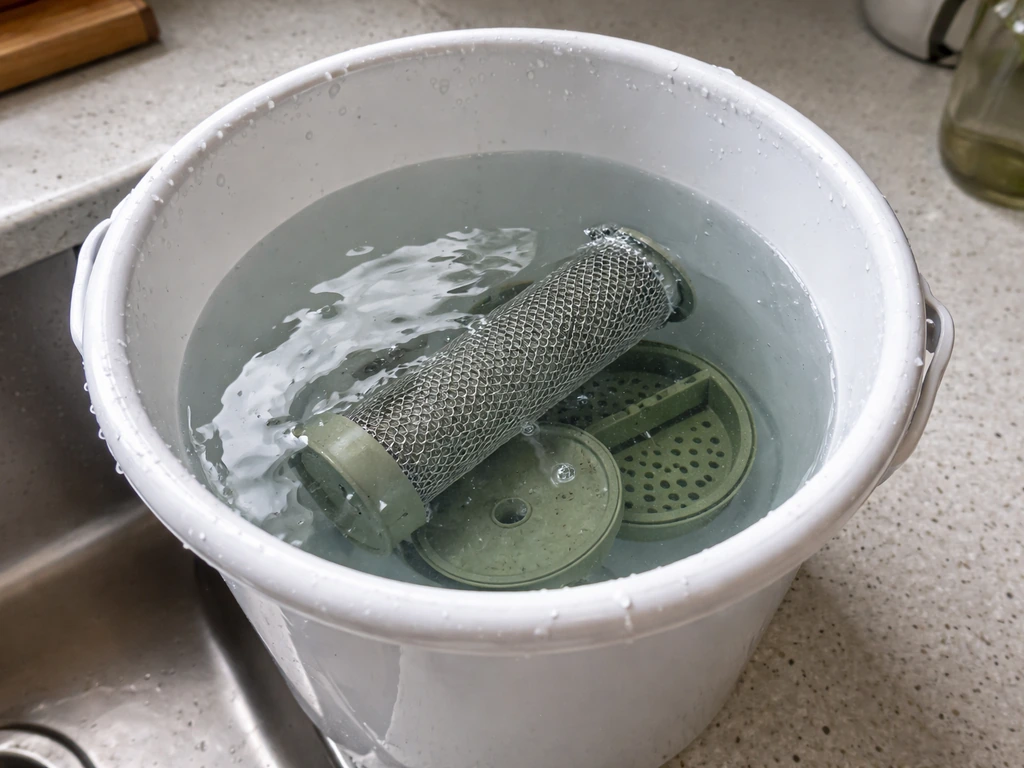
Once you've removed wet or moldy seed, the feeder needs disinfecting before new seed goes in. Soak or scrub the feeder with a solution of no more than 1 part bleach to 9 parts water. Rinse thoroughly and let it air dry completely before you add fresh seed. Damp feeder plus fresh seed equals the same mold problem recurring in days. Aim to do a full clean like this about once a month as regular maintenance, more often in warm or rainy weather.
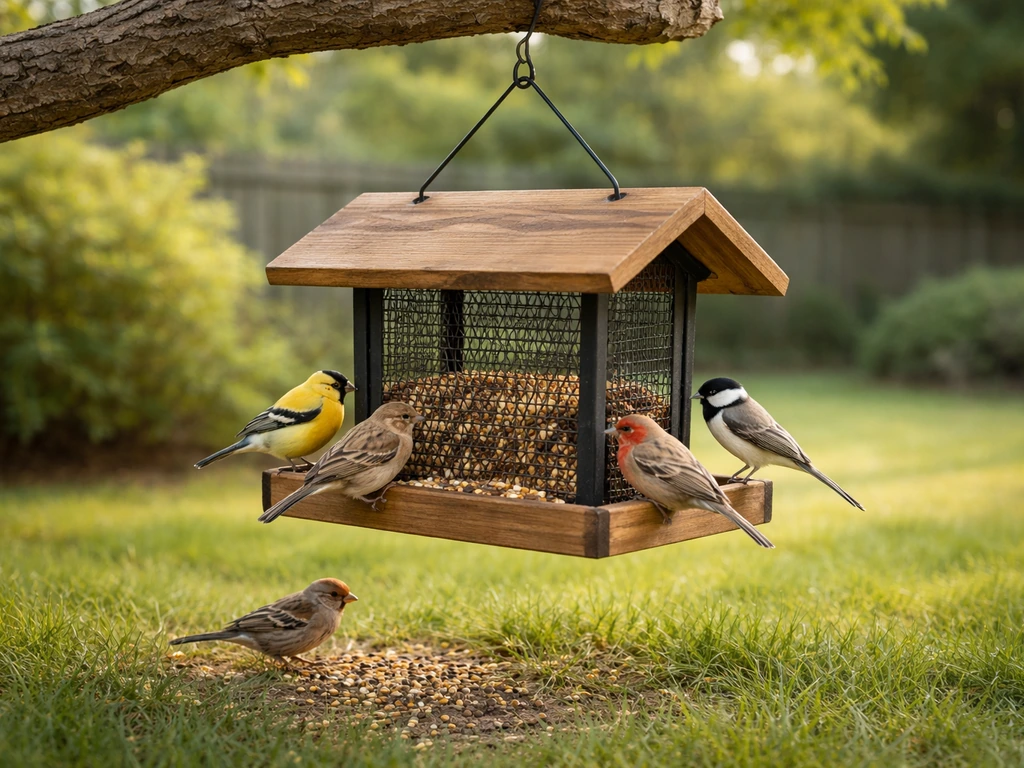
Repair and adjust DIY feeder builds
DIY feeders made from wood, plastic bottles, milk jugs, or pinecones fail in their own specific ways. The good news is that most of these failures are fast to fix.
Wood feeders
Wood feeders warp and crack over time, especially if they weren't sealed well to begin with. Cracks in the seed reservoir let moisture in and seed out. Fill small cracks with exterior wood filler, let it cure fully, and then seal the entire exterior with an exterior-grade water sealant or linseed oil. If a perch dowel has rotted at the joint, drill out the old hole slightly wider, add a fresh dowel with waterproof glue, and seal the joint. Hinges on roof lids are another common failure point. Replace rusted hardware with stainless steel screws and hinges so you're not doing this again next season.
Plastic bottle and milk jug feeders
These are low-cost and easy to rebuild, which is their biggest advantage. If the feeding holes have stretched or cracked wider (causing seed to pour out freely), the simplest fix is to start fresh with a new bottle or jug. They cost nothing. When you rebuild, use a heated nail or a proper drill bit to make clean, correctly sized holes instead of cutting them with scissors, which tends to crack plastic unevenly.
For the hanger on a milk jug feeder, punch a hole through both sides of the jug just below the cap and thread a sturdy wire through. A twisted wire loop holds far more reliably than a single strand and is less likely to slip off a hook in wind.
Pinecone feeders
Pinecone feeders are the simplest to fix because they're essentially rebuilt from scratch each time. If the peanut butter or seed butter coating has dried out, cracked off, or gone rancid, just scrape it clean and recoat with fresh peanut butter, suet spread, or a commercial bird-safe spread, then roll in fresh birdseed. The hanging string is the most common failure point. Wrap a fresh length of natural twine or ribbon tightly around the top few scales of the pinecone and tie it securely. If the old string slipped loose, try wrapping it in the opposite direction and adding a second tie.
The bigger problem: pests stealing food
If your feeder empties faster than any reasonable number of birds could explain, or you're seeing seed scattered widely under the feeder each morning, pests are almost certainly the issue. Squirrels, raccoons, rats, and mice are the usual suspects. This isn't just a nuisance: it drives up your seed costs, deters birds, and creates the messy ground debris that attracts even more pests.
Add a squirrel baffle
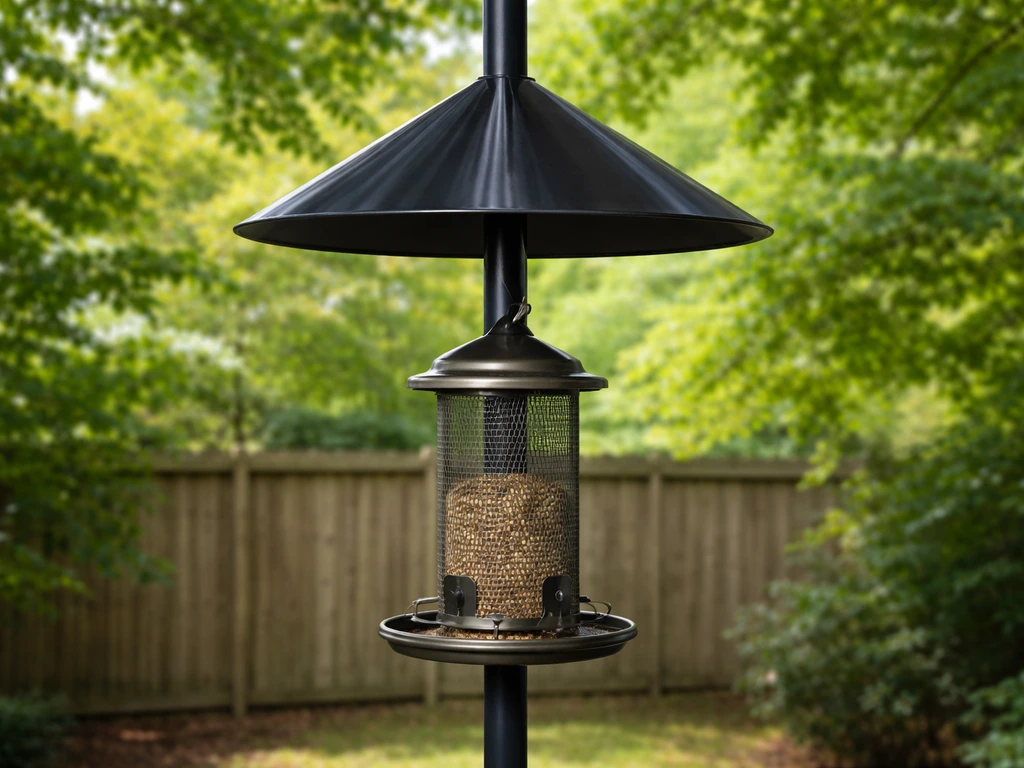
A baffle is the single most effective fix for squirrel and raccoon problems on a pole-mounted feeder. For a pole baffle, mount it so the top of the baffle is at least 5 feet from the ground. Wild Bird Habitat Store advises placing a squirrel baffle about 4 feet up from the ground and notes that installation guidance can vary by pole type.
The bottom of the feeder should be at least 4 to 5 feet off the ground total. Squirrels can jump roughly 4 feet straight up and 8 to 10 feet horizontally, so placement height and distance from nearby trees or structures matters as much as the baffle itself. A wobble-style torpedo baffle mounted on the pole below the feeder is the most reliable design because it moves when a squirrel grabs it.
Use a weight-activated feeder mechanism
Several commercial feeders use a spring-loaded sleeve or shroud that closes the ports when something heavier than a small songbird lands on the perch. These work well but need occasional adjustment. The spring tension is typically adjustable via a post or indicator on the feeder body, and you can set it to close at a specific weight. If you've noticed squirrels learning to hold onto the feeder without triggering the closure, try increasing the spring tension slightly.
Deal with rats and mice
Rats and mice are attracted by spilled seed on the ground as much as by the feeder itself. The fixes here are mostly about hygiene: clean up spilled seed under the feeder daily or every couple of days, avoid letting seed sit in the feeder overnight if rodents are active in your yard, and never use moldy or damp seed that falls to the ground. A ground tray with a screen bottom under the feeder catches spilled seed and lets rain drain through, making cleanup faster and reducing rodent habitat.
Improve placement and hanging method
Even a perfectly functioning feeder won't attract birds if it's in the wrong spot, or will fail structurally if it's hung badly. Placement and hanging method are easy to overlook but make a significant difference.
Get the distance from cover right
Birds want to be able to see a safe escape route while they're eating. A feeder placed in the middle of a wide-open lawn with no shrubs or trees nearby makes birds nervous and they'll visit less often. The sweet spot is about 10 feet from cover like shrubs, hedges, or small trees. Close enough for birds to dart to safety, far enough that a cat can't crouch in the bush and swipe at the feeder. Feeders placed within 10 to 15 feet of natural cover strike that balance well.
Fix an unstable or tilting hang
A feeder that spins, tilts, or swings wildly in the wind spills seed constantly and frustrates birds. If you're hanging from a branch or hook, add a short length of chain between the hook and the feeder rather than a single wire. Chain dampens swing much better than wire or string. For feeders on shepherd's hooks, press the hook legs deeper into the soil if it's wobbling. If the ground is too hard or loose, use a two-piece shepherd's hook with a stake anchor for added stability. Make sure the feeder hangs level. An off-balance feeder drains from one port faster than others and causes spilling.
Mind the height
Too low and cats or raccoons can reach it. Too high and smaller birds feel exposed. A height of 4 to 6 feet off the ground is the practical range for most feeders. The upper end of that range (5 to 6 feet) also satisfies the baffle height requirements for squirrel-proofing, so you can solve two problems at once by simply hanging your feeder a bit higher.
Prevent repeat issues going forward
The fix you do today won't last if the habits that caused the problem don't change. The good news is that ongoing maintenance is genuinely quick once you have a system.
Set a cleaning schedule and actually stick to it
A monthly deep clean with a 1-part bleach to 9-parts water solution handles disinfection. If you need to pull a feeder apart for cleaning or a repair, start by checking the manufacturer’s instructions and then disassemble the ports and base carefully deeper clean. Between those, do a quick visual check every time you refill: look for clumping seed, wet patches, and mold. Dump out anything suspicious rather than topping off over old seed. Also clean up spilled seed and droppings below the feeder regularly. Accumulated debris on the ground is a disease vector and a pest magnet.
Store seed correctly
Seed stored in a warm, damp garage or shed goes moldy before it ever reaches the feeder. Keep it in a sealed metal or hard plastic container (rodent-proof) in a cool, dry location. Don't buy more seed than you'll use in about a month during warm weather. If the seed smells musty or looks clumped before you've even opened the bag, don't use it.
Use more durable materials on DIY builds
If you're building or rebuilding a feeder from scratch, a few material choices dramatically extend its life. Use cedar or redwood for wooden feeders: both are naturally rot-resistant and hold up outdoors without heavy sealing. Stainless steel screws and hardware won't rust and seize. Exterior-grade waterproof glue at every joint instead of regular wood glue. For bottle or jug feeders, replace them each season rather than trying to patch cracked plastic. The materials cost nothing and the fresh start prevents a lot of the port-clogging and moisture problems that build up over time.
Do a quick test run after every fix
After any repair, spend 10 minutes watching the feeder before calling it done. Shake it and check for unusual seed flow. Fill it and watch for drips. Check that the hang is level and stable. If you've added a baffle or adjusted a squirrel-resistant mechanism, watch for a day or two to confirm pests can't defeat it. If you want extra protection, choose a bear-proof bird feeder and verify that the weight, locking parts, and access openings can’t be defeated. Small birds showing up and feeding calmly is your best confirmation that everything is working.
FAQ
Can I just top off the seed if my feeder seems to be the problem?
Yes, but only after you remove the wet or moldy material and disinfect the feeder. If seed looks clumped or slimy, discard it, scrub the feeder, rinse well, and let it air dry fully before refilling, otherwise the problem often comes right back within days.
What should I look for if birds visit my feeder but fly away without eating?
If birds are coming but not staying, check for mismatched seed size for the port openings and for clogged ports. Also watch whether birds are repeatedly landing and then backing away, which can indicate a broken or wobbly perch that makes feeding uncomfortable even if seed is present.
Is it okay to rinse the feeder with cold or soapy water after cleaning?
Warm water can spread mold spores if the feeder has visible contamination, and cold water can leave parts damp. Use warm water for clearing ports, then rinse thoroughly and air dry completely, especially inside the base cap area and any gasketed sections.
My feeder gets emptied overnight, even when birds are nearby. How do I know it’s pests, not just birds?
For squirrel or raccoon pressure, baffles and feeder height are the main fixes, but also manage the “easy meal” area. Clear spilled seed daily, and consider adding a tray with a screen bottom so you catch dropped seed and reduce rodent food on the ground.
How do I unclog a feeder without damaging the ports?
It depends on the bird type and the feeder design. Tube and hopper ports can be cleaned with a pipe cleaner, chopstick, or similar tool, but hummingbird feeding holes need very gentle clearing to avoid enlarging tiny openings. If you see persistent blockage, switch to a brush sized for the hole and rinse, then dry.
My feeder leaks a little. What’s the fastest way to find the exact leak point?
A feeder can drip even when it looks mostly fine, so test it. Fill it over a sink, observe where water runs or nectar would leak, and check the gasket orientation and seal surfaces. If it leaks at the seam, the part may need reseating or replacement, not just a rinse.
Can placement or hanging angle cause port clogs or uneven seed flow?
Yes, and that’s a common reason for “mystery” port clogs and uneven feeding. Check that ports aren’t facing upward toward direct sun or water exposure, ensure the feeder hangs level, and confirm that the drainage path (cap or bottom tray) is functioning after rain.
How often should I clean spilled seed and droppings under the feeder?
Rodents often return to feeders that create ground mess. If you’re dealing with active mice or rats, avoid leaving seed overnight on the ground, and clean droppings and debris under the feeder during your regular refill routine, not just when you notice damage.
If I change seed brands, can that make the feeder stop working?
Yes. If you swap seed types, confirm the ports match the new seed shape and size. A feeder designed for fine or small seed will not release large sunflower hearts properly, and it can cause birds to struggle or abandon feeding.
Do I need drainage holes for tray feeders, and will a rain cover really help?
Generally, add a roof or weather guard if you routinely get rain or heavy dew, and for tray feeders make sure there are drainage holes at the lowest point. Without drainage, even a well-cleaned tray can become a mold source, especially in warm, humid weather.
When should I replace parts instead of trying to repair a leaking or broken feeder?
If parts are damaged, repair can be limited. For example, broken proprietary hummingbird components or warped gasket seats often work only after replacing those pieces, and cracked plastic housings may keep leaking even after glue or patching. If you repeatedly see seepage at the same spot, replacement of that specific part is usually more reliable than further patching.
How long should I test the feeder after I repair it before assuming it’s solved?
After any fix, a short test run is worth it. Fill the feeder, watch seed or nectar flow for about 10 minutes, check for drips or port draining, confirm the hang is level and stable, and then observe again for 1 to 2 days, especially if you adjusted a squirrel-resistant mechanism.
Next Articles
How to Buy a Bird Feeder: Beginner Shopping Guide
Choose the right bird feeder by type, size, material, cleaning, pest control, setup tips, and buying checklist.
How to Start a Bird Feeder: Beginner Setup Guide
Step-by-step bird feeder setup for beginners: pick food and feeder, place right, hang safely, prevent pests, troubleshoo
How to Install Bear-Proof Bird Feeders Step by Step
Step-by-step guide to install bear-proof bird feeders, choose features, mount safely, prevent access, and troubleshoot i