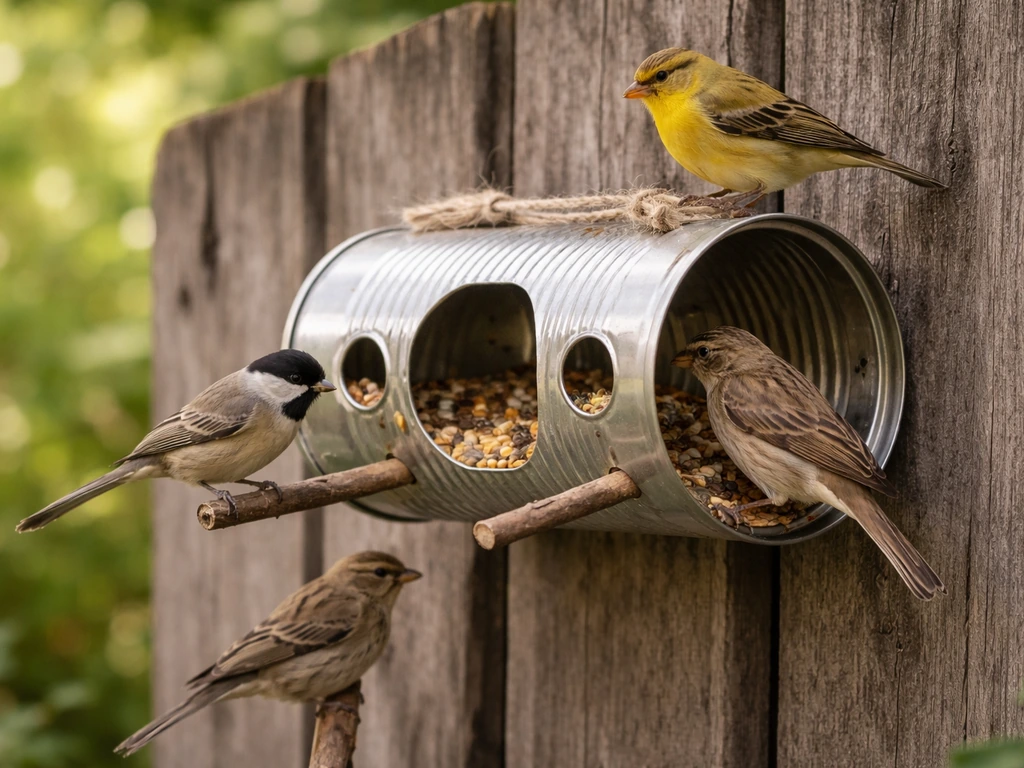
You can make a working bird feeder from a tin can in under an hour using tools you almost certainly already own. The basic approach is simple: clean the can, smooth any sharp edges, punch or cut feeding holes, add a perch or two, and hang it up. Whether you use a coffee can, a soup can, or an old paint tin, the process is the same, and it genuinely works. Birds will use it. Here is exactly how to do it.
How to Make a Bird Feeder From a Tin Can

Marcus Brennan
19 May 2026
What you need before you start
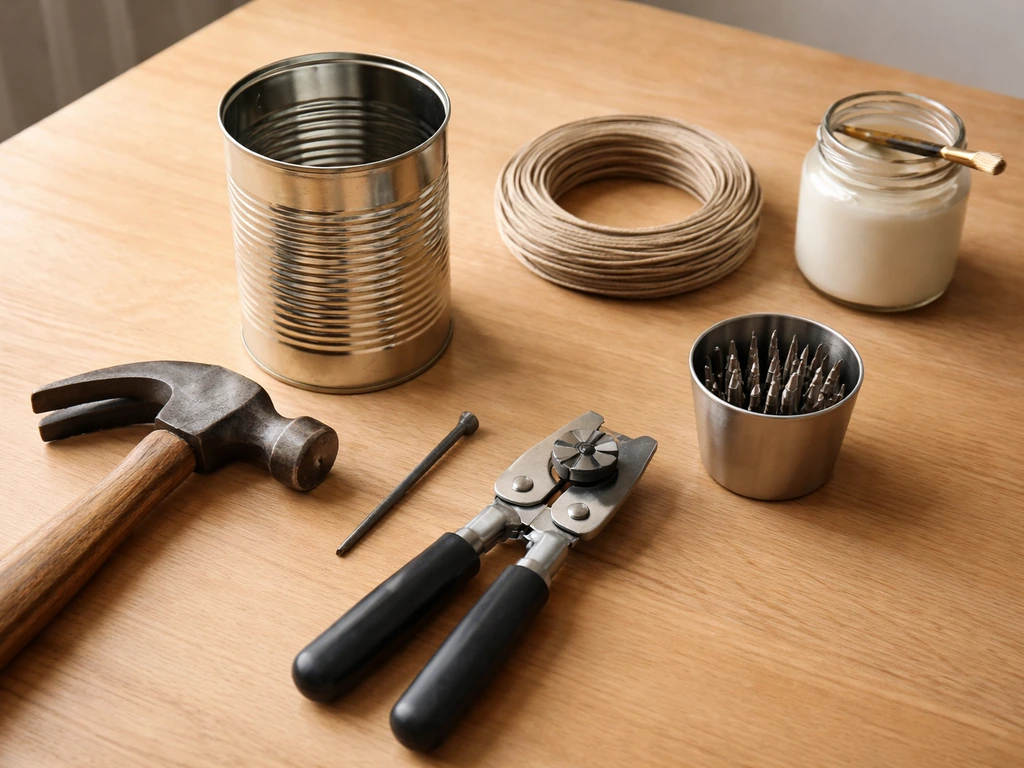
Keep the materials list short and cheap. Most of this you probably already have in a kitchen drawer or toolbox.
- One clean tin can (a large coffee can, a 28-oz soup can, or an institutional-size food can all work great)
- A hammer and a sturdy nail, or a drill with a 1/4-inch to 1/2-inch bit
- A can opener (the type that cuts a smooth edge rather than a jagged one is ideal)
- Metal file or fine-grit sandpaper (80-120 grit) for smoothing sharp edges
- Strong wire (14 or 16 gauge galvanized wire works well) or a length of paracord for hanging
- A wooden dowel, a pencil, a sturdy stick, or a 1/4-inch wooden skewer for the perch
- Waterproof sealant or exterior spray paint (optional, but it extends the feeder's life outdoors)
- Work gloves (non-negotiable when handling freshly cut metal)
If you want to get fancy, a pair of tin snips makes cutting feeding ports much easier than a nail and hammer. But a hammer and nail genuinely gets the job done for a first build. A larger can gives you more interior volume, which means less frequent refilling and more flexibility in where you place feeding holes.
Safety first: cleaning the can and dealing with sharp edges
This step is not optional. Sharp metal edges can injure birds' feet, and a can that still smells like coffee, tuna, or tomatoes will repel birds before they ever get close. Take 10 minutes here and the rest of the build goes smoothly.
- Wash the can thoroughly with hot soapy water, rinse it completely, and let it dry. For food-grade cans with strong smells (tuna, pet food), soak in a baking soda solution for 30 minutes before rinsing.
- Put on work gloves before doing anything else with the can. Even a 'smooth' factory edge can draw blood if you grip it hard.
- After any cutting, filing, or punching, run a metal file or folded sandpaper around every single edge and hole until you feel no snag when you drag your gloved finger across it.
- For feeding holes cut with tin snips, fold the cut metal tab inward slightly with pliers before filing, which reduces the sharpness significantly and keeps the opening cleaner.
- Once smoothed, wipe the inside of the can with a damp cloth to remove any metal dust or filings before adding seed.
If you are using a can that had a lid you can still access (like many coffee cans), you can keep the lid on and remove only the bottom, which gives you a cleaner factory-smooth top edge to hang from and limits the amount of cutting you need to do overall.
Three ways to build a tin can feeder
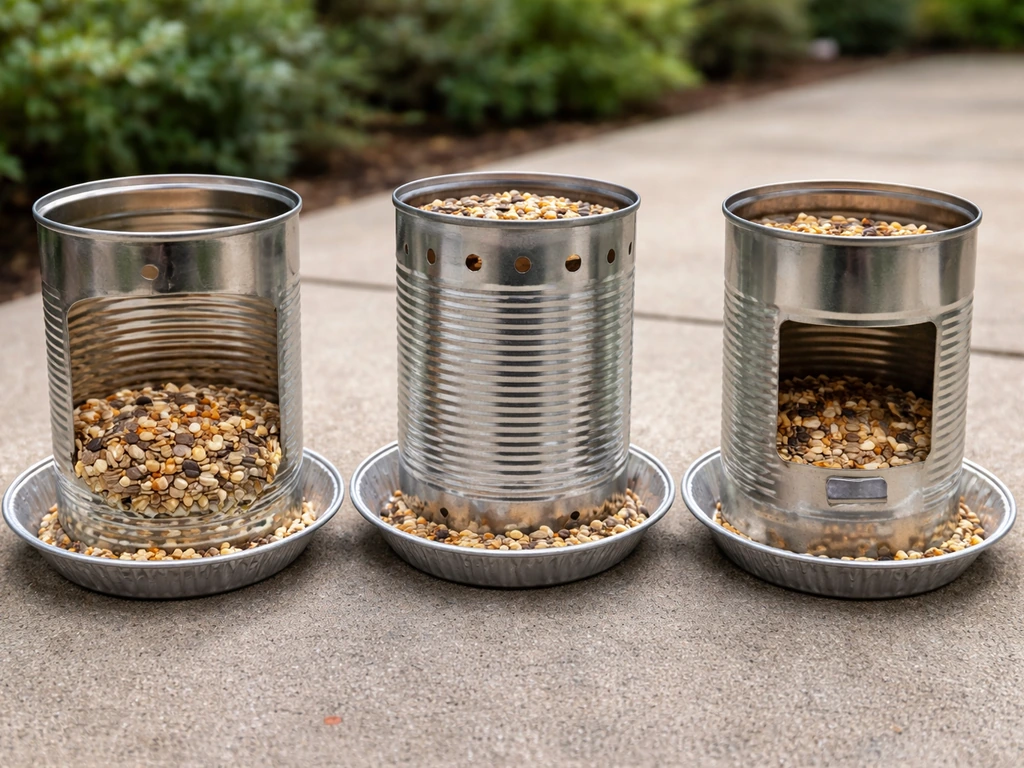
There is not one single right design here. Pick the version that matches the tools you have and the birds you want to attract.
Option 1: The seed-cup can feeder (easiest, no cutting)
This is the beginner version. Remove the bottom of the can cleanly with a smooth-edge can opener. Punch 4 to 6 small drainage holes (1/8-inch) in the new bottom using a hammer and nail. Hang the can horizontally on its side using wire through holes punched near what is now the top edge. Seed sits in the curved interior and birds land on the rim to feed. It is not glamorous, but it works and takes about 15 minutes to build.
Option 2: Punched-hole feeder (nail and hammer, great for nyjer or small seed)
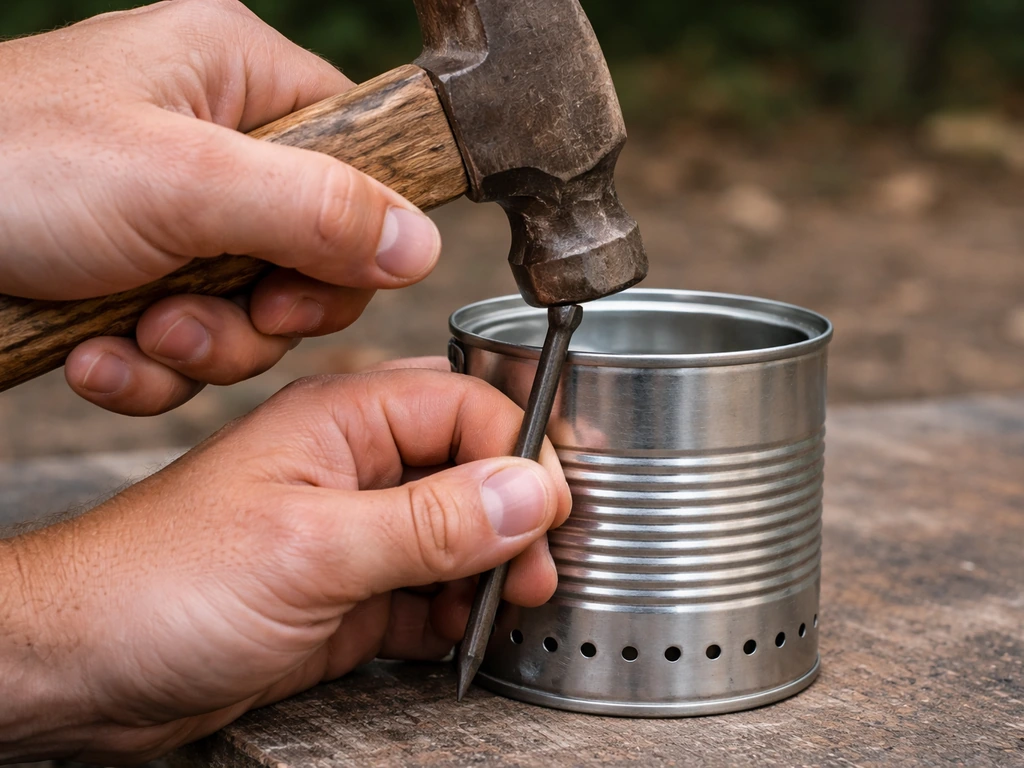
Keep the can upright or at a slight angle. Use a hammer and a large nail to punch 8 to 12 holes around the lower third of the can, each about 1/4 inch in diameter. These holes let small seeds like nyjer (thistle) or millet trickle out as birds peck at them. If you are specifically learning how to make an oriole bird feeder, you will typically use nectar instead of nyjer to attract orioles nyjer (thistle). Punch two holes near the top rim on opposite sides for your hanging wire. This style works especially well for attracting finches, juncos, and sparrows. Smooth every hole with the file before use.
Option 3: Cut-port feeder (tin snips, best for sunflower seeds and larger birds)
Mark two or three rectangular feeding ports on the side of the can, each roughly 1.5 inches wide and 1 inch tall, spaced evenly around the can. Use tin snips to cut three sides of each rectangle, then bend the resulting tab inward to create a small lip or shelf that helps hold seed. File every cut edge smooth. Punch drainage holes in the bottom. This design holds more seed, accommodates larger birds like chickadees, nuthatches, and cardinals, and looks clean when finished. Allow about 30 to 45 minutes for this version.
| Build style | Tools needed | Best seed type | Best for birds | Build time |
|---|---|---|---|---|
| Seed-cup (horizontal) | Can opener, hammer, nail | Mixed seed, sunflower | General garden birds | 15 minutes |
| Punched-hole (upright) | Hammer and nail | Nyjer, millet | Finches, sparrows, juncos | 20 minutes |
| Cut-port (upright) | Tin snips, file | Sunflower, safflower | Chickadees, nuthatches, cardinals | 30-45 minutes |
Adding perches so birds can actually land and feed
Perches are optional on cup-style feeders (birds land on the rim), but they make a real difference on cut-port and punched-hole designs. A perch gives smaller birds a place to grip while they eat, which is the difference between a feeder birds visit once and one they return to daily.
The simplest perch: use a nail or drill bit to punch two small holes directly below each feeding port, about 1/2 inch apart. Push a wooden dowel, a pencil stub, or a thick skewer straight through both holes so it extends about 2 inches on each side. The can wall grips the dowel, but if you want it more secure, put a small dab of waterproof wood glue or exterior silicone where the dowel meets the metal before it dries. One perch below each feeding port is plenty. Avoid plastic perches, which can become brittle in UV light within a season.
Hanging and positioning the feeder the right way
Where you hang this feeder matters almost as much as how you build it. Two things trip people up most: window collisions and predator access. Both are easy to prevent if you plan the location before you hang anything.
For window safety, place the feeder either within 3 feet of a window or more than 30 feet away from one. At 3 feet or less, birds cannot build up enough speed to cause serious injury if they do hit the glass. At 30 feet or more, they have time to redirect. The danger zone is the middle range of 4 to 30 feet, so avoid hanging a feeder there.
For predator safety, a good rule of thumb is to aim for about 5 feet off the ground, at least 7 feet from any fence or vertical structure a cat or squirrel can climb, and at least 9 feet below any overhanging branch. This spacing makes it genuinely difficult for ground predators to leap up and for squirrels to drop down from above. It is not foolproof, but it dramatically reduces the risk.
For the hanging hardware itself, use galvanized wire (14 or 16 gauge) threaded through holes punched near the top of the can. Twist the wire into a loop with at least three full twists to prevent it from loosening over time. A single strand of thin wire or light twine will corrode, stretch, or snap outdoors within a few weeks, especially in rain and wind. If the feeder is going to swing a lot in the wind, tie a short secondary line from the bottom of the can to a nearby branch or hook to stabilize it. Excess sway spills seed and deters feeding.
Filling the feeder and troubleshooting the most common problems
Use a seed that matches the birds you want. Black-oil sunflower seed is the single best all-around choice because it attracts the widest variety of common backyard birds. Nyjer seed in a punched-hole feeder is excellent for finches specifically. Avoid cheap mixed seed blends that are heavy on milo or red millet because most birds will ignore them and they go rancid quickly in a small metal feeder.
Do not overfill the feeder. A tin can feeder has limited volume, and seed that sits in the bottom of a metal can in warm weather can clump and mold within a few days. Fill it to about two-thirds capacity and plan to refresh it every 3 to 5 days in warm months, or every 7 to 10 days in cold, dry weather.
Birds are not using the feeder yet
Give it 2 to 3 weeks. Birds are cautious about new objects in their territory, and a shiny metal can might spook them at first. If you painted the can, make sure the paint is fully cured and not off-gassing. Placing the feeder near existing shrubs or trees where birds already perch speeds up adoption. You can also scatter a small amount of seed on a flat surface directly below the feeder to draw birds into the area.
Seed is spilling or getting wet
Spillage usually means the feeding ports are too large or the feeder is swinging too much. For cut-port feeders, the inward-bent lip helps retain seed. For punched-hole feeders, you can reduce hole size by tapping the metal back slightly with a nail head. For water intrusion, make sure there are at least 4 drainage holes in the bottom of the can. Standing water ruins seed fast and encourages mold, which is genuinely dangerous to birds.
Squirrels are raiding the feeder
A tin can feeder is light enough that squirrels will absolutely exploit it if given the chance. The 5-7-9 placement rule helps a lot. If squirrels are still getting to it, threading the hanging wire through a section of PVC pipe or an old CD disk (to create a baffle) makes it very difficult for them to grip and shimmy down the wire to reach the feeder.
Keeping the feeder clean and bird-safe long-term

This is the part most first-time feeder builders skip, and it is also the part that causes real harm to birds. A dirty feeder spreads disease. Moldy seed causes respiratory illness in birds. Cleaning takes about 10 minutes once a month and makes a genuine difference.
Once a month, remove any leftover seed, rinse the can thoroughly, then soak or scrub it with a 10% bleach solution (roughly 1 part household bleach to 9 parts water). Let it soak for a few minutes, scrub out any stuck seed or residue, rinse completely with clean water, and then let the feeder air dry fully before you refill it. Refilling a wet feeder seeds the next batch of mold almost immediately, so the dry step is not optional.
Between monthly cleans, shake out old or clumped seed every time you refill. Check the perches for bird droppings and wipe them down with a damp cloth. Inspect the wire or cord for any signs of corrosion or fraying. A tin can will eventually rust if the outer coating is scratched or worn, especially at cut edges. If you see significant rust forming inside the can, retire that feeder and start fresh with a new one. A couple coats of exterior-grade spray paint on the outside at the start (applied before hanging, fully cured before birds use it) will extend the feeder's usable life by a full season or more.
A tin can feeder is a genuinely humble object, but it works. If you want to explore other quick-build feeder styles using recycled materials, mason jars, plastic bottles, and even natural materials like gourds and oranges follow a very similar logic: prepare the container, create access and drainage, add a hanger, and keep it clean. You can adapt the same seed-cup, drainage, and perch ideas to make a bird feeder from a coke bottle. You can use the same general logic to learn how to make a bird feeder from a 2L bottle: prepare the container, create access and drainage, add a hanger, and keep it clean plastic bottles. If you are specifically aiming to make bird feeders out of mason jars, the same ideas for access, drainage, hanging, and cleaning apply mason jar bird feeders. You can apply the same simple logic to learn how to make a bird feeder out of an orange, too. If you want to try a gourd feeder, you can hollow it out, cut feeding openings, add drainage, and hang it so birds can safely access the seed natural materials like gourds. If you are craving a fun seasonal twist, you can also follow a similar approach to make a pumpkin bird feeder from a hollowed pumpkin and simple hanging hardware. If you want a different look, you can also learn how to make a bird feeder out of wine corks using a similar method of creating access points and safe drainage. The tin can version is one of the sturdiest and most weather-resistant of the bunch, which makes it a great first build and an easy one to repeat whenever you want to expand what is available in your backyard.
FAQ
Why do birds ignore my tin can feeder even though it has seed in it?
If birds are getting seed but not taking it reliably, check the feed presentation first. For punched-hole designs, holes that are too large let seed leak out before birds can peck it, and holes that are too small can clog with damp seed. Start by reducing hole diameter slightly (lightly tapping the metal back inward) and keep the feeder filled only to about two-thirds so the remaining seed stays drier and flows more consistently.
Can I use the same tin can feeder for different birds, like finches, cardinals, and orioles?
Use the same feeder but switch the food, and size the openings to match. Sunflower with small-hole or cup-style designs brings in many common birds, while nyjer works well for finches in punched-hole feeders. If you want orioles, use nectar and avoid putting nectar into the punched-hole style, since it can drip and spoil quickly; instead choose a nectar-appropriate setup and clean it more often than seed feeders.
Will a rain cover help, and will it make the seed go bad faster?
Covering the feeder reduces rain intrusion, but avoid blocking drainage. If you add a simple rain shield (for example, a small overhang or lid-like cap), leave the bottom fully vented with the same number of drainage holes (at least 4). Also make sure the shield does not create a perch gap that prevents birds from reaching the feeding ports comfortably.
What tin cans should I avoid, and how do I know if my can is safe?
Don’t use it if the can is heavily coated or has a strong lingering odor after cleaning. A thin label adhesive is usually fine, but if the can had chemicals or unknown contents, residual fumes can repel birds and introduce contaminants. When in doubt, discard the can, or switch to a fresh food-grade can and perform the same smooth-edge and odor-removal steps.
How do I prevent sharp edges from becoming a problem later on?
Metal tabs and cut ports can become sharp again over time as the metal fatigues or rust pits. After a few days of use, quickly inspect any cut edges for roughness, then file and smooth anything that feels sharp to the touch. This small check prevents injuries even if the feeder started out safe.
What should I do if the seed starts clumping or smells off?
Clean-up timing depends on moisture and heat. If you notice clumping, a musty smell, or visible mold, empty it immediately, rinse, and dry fully before refilling, then shorten your refresh interval. In hot, humid weather, plan on more frequent seed changes (closer to every 3 days) rather than waiting the usual 3 to 5 day window.
My feeder spills seed. How can I fix it without rebuilding everything?
For horizontal side-hanging can designs, spillage can mean the ports are cut too large or the lip is not bent far enough inward. For that style, make the opening shelf deeper by bending tabs in slightly more, and file edges so seed doesn’t snag and then fall suddenly. Also check that the hanging wire is taut and stable to reduce swing, which can spill seed even if the ports are correct.
Do baffles work on tin can feeders, and where should I put them?
Yes, but size and placement matter. A baffle can stop squirrels from climbing down the hanging wire, so if you use one, keep it close enough to the feeder to reduce the vertical “reach” a squirrel has. Avoid large gaps between baffle and feeder, since squirrels can jump or tail-lift around the barrier.
How do I choose the right seed if I keep attracting the “wrong” birds?
Switching to larger seeds is often the fastest improvement, but the right seed depends on hole size and bird size. If you want to attract heavier birds, your cut-port version is better, since larger openings and a perch placement help them feed securely. If you are using nyjer in punched holes and only small birds arrive, don’t force larger birds with big seeds into tiny holes, since they cannot reach and retrieve effectively.
How long should I wait for birds to find the feeder, and what signs mean I should relocate it?
A brief “pre-use” seeding period helps, but it is about making the area predictable. Place the feeder and leave it stocked with a small amount while you also scatter a little seed on the ground below. If birds do not return after about 2 to 3 weeks, revisit location (tree cover nearby and correct height) and check for deterrents like swinging, excessive motion, or a feeder too close to a window.
Next Articles
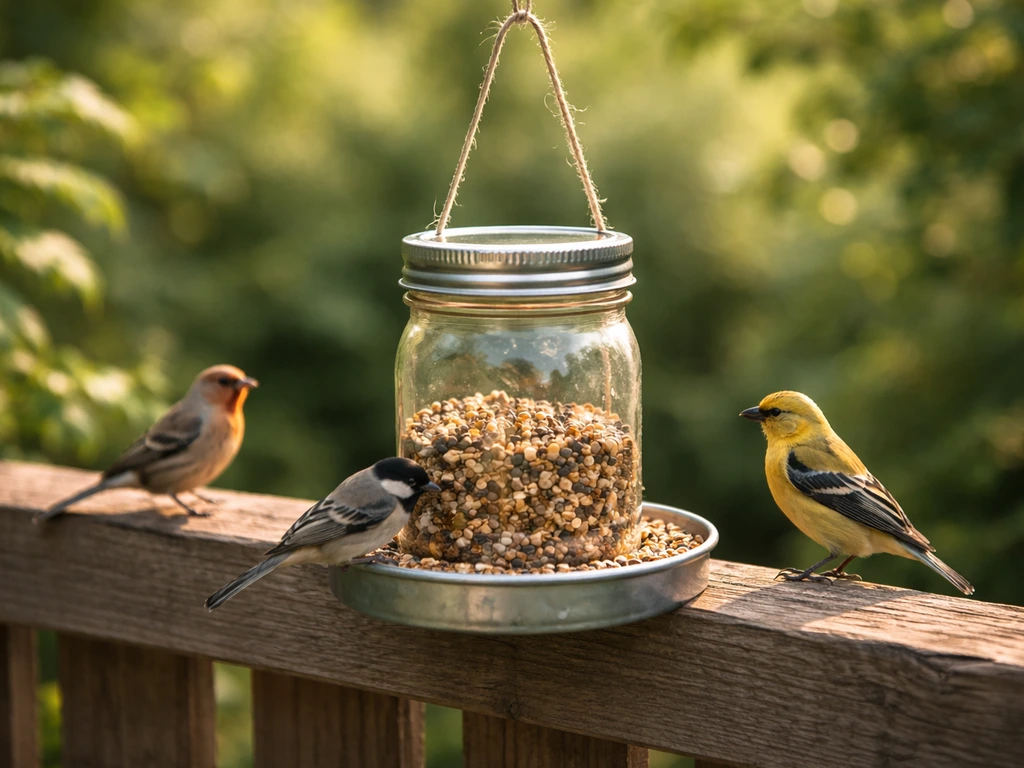
How to Make Bird Feeders Out of Mason Jars Step by Step
Step-by-step guide to make a mason jar bird feeder, including secure lid setup, hanging design, placement, and care.
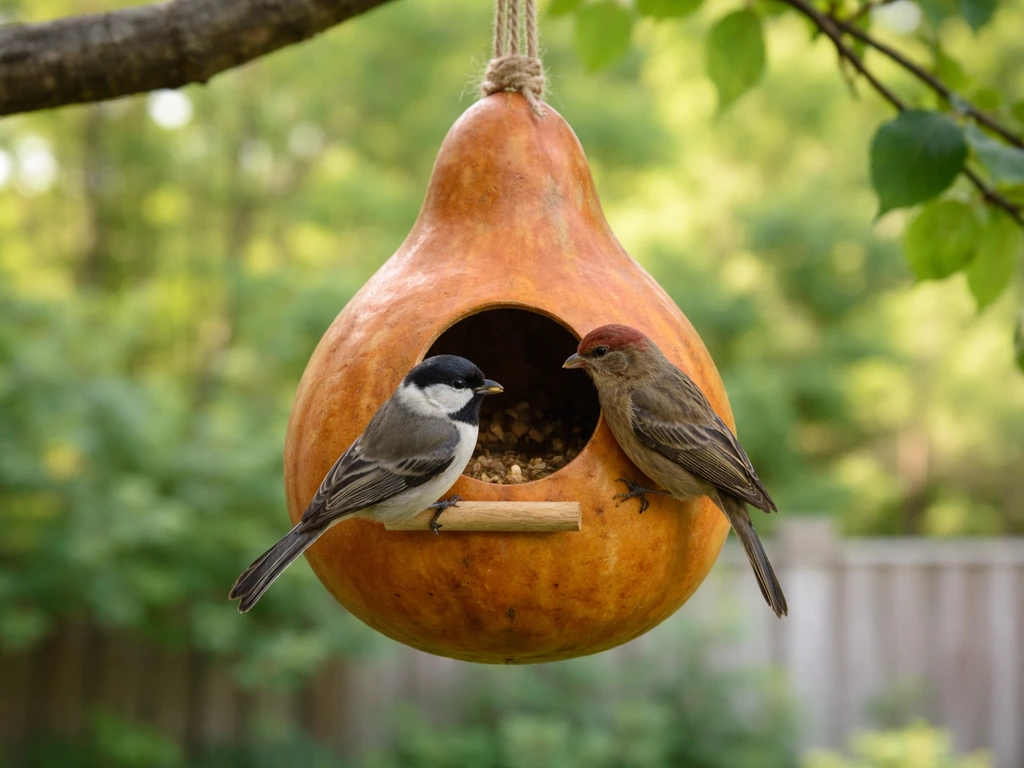
How to Make a Bird Feeder Out of a Gourd: Step by Step
Step-by-step guide to build a gourd bird feeder: drilling, safe prep, hanging, bird food, cleaning, and troubleshooting.
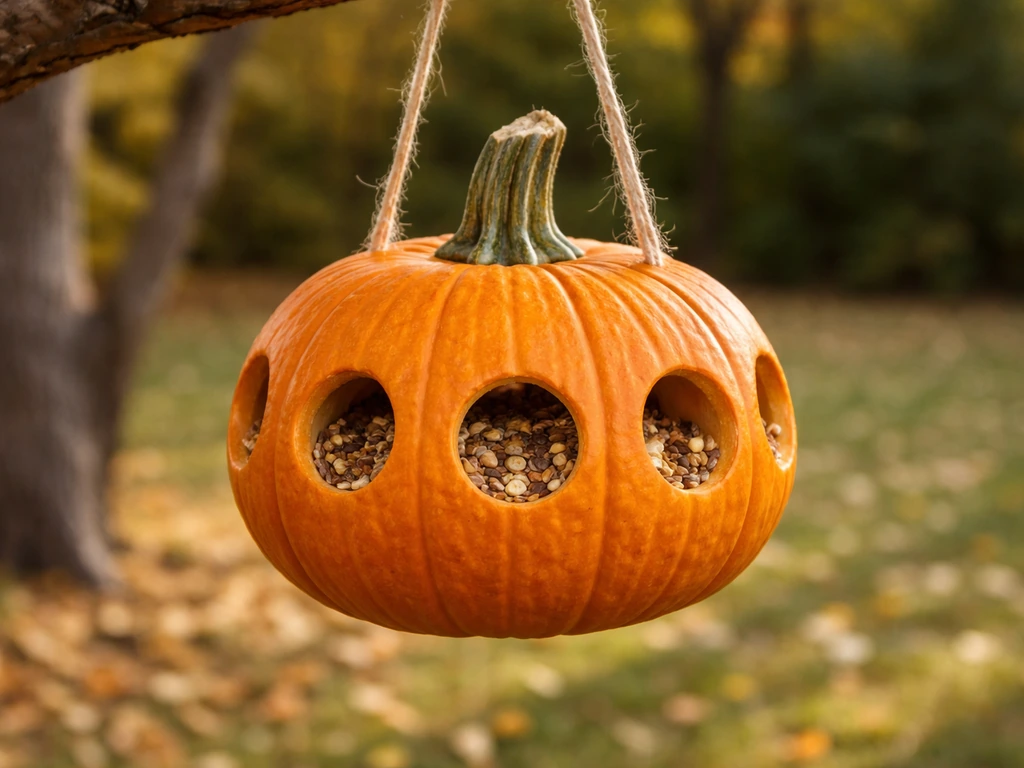
How to Make a Pumpkin Bird Feeder: Step by Step Guide
Build a pumpkin bird feeder step by step: pick, prep, carve/drill, add seed or suet, hang secure, and prevent rot