If your bird feeder is old, dirty, or attracting the wrong kind of attention, here's what to do: inspect it first, clean it with a 9:1 water-to-bleach soak, then decide whether to repair it, upgrade it with pest-proofing, or retire it for good. If you're wondering how to decorate a bird feeder, focus on safe, easy-to-clean materials so you don't create new spots for dirt and mold to build up. Most old feeders can be brought back to life in under an hour. A few genuinely need to go in the trash. The sections below walk you through every step from triage to long-term maintenance, so you leave with a clear plan today.
What to Do With Old Bird Feeders: Clean, Repair, Repurpose
Marcus Brennan
30 May 2026
Quick triage: is the feeder safe to use?
Before you clean anything, spend two minutes actually looking at the feeder. This step determines whether you're cleaning and returning it to service, repairing it, or skipping straight to retirement. Running a feeder that's genuinely unsafe can spread disease to the birds you're trying to feed, so it's worth being honest here.
Pull the feeder down and check for each of these conditions:
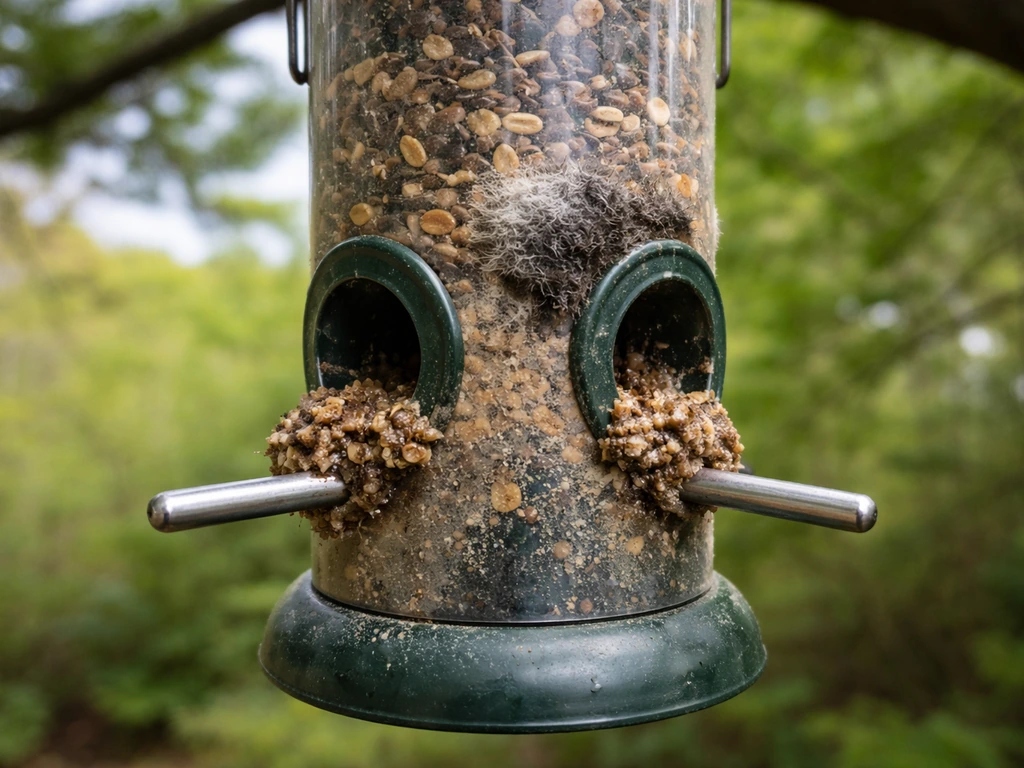
- Wet, clumped, or visibly moldy seed inside or in the tray: stop using it immediately and discard all the seed
- Black mold or slime inside tubes, ports, or reservoir walls: needs immediate deep cleaning before any refill
- Cloudy or fermented water or nectar: discard the solution and clean right away
- Cracked or split plastic that creates crevices you can't reach with a brush: a cleaning risk that might push you toward retirement
- Rust on metal parts, especially around ports where birds feed directly: check whether it's surface rust (cleanable) or structural rust (retire it)
- Loose or broken perches, cracked roofs, or missing port covers: repairable in most cases
- Sick or dead birds in your yard recently: take the feeder down now, address sanitation before putting it back up
If you've seen sick or dead birds near the feeder, don't skip past that. Audubon advises taking feeders completely down and cleaning them with a 10% bleach solution if you spot even one or two diseased birds. The feeder goes back up only after a thorough clean and a short pause. Everything else on the list above is fixable with a good cleaning or minor repair.
How to deep-clean and sanitize an old feeder
This is the step most people either skip or do halfway. A quick rinse under the hose doesn't cut it. Here's the full process that actually works, based on guidance from the CDC, Audubon, and Virginia DWR. Budget about 30 minutes including soak time.
One important rule before you start: do not clean bird feeders in your kitchen or anywhere near food prep surfaces. Take this outside or use a utility sink. Bird feeders carry bacteria and fungi that you don't want anywhere near your dishes.
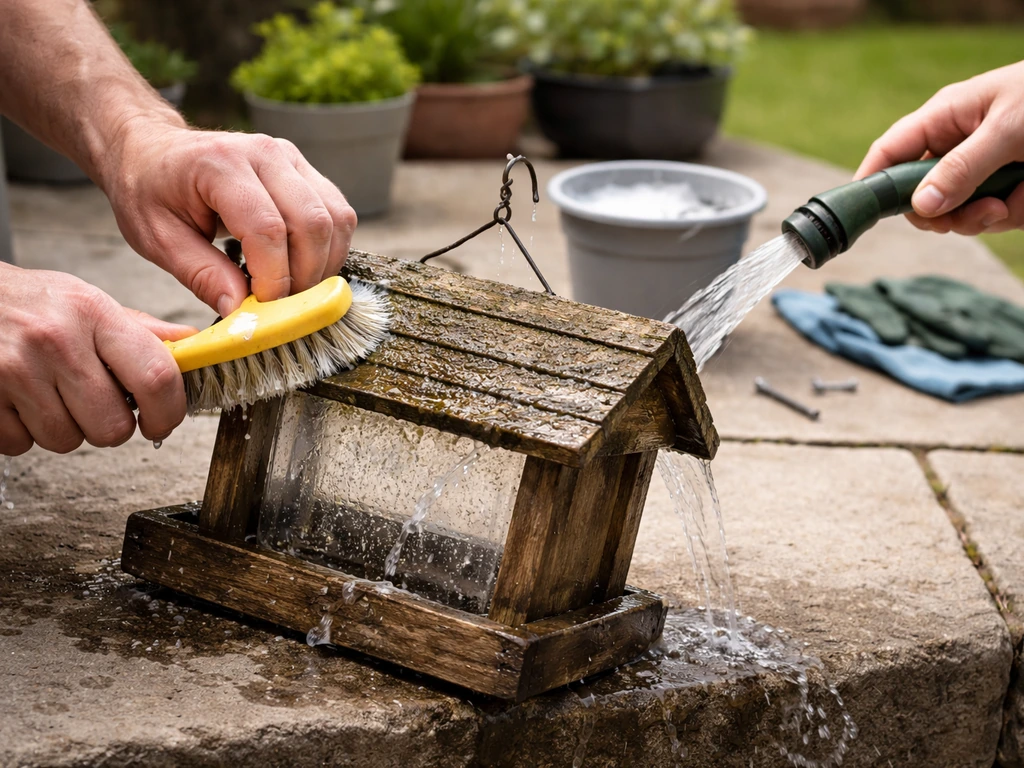
- Disassemble the feeder completely. Remove every removable part: tray, ports, roof, perches, reservoir. You can't clean what you can't reach.
- Discard all old seed. Any seed that was sitting in a dirty feeder should go straight in the trash or compost, not back into a clean feeder. If seed is wet or damp at all, throw it out.
- Remove loose debris. Shake out seed hulls, droppings, and clumped material. Use a stiff brush or old toothbrush to scrub off any caked-on residue before soaking.
- Mix your bleach solution: 9 parts water to 1 part bleach. That's roughly 1.5 cups of bleach per gallon of water. This ratio is recommended by the CDC, Audubon, and Virginia DWR as the effective and safe concentration.
- Submerge all feeder parts and soak for at least 10 minutes. Make sure the solution gets inside tubes and ports. If parts float, weigh them down.
- Scrub again while parts are wet. Use a bottle brush for tubes and a sponge or stiff brush for trays and flat surfaces. Pay attention to corners, seams, and ports where mold hides.
- Rinse thoroughly with clean water. You want zero bleach smell remaining. Any residue can harm birds.
- Allow to air dry completely before refilling. This is not optional. A feeder that goes back up damp will mold again within days. Set parts in the sun if possible, or dry indoors overnight.
For hummingbird or nectar feeders, the same bleach soak applies, but the cadence is more aggressive. In warm weather, nectar needs to be changed every 2 to 3 days because sugar water ferments quickly. In cooler conditions you can stretch it to 5 days, but if you see any cloudiness, dump and clean immediately.
Repair vs replace vs retire: what to do with damaged feeders
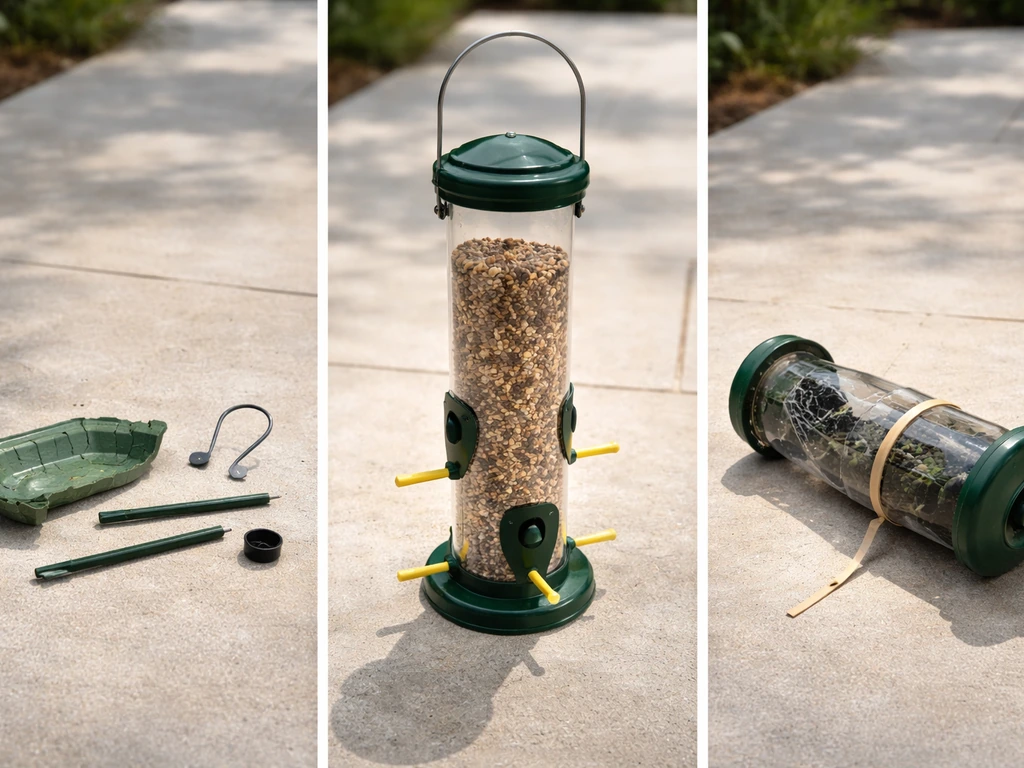
Not every old feeder deserves the same response. Here's how to think about the three options honestly.
Worth repairing
Loose perches, a cracked tray, a missing port plug, or a broken hanger are all easy fixes. Wood feeders with surface weathering but solid joints are almost always worth saving. A little exterior wood sealant or a fresh coat of bird-safe paint can add years of life. A fresh coat of bird-safe paint is also the easiest way to control the look of your feeder, so you can decide what color to paint it without harming the birds what color to paint your bird feeder. If you enjoy DIY feeder work, even replacing a cracked tube on a tube feeder with a PVC pipe section is a reasonable project.
Worth replacing
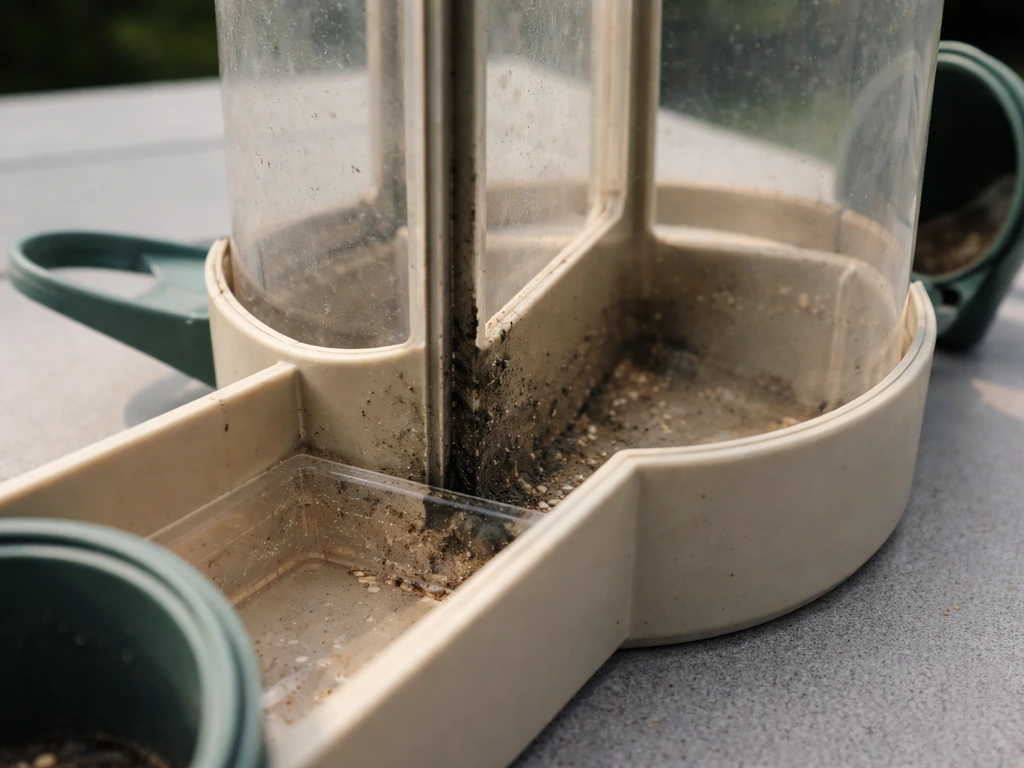
If the feeder design itself is the problem, no amount of cleaning fixes it. Feeders with deep seams or internal chambers you can't reach with a brush are a recurring mold problem waiting to happen. If you've cleaned the same feeder three times in a season and it keeps molding, the design is working against you. Replacing it with a feeder that fully disassembles is the practical call. The same logic applies to cheap plastic feeders where cracks have created permanent crevices.
Time to retire it
Retire a feeder when structural rust is present near feeding ports, when plastic has become so brittle it breaks during cleaning, when persistent contamination can't be removed despite repeated bleach soaks, or when a feeder simply can't be fully disassembled for sanitation. A feeder in any of these conditions is a health risk. Dispose of it rather than store it, because a stored feeder that gets reused later carries the same contamination forward.
| Condition | Action | Priority |
|---|---|---|
| Loose perch, missing plug, worn hanger | Repair | Low urgency |
| Surface weathering on wood, fading paint | Clean, reseal, or repaint | Low urgency |
| Mold buildup in accessible surfaces | Deep clean with bleach soak | Do today |
| Cracked plastic with permanent crevices | Replace | Soon |
| Design can't be fully disassembled | Replace | Soon |
| Structural rust near feeding ports | Retire and discard | Immediately |
| Persistent contamination after repeated cleaning | Retire and discard | Immediately |
If you end up retiring a feeder and want to build or repurpose something new, old dishes, PVC pipe, and even plastic bottles can all become functional feeders without spending much. To make an eco friendly bird feeder, focus on durable, non-toxic materials, avoid harsh chemicals, and reuse parts when you can. If you want a simple way to do this, you can learn how to make bird feeders from old dishes using basic supplies and safe cleaning steps. If you want a cheap bird feeder that still works well long term, repurposing simple materials is often the easiest route how to make a cheap bird feeder. That's a natural next project once the problem feeder is out of service.
Pest-proofing upgrades for old feeder problems
If squirrels, raccoons, or rodents are part of why your feeder feels "old and broken," the feeder itself probably isn't the whole problem. Pest pressure tends to get worse over time because animals learn where reliable food sources are. Cleaning alone won't fix this. You need to change the setup.
Squirrel-proofing that actually works
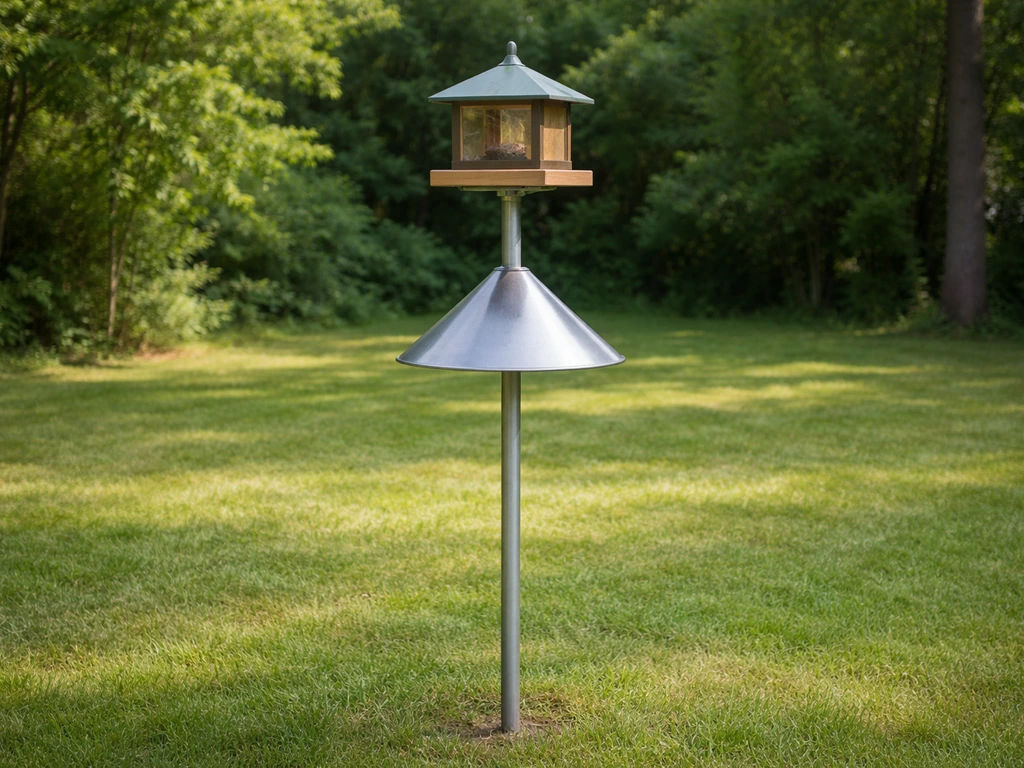
The most reliable method is a pole-mounted setup with a baffle. Audubon notes that squirrel-proofing gets close to reliable when you use a baffle setup a pole-mounted setup with a baffle. Mount the feeder on a smooth metal pole about 5 feet off the ground, and attach a cone-shaped metal baffle directly below the feeder. The baffle needs to be at least 17 inches in diameter so squirrels can't reach around it. The pole itself should be positioned at least 10 to 12 feet away from any branch, roof edge, fence, or other launch point. Squirrels are good jumpers. If you give them a running start, no baffle helps. For the baffle to work, it needs to be something squirrels can't grip, gnaw through, or climb over, which is why metal beats plastic here.
Rodents and ground pest control
Rodents aren't usually after the feeder itself. They're after the seed that falls beneath it. The fix is simple but requires consistency: rake or clean up under the feeder regularly, especially after rain when hulls and seed clump together and become even more attractive. Switching to no-waste seed mixes (hulled sunflower seeds, nyjer, peanut hearts) dramatically reduces ground accumulation. If you use a tray-style feeder, clean the tray every few days. Droppings and old seed in a tray are a pest magnet and a disease vector.
Ant and wasp prevention for nectar feeders
Ants are the most common problem with hummingbird feeders, and the fix is an ant moat: a small water-filled cup that hangs above the feeder and creates a barrier ants can't cross. Most quality hummingbird feeders now include one, but you can add an aftermarket moat to almost any hanging feeder. Keep the moat filled with water and clean it when you change the nectar. Wasps are attracted to leaky ports, so if your feeder drips, the port seals are worn. Replace the rubber gaskets or retire that feeder design.
Choose the right location and hanging method again
When a feeder has been in one spot for years, it's easy to assume the location is fine. But location problems compound over time. A feeder that was fine under a small branch might now be underneath a full canopy that gives squirrels a perfect highway. And if the feeder is near a window, placement distance really matters.
The window-strike rule is straightforward: place feeders either within 3 feet of a window or 30 feet or more away from one. A feeder at 10 or 15 feet from a window sits in the danger zone because birds leaving the feeder have enough speed built up to cause fatal impact. Within 3 feet, they don't. Beyond 30 feet, the window reflection risk drops off substantially. If your old feeder has been sitting at a mid-range distance, moving it is worth doing today.
For hanging method, a pole with a baffle (as mentioned in the pest section) is the most versatile and adjustable option. Hanging feeders from tree branches looks natural but gives squirrels easy access and often puts the feeder under a drip line where seed gets wet faster. If you do hang from a branch or shepherd's hook, use a wire or chain rather than rope or twine, which deteriorates outdoors and can eventually drop the feeder. Coverage from wind matters too: placing a feeder where it's somewhat sheltered from prevailing wind reduces seed spillage and keeps the feeder drier.
Food and feeding adjustments while the feeder is back online
If you've just cleaned and returned a feeder to service, the food you put back in it matters as much as the clean feeder itself. Never transfer seed from a contaminated feeder back into a clean one. Any seed that was sitting in a moldy or dirty feeder needs to go in the trash. Wet or damp seed gets discarded entirely, no exceptions.
Start fresh with dry, high-quality seed stored in a sealed container in a cool, dry place. If your old seed storage container was damp or poorly sealed, that's likely contributing to your recurring mold problem. A metal or thick plastic container with a tight lid is worth buying if you're going through seed regularly.
Think about whether your current seed type is part of the problem. Cheap mixed seed blends often include fillers like milo or wheat that most backyard birds reject, and that rejected seed sits in the tray getting wet and moldy. Switching to hulled sunflower seeds, nyjer, or peanut hearts reduces waste and keeps the feeder cleaner longer between visits. It also reduces the pile of debris under the feeder that attracts rodents.
Fill feeders to amounts birds can realistically consume in a few days, not to the brim. Overloading a feeder means seed sits at the bottom longer, getting compressed and damp before birds reach it. In hot or humid weather especially, smaller and more frequent refills beat one large weekly fill.
Maintenance schedule and final checklist
The most common reason feeders end up in bad shape is that they don't get cleaned on any kind of schedule. It's easy to ignore until there's an obvious problem. Here's the realistic cadence to stick to going forward.
| Task | Frequency | Notes |
|---|---|---|
| Full bleach soak and scrub (seed feeders) | Every 2 weeks | More often in hot, humid weather or after sick/dead birds |
| Nectar feeder change and clean | Every 2–3 days in summer, every 4–5 days in cool weather | Immediately if nectar looks cloudy |
| Tray and port wipe-down | Weekly | Especially with heavy bird traffic |
| Clean under feeder (rake or sweep) | Weekly | Reduces rodent attraction and disease risk |
| Full feeder inspection | Monthly | Check for cracks, rust, loose parts, worn gaskets |
| Bleach soak after disease event | Immediately | Take feeder down first; resume after cleaning and short pause |
The CDC recommends cleaning feeders and birdbaths at least once a month as a baseline, but for seed feeders, every two weeks is the practical standard that most birding organizations recommend. If you're in a warm, humid climate or feeding in summer, lean toward weekly cleaning of trays and bi-weekly deep cleans.
Your action checklist for today
- Take the feeder down and inspect it against the triage list above
- Discard all old seed, especially anything wet, clumped, or from a contaminated feeder
- Disassemble the feeder and scrub off loose debris
- Soak all parts in a 9: 1 water-to-bleach solution for 10 minutes
- Scrub, rinse thoroughly, and allow to air dry completely
- Decide: repair minor damage, replace a problematic design, or retire a feeder that can't be safely cleaned
- If you're keeping the feeder, check the hanging location against the 3-foot or 30-foot window rule
- Add or upgrade a baffle if squirrels or other pests have been a problem
- Refill with fresh, dry seed stored in a sealed container
- Set a reminder for your next cleaning in two weeks
Once the feeder is back up, keep an eye on it for the first week. Check for new pest activity, any signs of damp seed at the bottom of the reservoir, and whether birds are actually using it. If traffic is low after a cleaning, give it a few days. Birds can be cautious about returning to a feeder that smells different, but they come back quickly once they realize the food source is still there. Getting into a real cleaning routine is the single biggest upgrade most backyard feeders can make, and it costs nothing but time.
FAQ
Can I save old seed that was in the feeder when it was dirty or moldy?
Do a “smell and texture” check before any cleaning decision. If the seed smells sour or fermented, looks webby, feels clumped from moisture, or the feeder has persistent slimy residue after soaking, treat it as contaminated and replace the seed, then retire the feeder if the residue keeps coming back.
Is it safe to clean bird feeders using the same supplies I use for dishes?
No. The food-safety risk comes from bacteria and fungi, so use bleach only for the feeder parts and rinse thoroughly afterward. Let components air-dry completely before refilling, and keep the cleaned feeder separate from any kitchen drying racks or utensils.
What’s the right way to store a feeder I’m retiring but might reuse later?
If you must store it temporarily, keep it dry and sealed. After retirement, air-dry fully, place the feeder in a dedicated bin or bag, label it “do not refill,” and store away from other bird gear so you do not accidentally reuse contaminated components later.
Why does my feeder keep growing mold even after I wash it?
Do not rely on a “rinse” or wiping alone. Spots that hold moisture, corners, and feeding-port openings are the usual problem areas. Use a brush that reaches crevices, soak the whole feeder (not just visible areas), and confirm you can fully remove the loosened grime before drying.
How can I tell whether a feeder is too far gone to repair?
If you see any warping, rust around feeding ports, or cracks that widen when you press them, you cannot reliably sanitize it. In those cases, the practical choice is retirement because crevices reopen and hold moisture again after reassembly.
What should I do if the feeder stays sticky or has residue after cleaning?
For seed feeders, sticky residue often means oil, insect buildup, or damp seed crust. Switch to a brush-and-soak approach, then inspect again after drying. If the residue returns quickly, the internal surfaces are likely compromised and replacement is usually faster than repeated scrubbing.
Will a baffle work if the feeder is still close to a tree or roof?
Yes, but only if the baffle and mounts are installed correctly. Check that the baffle is securely fastened to the pole, not able to rotate, and that there are no nearby “access points” like branch tips, fence tops, or roof edges within reach.
If I clean under the feeder more often, will it stop rodents for good?
Not usually. Ground cleanup reduces the food that supports pests, but rats and raccoons also learn routes. If pests keep returning, combine cleanup with a no-waste seed mix and consider moving feeding locations, reducing cover nearby, and improving waste management under the feeder.
How do I get birds to use a feeder again after it was bleached?
Not automatically. Many birds avoid feeders that smell strongly of bleach or detergent residue. After soaking, rinse until there is no strong chemical odor and air-dry fully in a shaded, ventilated spot, then restart with a small refill to test acceptance.
Can I fix a leaking hummingbird feeder instead of replacing it?
Yes, but be strategic. Use replacement parts that fully seal and prevent drips, and replace gaskets in pairs when possible. If the feeder leaks after gasket replacement, retire that feeder design because constant moisture buildup and drips attract wasps.
Next Articles
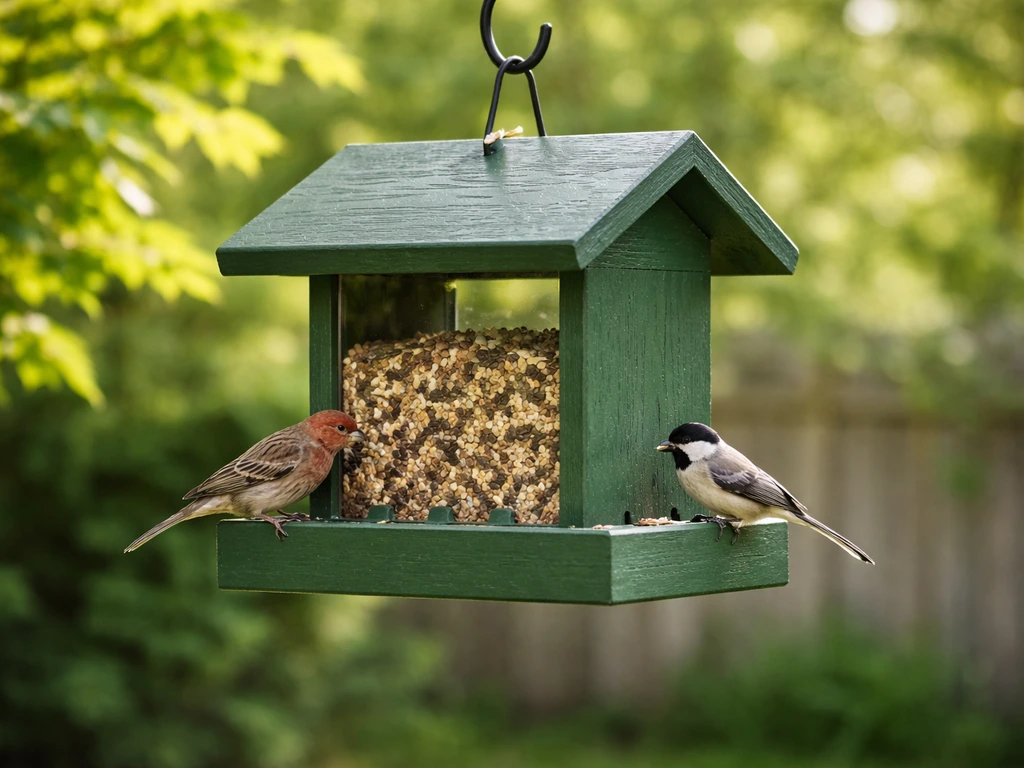
What Color Should I Paint My Bird Feeder? Best Options
Choose bird-friendly feeder colors, prep and paint it safely step by step, then test and adjust for your backyard birds.
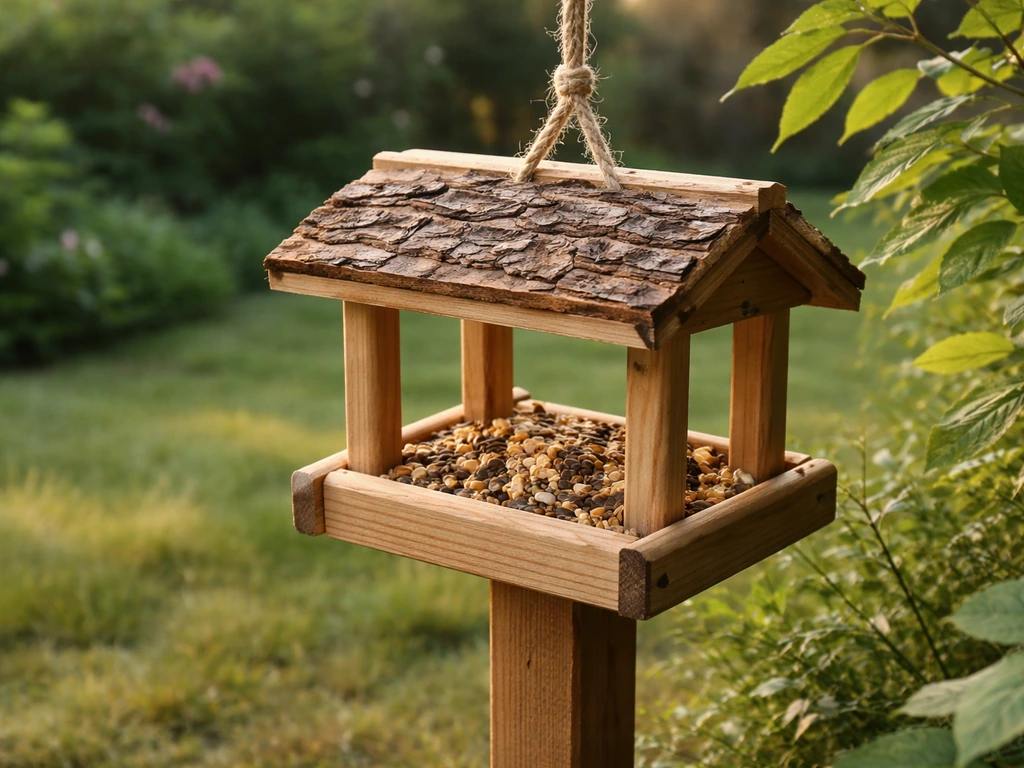
How to Make an Eco Friendly Bird Feeder Step by Step
Step-by-step DIY guide to make an eco-friendly bird feeder using safe materials, proper mounting, and easy maintenance.
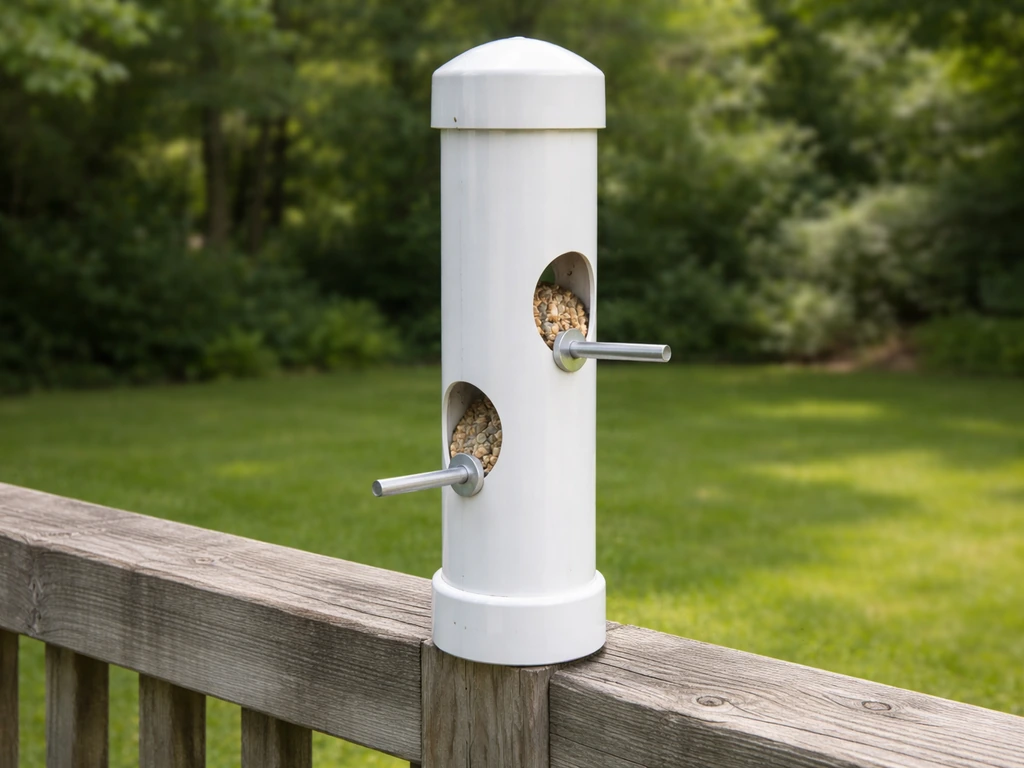
How to Make a Bird Feeder Out of PVC Pipe Step by Step
Step-by-step guide to build a PVC bird feeder with ports, perches, sealing, safe mounting, and easy cleaning tips.