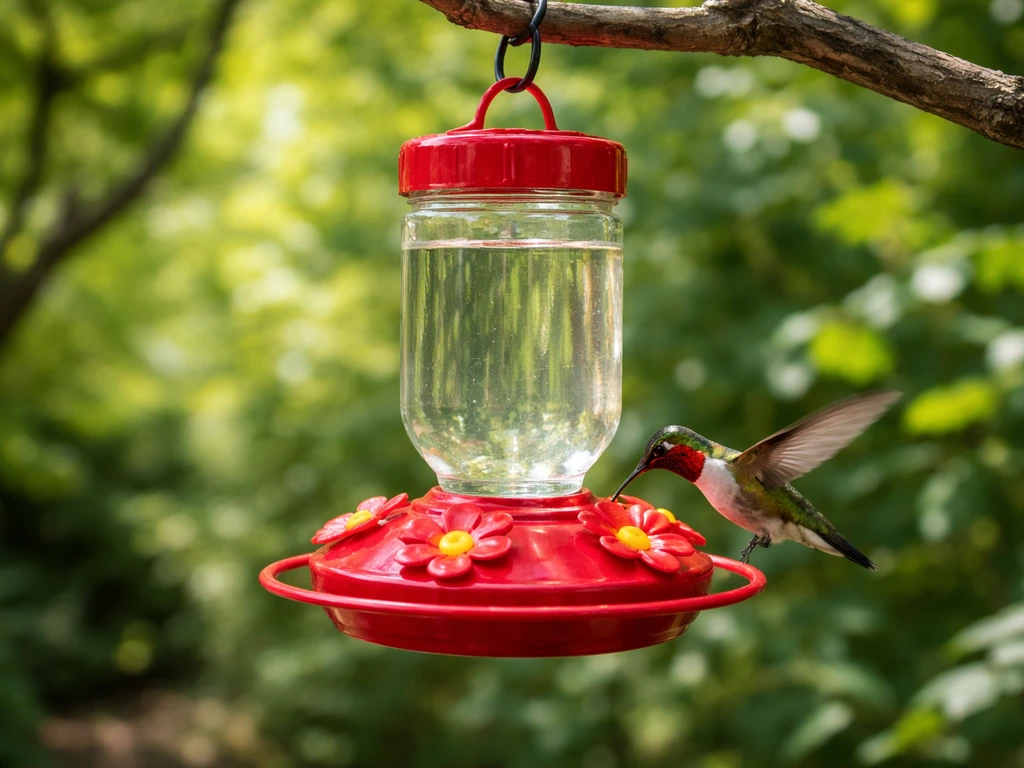
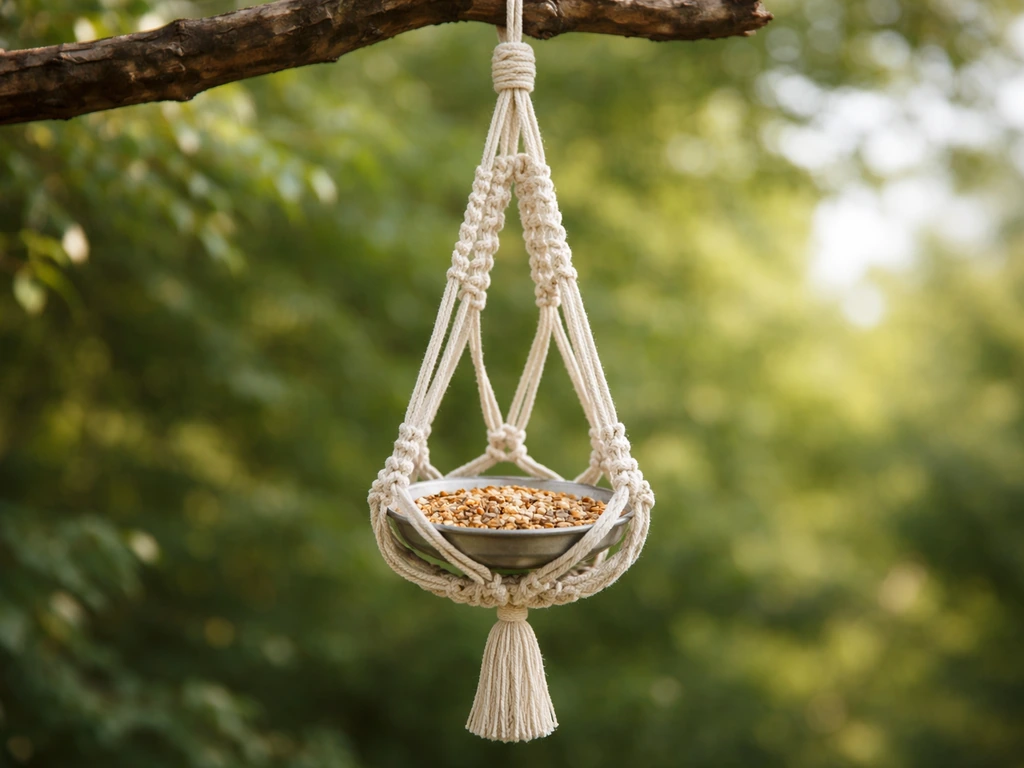
You can make a working hummingbird feeder today using a clean plastic bottle, a few basic supplies, and a simple sugar-water mix. The standard nectar ratio is 1 part white sugar to 4 parts water, no food coloring or additives needed. Fill your DIY feeder, hang it in a shaded spot between 4 and 6 feet off the ground, and clean it every two to three days. If you want a more decorative option, you can also learn how to make a macrame bird feeder with similar planning for placement and maintenance clean it every two to three days. That's the whole system. Everything below fills in the details so you get it right the first time.
How to Make a Bird Feeder for Hummingbirds at Home

Marcus Brennan
5 Jun 2026
What you'll need for a DIY hummingbird feeder
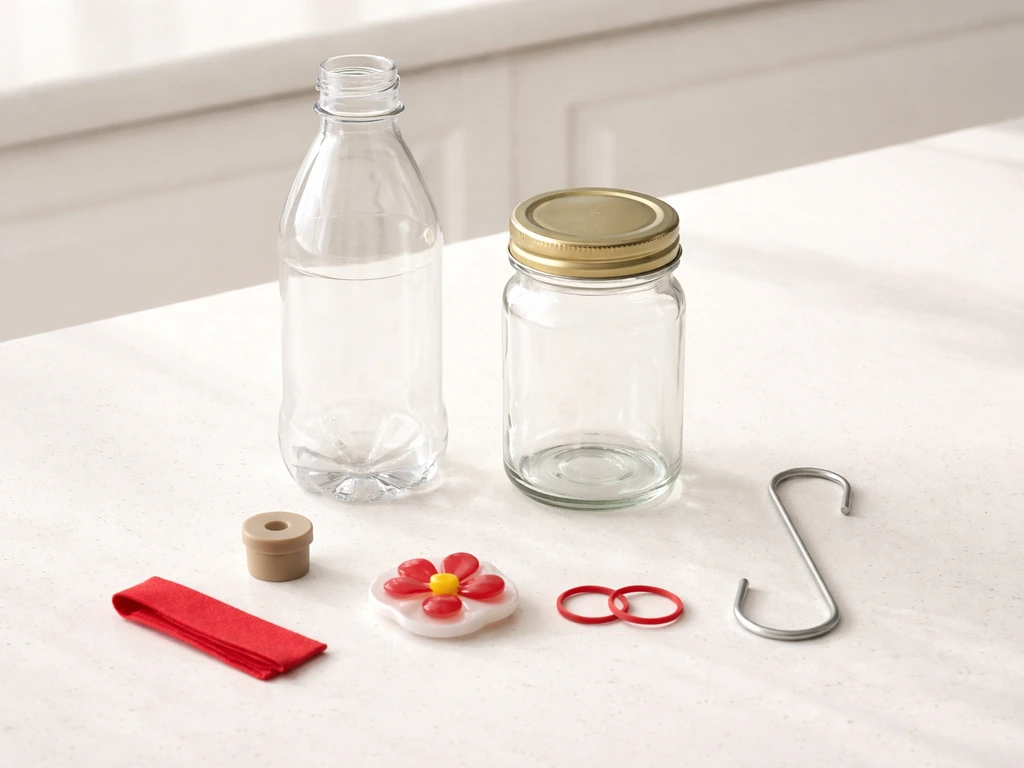
Most of what you need is already in your kitchen or recycling bin. The only thing you might have to buy is a small rubber stopper or feeding port, which you can find at hardware stores or online for a couple of dollars. Here's the full list:
- A clean plastic bottle (a 16 oz or 20 oz soda bottle works great) or a clean glass jar with a lid
- A rubber stopper or cork that fits the bottle opening (with a small hole drilled or pre-cut through the center)
- A small plastic tube or commercially available hummingbird feeding port that fits through the stopper
- Red ribbon, tape, or a few red silk flowers to tie around the bottle neck (to attract hummingbirds without using red dye in the nectar)
- Wire, twine, or paracord for hanging
- White granulated sugar
- Tap water
- A small bottle brush or pipe cleaners for cleaning
One note on color: avoid yellow components if you can. The International Hummingbird Society specifically flags yellow and white feeder parts as attractants for bees and wasps. Red is the color hummingbirds associate with food sources, so lean into that with decoration rather than dye.
Choose the right DIY design: bottle or jug vs. other options
For a first build, an inverted bottle feeder is your best bet. It's simple, it works, and the USDA Forest Service even provides plans based on this exact design. The concept is straightforward: you fill a bottle with nectar, cap it with a stopper fitted with a small feeding tube, and hang it upside down. Gravity and air pressure keep the nectar from draining too fast, and hummingbirds sip directly from the tube.
A mason jar or glass bottle works the same way and is easier to clean because the opening is wider. If you have an old mason jar, that's actually the upgrade version of this build. Wider mouth means your bottle brush reaches everywhere, which matters a lot when you're cleaning every few days.
If you want to get more creative, a shallow dish or saucer style feeder is another option. You'll need a waterproof container (a small plastic lid or dish) hung or mounted stably, with red decorations around it. The downside is that dish feeders are more exposed to rain and debris, and nectar spoils faster in open designs. For a beginner, the inverted bottle is the most reliable starting point.
| Design | Best For | Cleaning Ease | Spoilage Risk | Build Difficulty |
|---|---|---|---|---|
| Inverted plastic bottle | First-time builders, minimal supplies | Moderate (narrow opening) | Low (sealed system) | Easy |
| Inverted mason jar | Anyone with a jar on hand | High (wide mouth) | Low (sealed system) | Easy |
| Saucer/dish style | Observers who want to watch feeding up close | High (open) | High (exposed to air and rain) | Easy to Moderate |
The mason jar version is my personal recommendation if you have one. The wide opening means you can actually get a brush inside to scrub every corner, which is the single biggest maintenance win you can get on a DIY design.
Make hummingbird nectar: the correct mix and how to prep it
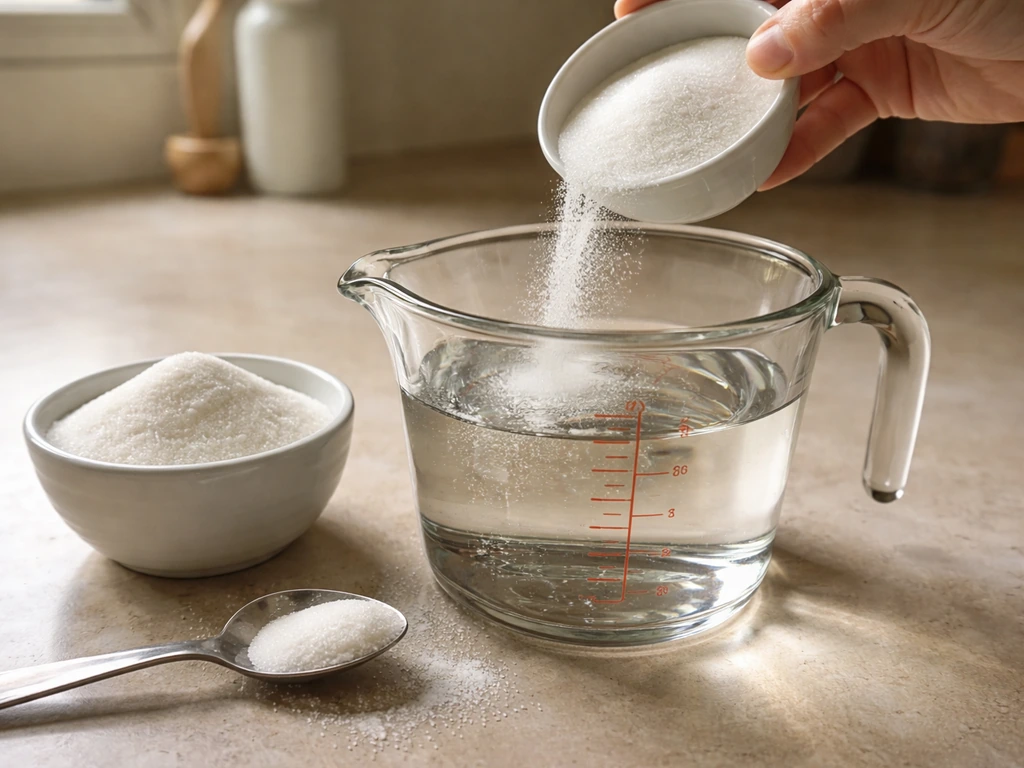
The recipe is simple and it doesn't need to be complicated. Mix 1 part white granulated sugar with 4 parts water. That's it. For a practical starting amount: 1 cup of sugar to 4 cups of water. Do not use honey, brown sugar, artificial sweeteners, or food coloring. Red dye in nectar is unnecessary and potentially unsafe for hummingbirds according to the Washington Department of Fish and Wildlife. Plain white sugar dissolved in water is exactly what these birds need.
Step-by-step nectar prep
- Measure 4 cups of tap water into a saucepan.
- Bring the water to a boil on its own first, then remove from heat. Do not boil the sugar and water together because evaporation during boiling can shift your sugar concentration higher than intended.
- Stir in 1 cup of white granulated sugar until fully dissolved.
- Let the nectar cool completely to room temperature before filling your feeder. Hot nectar can warp plastic and the warmth accelerates fermentation.
- Store any leftover nectar in the fridge for up to two weeks in a sealed container.
If you're making a smaller batch, the ratio scales down easily. A quarter cup of sugar to 1 cup of water gives you just enough to fill a smaller bottle feeder. That's a useful starting amount if you're not sure how quickly local hummingbirds will find the feeder, since you'd rather not let a large batch sit and spoil.
How to hang and place the feeder for best results
Placement makes a bigger difference than most people expect. A hummingbird feeder in the wrong spot will go unvisited for weeks, while the same feeder in the right location can attract visitors within a day or two.
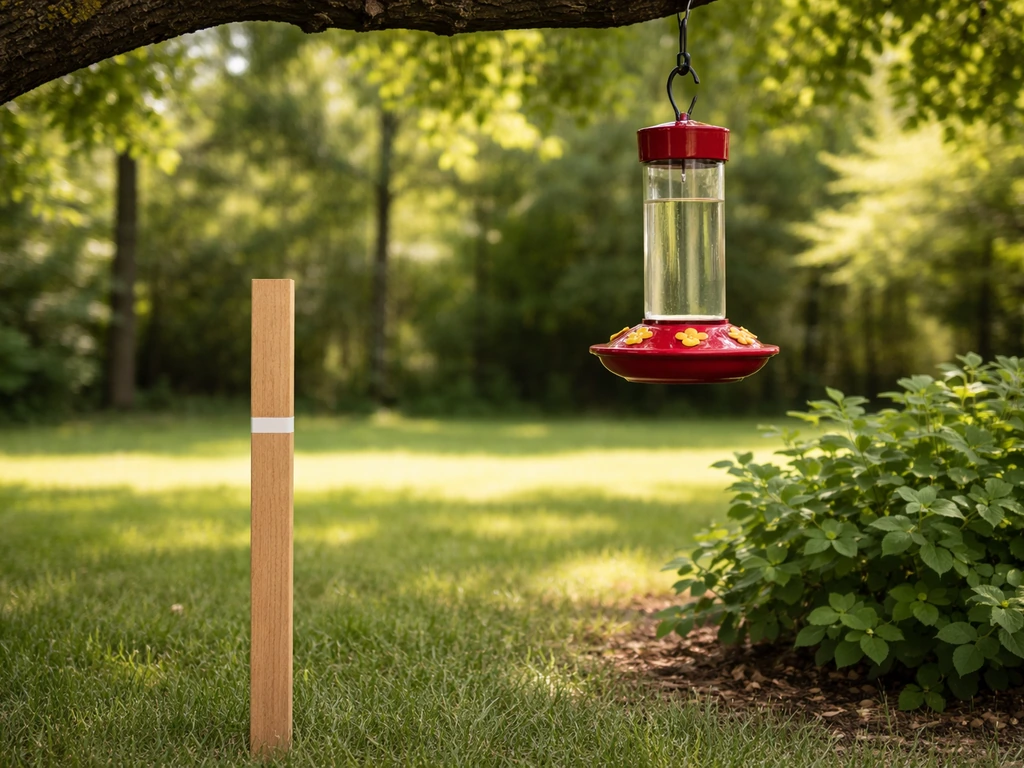
Height and shelter
Hang your feeder between 4 and 6 feet off the ground. High enough that cats can't jump to it, low enough that you can reach it comfortably for regular cleaning. Position it where it gets morning sun and afternoon shade if possible. The U.S. Fish & Wildlife Service also recommends providing suitable shelter with feeders during the hummingbird season, along with keeping feeders clean and properly maintained Hummingbird Haven. The Audubon Society of Western Pennsylvania specifically advises against all-day direct sun, because heat accelerates nectar fermentation and can turn your solution cloudy within a day in summer.
Distance from windows
If you're hanging near a window, the guidance from wildlife experts is to place the feeder either within 3 feet of the glass or more than 10 feet away. Under 3 feet, a bird that startles won't build up enough speed to hurt itself. Over 10 feet, there's enough distance that birds adjust course before reaching the glass. The danger zone is that middle range of 3 to 10 feet, where birds can gain speed and strike hard.
Making it easy for hummingbirds to find
- Add red ribbons, red artificial flowers, or a red bow near the feeder when you first put it out. This draws attention without adding anything to the nectar.
- Place the feeder near flowering plants if you have them, especially tubular flowers like salvia, bee balm, or cardinal flower.
- Keep it visible from open sky. Hummingbirds scout from above and spot feeders during flyovers.
- The U.S. Fish and Wildlife Service notes hummingbirds are most active from April through October, so spring is the best time to get a feeder up and visible.
Refill and clean schedule to prevent spoilage
This is where most DIY hummingbird feeders fail. People set them up and then forget about them for a week. Nectar ferments fast, especially in warm weather, and fermented nectar can make hummingbirds sick. The National Wildlife Federation recommends emptying, rinsing, and refilling every two to three days in warm conditions. Project FeederWatch says clean the feeder every time you refill it, with a typical cycle of every two to five days depending on temperature.
In peak summer heat, you might need to change the nectar every day or two. In cooler spring or fall weather, every four to five days is usually fine. A good habit: check the nectar every morning when you're outside. If it looks cloudy or has any floating particles, replace it immediately regardless of when you last changed it.
How to clean the feeder properly
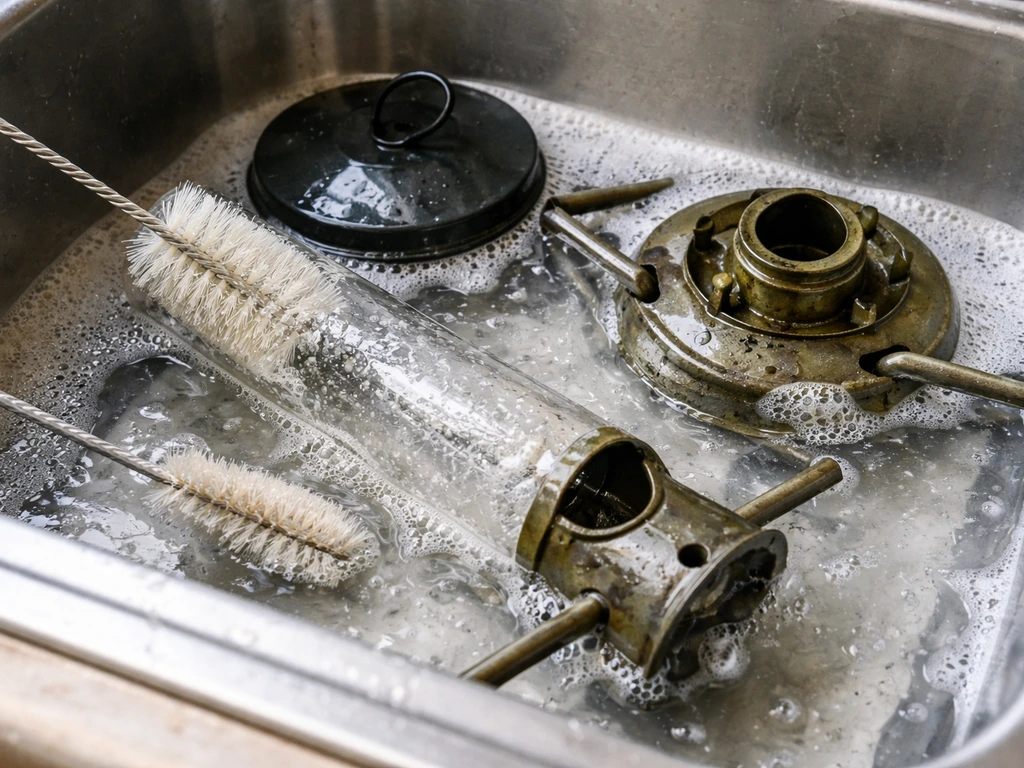
- Empty any leftover nectar completely.
- Rinse with hot water and scrub all interior surfaces with a bottle brush or pipe cleaners. Pay extra attention to the feeding tube and any crevices where mold can hide.
- For a routine clean, soak in a 50/50 solution of white vinegar and water for about 15 minutes, then rinse thoroughly.
- Once a month, do a deeper disinfecting soak using 1 tablespoon of bleach per quart of water for about 15 minutes, then rinse extremely well, multiple times, until you can't detect any bleach smell.
- Let the feeder air dry completely before refilling. A damp feeder just speeds up the next round of mold growth.
Troubleshooting common problems
The feeder is leaking or dripping
Leaking in an inverted bottle feeder is almost always caused by one of two things: a stopper that doesn't fit snugly, or a feeding tube that's too large in diameter. Check the seal around the stopper first. If it's loose, wrap the stopper with plumber's tape (PTFE tape) to build up the diameter slightly until it fits tight. If the drip comes from the tube itself, the tube may be too wide and letting nectar flow past the surface tension. Try a narrower tube or seal around the tube-stopper junction with food-safe sealant. Temperature changes also cause pressure shifts that can push nectar out, so move the feeder to a shadier spot if dripping starts after a hot afternoon.
Ants and wasps are taking over
Ants are the most common pest problem with hummingbird feeders. The best fix is an ant moat, which is a small water-filled cup that hangs between the feeder and the hook. Ants can't cross water, so they never reach the feeder. You can buy these cheaply or make one from a plastic bottle cap with a hole drilled through the center. The International Hummingbird Society specifically recommends ant moats for this problem. Cornell Lab's All About Birds notes that some feeder designs include a built-in center moat, so if you're sourcing a feeding port, look for one with this feature.
For wasps and bees, the main fix is eliminating yellow from your feeder. Swap any yellow parts for red ones. Also make sure your feeder isn't dripping, since pooled nectar on the outside of the bottle is what attracts them in the first place. If wasps are already a serious problem, move the feeder to a different location for a few days. Wasps have strong location memory and will keep returning to the same spot even after the food source is gone.
Nectar is turning cloudy
Cloudy nectar means fermentation or mold has started. Do not leave it out hoping hummingbirds will drink it anyway. Empty it immediately, do a full cleaning with your vinegar or bleach solution, rinse thoroughly, and refill with fresh nectar. The International Hummingbird Society is direct on this point: cloudy nectar should be replaced right away and the feeder should be fully disassembled and cleaned. If your nectar is clouding up faster than expected, move the feeder somewhere with more shade and reduce your batch size so you're making smaller amounts more frequently.
Hummingbirds aren't coming
Give it time, especially if it's early in the season or you've just put the feeder up. Make sure there's something red visible near the feeder to catch their attention during flyovers. Check that the feeding tube isn't clogged. Sometimes the opening gets sealed with dried nectar or debris, and a bird that tries once and gets nothing won't come back quickly. Run water through the tube or poke it clear with a pipe cleaner. Also double-check your location: a feeder tucked behind dense shrubs that's invisible from open air is much harder for hummingbirds to discover.
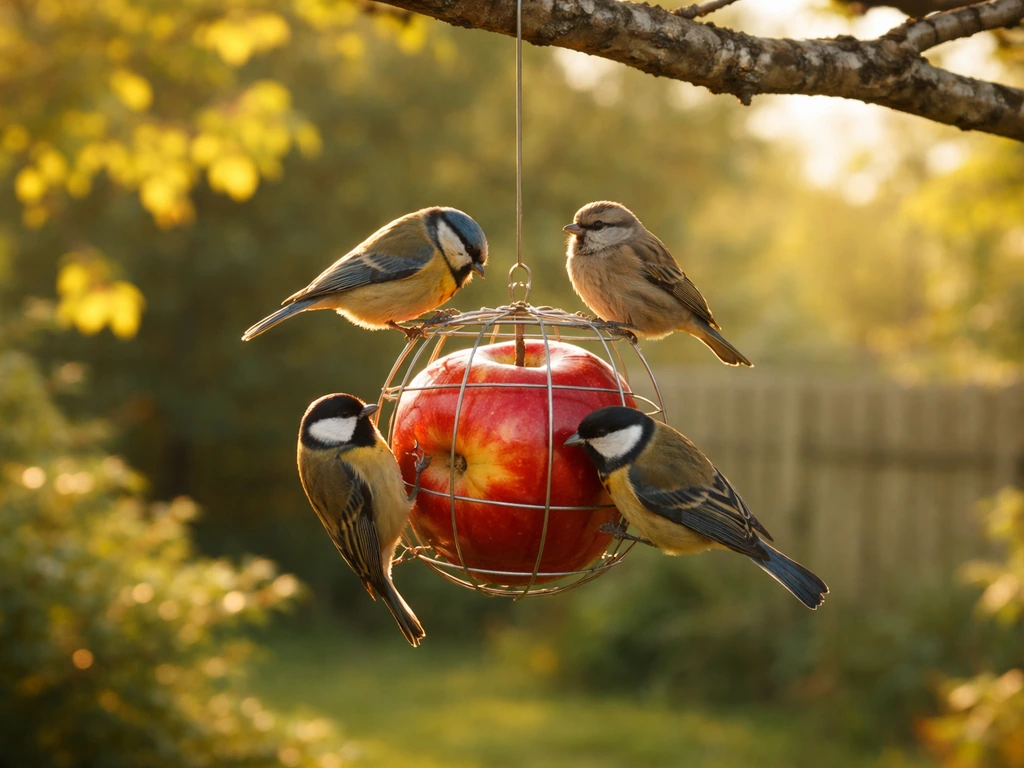
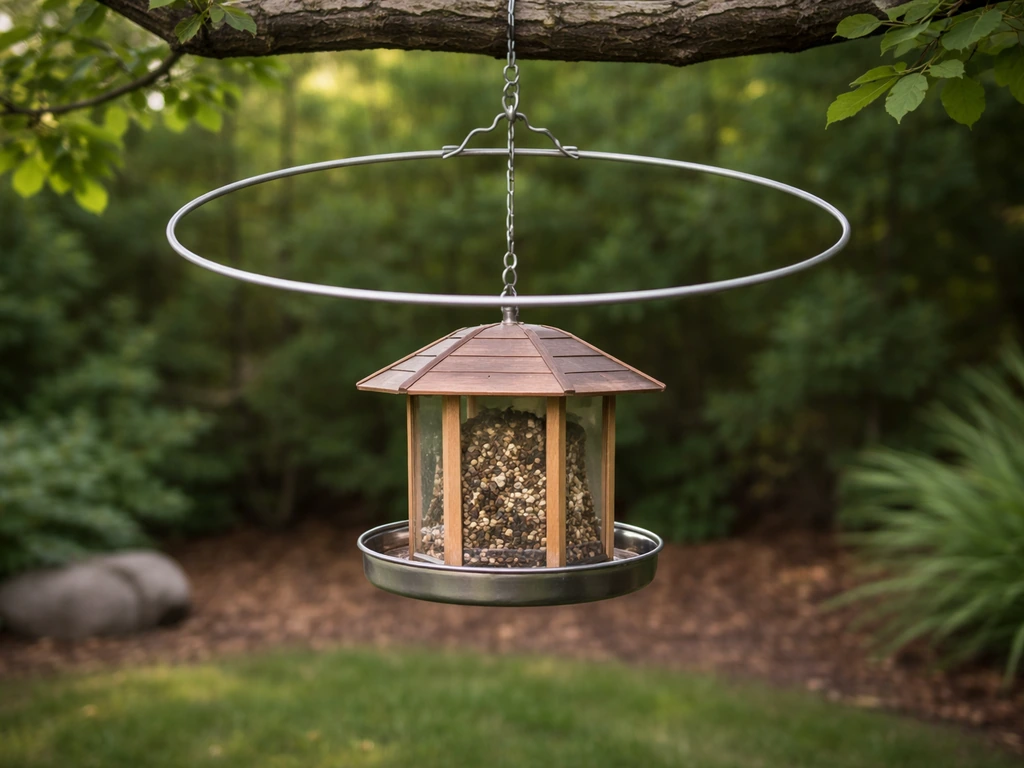
If you're interested in attracting other species alongside hummingbirds, some of the same placement and maintenance habits apply to other DIY feeder builds. For more region-specific guidance, see how to make a nectar bird feeder nz as a related option for local bird feeding setups. Grape jelly feeders and fruit-based feeders like apple feeders attract orioles, which sometimes share territory with hummingbirds in spring and summer. You can also make a sugar bird feeder using the same simple sugar-water idea, then choosing the right container and placement for the birds in your area Grape jelly feeders. If you're making your own apple feeder, use fruit-based placement and clean it often so it stays attractive to birds apple feeders. If you want to attract orioles, learning how to make a grape jelly bird feeder is a great next step Grape jelly feeders. And if ant problems are a recurring issue, a magic halo setup (a wire loop that suspends the feeder in mid-air away from any surface ants can walk on) is worth looking into as an alternative to the standard moat approach. A magic halo setup can keep feeders suspended away from surfaces ants can reach, which is helpful when you want an alternative to a moat.
Once your feeder is up and running, the ongoing work is minimal: make fresh nectar every few days, clean the bottle each time you refill, and keep an eye out for leaks or pests. Most people find that after the first week or two it becomes a quick routine, and the payoff, hummingbirds hovering a few feet away from you, is absolutely worth it.
FAQ
Can I just rinse and refill my hummingbird feeder, or do I need to fully clean it each time?
It depends on what type of DIY feeder you built. For an inverted bottle or mason jar with a tube, you can usually rinse and refill every 2 to 3 days without fully scrubbing if it stays clear. If you ever see cloudiness, floating specks, or any dried film, do a full disassembly clean (tube, stopper, and bottle neck) so residue does not speed up future fermentation.
How long should I wait before I decide my DIY hummingbird feeder is not working?
Avoid feeding right after you set it up. Hummingbirds often take time to locate a new feeder, so keep the nectar fresh and the feeder visible (red accents near the tube help). If birds do not visit after a few days, check that the feeding tube is not clogged, the nectar is still clear, and the feeder is in a spot with morning sun and afternoon shade.
What happens if I make extra sugar water and store it for later?
No. Plain water can dilute nectar and make it less likely to be used, but more importantly, it can still spoil quickly. Use only white granulated sugar dissolved in water at the 1-to-4 ratio, and store unused mix in the fridge only briefly, ideally making smaller batches so you refill often instead of keeping mixed nectar for days.
Is cloudy nectar ever safe if hummingbirds are still drinking it?
Do not use it. If nectar is cloudy, has particles, or smells sour, discard it and clean the feeder thoroughly before refilling. Even if hummingbirds seem to be visiting, fermented nectar can reduce health and cause illness, so cloudy nectar is a stop-and-fix signal, not a “try again” situation.
How do I prevent wasps and bees from being drawn to the feeder?
Choose the lowest-drip design you can. If nectar is leaking from the tube or around the stopper, wasps and bees are more likely to investigate the outside wet area. After you fix the seal, also check the hook and hanging angle so the feeder does not tilt, which can create slow leaks and make the problem recur.
My ant moat worked briefly, what should I check next when ants start showing up again?
If ants get in, inspect for two common bypass routes: the feeder-to-hook connection and any nearby surface ants can climb to reach the feeder. With an ant moat, ensure the moat stays filled (top it off after evaporation) and verify there is no bridge created by twine, leaves, or spider webs between the feeder and surfaces.
Can I use a smaller bottle or make smaller batches to make maintenance easier?
Yes, but keep it simple. If your inverted bottle has a wide opening (like a mason jar build), cleaning is easier, so more frequent small-batch refills are practical. In hot weather, smaller batches help you replace nectar more often, reducing how long it sits before fermentation begins.
What is the correct way to clean a DIY hummingbird feeder using vinegar or bleach?
You can, but only if you use it to maintain the feeder. After cleaning with vinegar or bleach, rinse very thoroughly so no chemical residue remains, and let all parts dry before refilling. If you smell chemical odors or see any residue film, rinse again, because lingering odors can discourage hummingbirds.
Is the 4 to 6 foot hanging height only a comfort guideline, or does it matter for safety too?
Yes, and it’s a safety and effectiveness issue. Place the feeder where you can reach it for regular refilling, generally 4 to 6 feet high, while also keeping cats and pets in mind. If you plan to mount it lower for convenience, use a more protected location so the feeder remains stable during storms and does not become easy for predators to access.
What are the signs that my feeder tube is clogged, and how do I clear it safely?
Don’t guess if it is clogged. After each refill cycle, quickly check that nectar flows through the feeding tube by running clean water through it or using a small pipe cleaner to clear any dried sugar. Clogs often lead to “one try then nothing” behavior because hummingbirds quickly learn when a feeder stops delivering nectar.
Next Articles
How to Make an Apple Bird Feeder at Home Step by Step
Step by step guide to build an outdoor apple bird feeder, with materials, mounting tips, safe placement, and maintenance
How to Make a Macrame Bird Feeder Step by Step Today
Step-by-step macrame bird feeder guide: materials, knot tying, secure hanging, placement tips, and troubleshooting for r
How to Make a Magic Halo for Bird Feeders
Build a DIY magic halo ring for bird feeders with secure mounting, safe hanging, placement tips, and maintenance for few