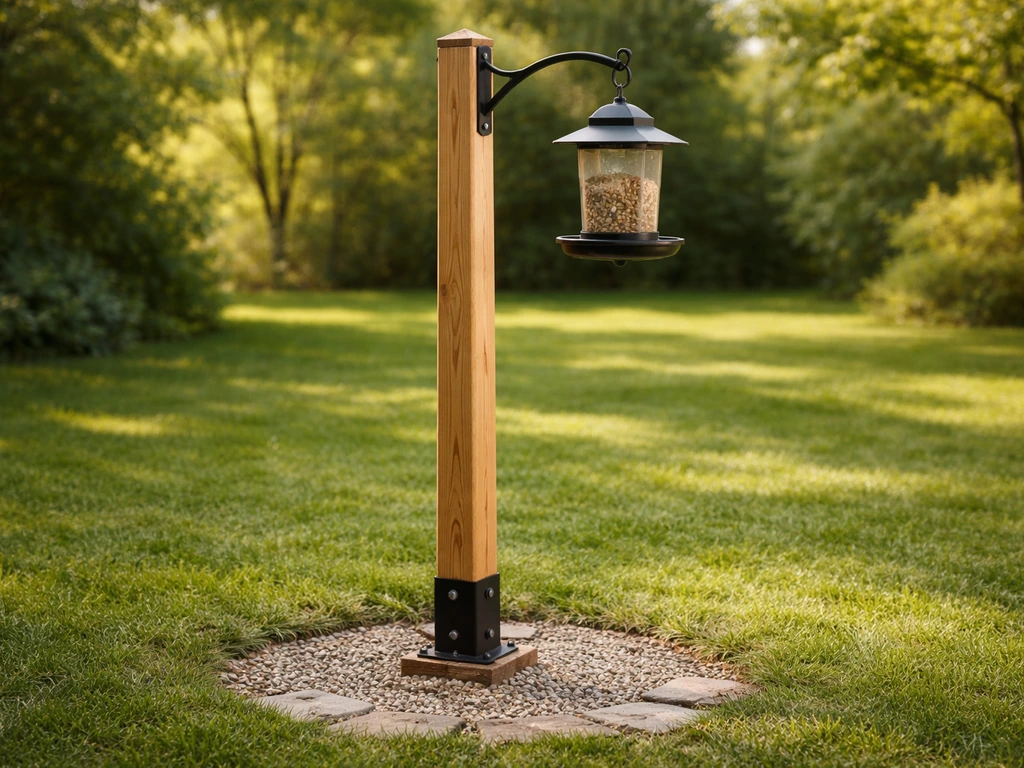
You can build a solid bird feeder post in an afternoon using a 4x4 cedar or pressure-treated pine post, a bag of fast-setting concrete, a hook or bracket at the top, and basic hand tools. Set it at least 2 feet deep in the ground, position it 10 to 15 feet from the nearest shrub or tree (so squirrels can't leap onto it), and you'll have a stable, long-lasting feeding station that holds up in wind and keeps pests guessing.
How to Make a Bird Feeder Post: Step-by-Step DIY

Marcus Brennan
6 Jun 2026
Choosing the right post style and location
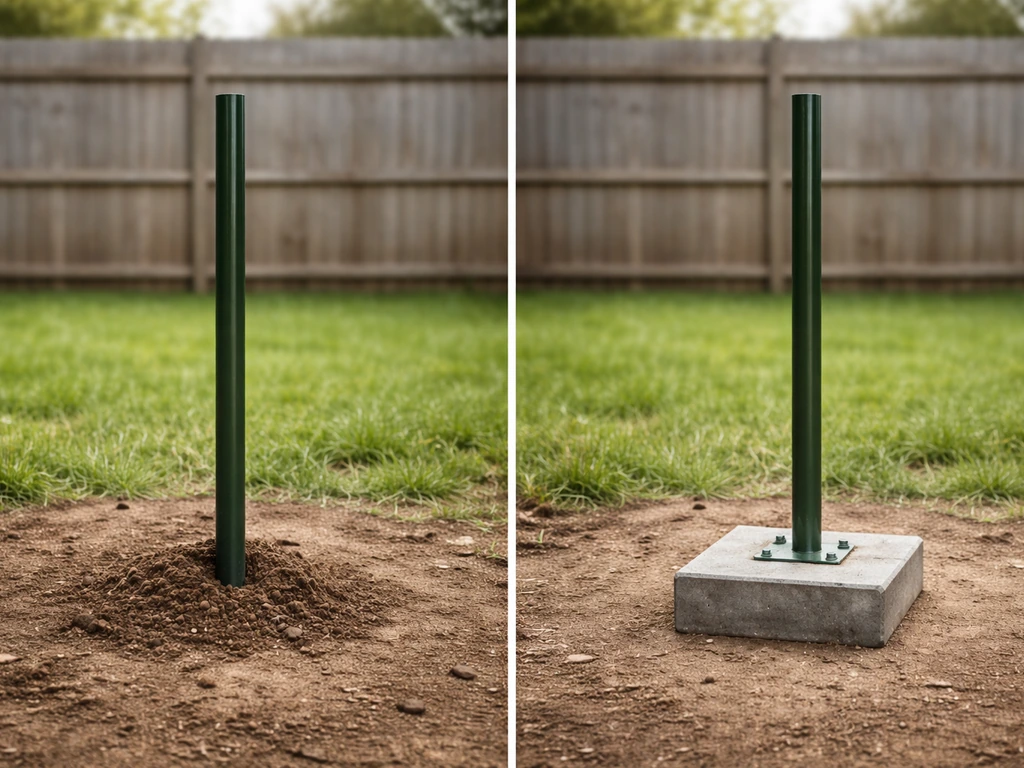
Before you buy a single board, figure out what kind of post you actually need. Most backyard setups fall into two categories: a simple in-ground post or a weighted freestanding stand. The in-ground version is more stable and handles wind much better, so it's what I recommend for most people. A freestanding weighted stand (think heavy base with a threaded pole) is useful if you're renting, have solid bedrock, or want to move the feeder around seasonally. For this guide, we're mostly focused on the in-ground post since it gives the best results.
Location is honestly more important than the post itself. You want to place the feeder where birds feel safe landing but where squirrels and other climbers have a hard time reaching it. A good rule of thumb: keep the post at least 10 feet from any fence, tree trunk, or overhanging branch. Squirrels can jump roughly 8 to 10 feet horizontally, so that buffer matters. Also think about your sightlines from inside the house. A feeder placed 15 to 20 feet from a window gives you a great view without putting birds at risk from window collisions. Research from the U.S. Fish and Wildlife Service flags feeders placed closer than 3 feet to a window as a collision hazard, and anything beyond 30 feet greatly reduces risk. The sweet spot for both safety and viewing is roughly 10 to 20 feet out.
- Full or partial sun preferred, but some shade keeps seed fresher in summer heat
- Near a hedge or shrub (but not too close) gives birds a quick escape route from predators
- Avoid low spots where water pools, as soggy ground makes for an unstable post over time
- Check for underground utilities before digging, especially in established yards
Materials and tools you'll need
Nothing on this list is hard to find, and the whole project typically runs between $30 and $60 depending on what you already have in the garage. Cedar is my top pick for the post material because it naturally resists rot, but pressure-treated pine works fine and costs less. Avoid untreated pine or softwood outdoors since it can start rotting at the base within a couple of seasons.
| Item | Spec / Notes | Approx. Cost |
|---|---|---|
| 4x4 cedar or pressure-treated post | 8 feet long (6 feet above ground, 2 feet below) | $15–$25 |
| Fast-setting concrete mix | One 50 lb bag is usually enough for a single post | $8–$12 |
| Post cap / decorative top | Optional, helps shed rain | $3–$8 |
| Heavy-duty screw hook or bracket | Rated for at least 10 lbs | $5–$10 |
| Exterior wood stain or sealer | For unfinished cedar | $10–$15 (shared with other projects) |
| Gravel (small bag) | A few inches in the hole base for drainage | $4–$6 |
| Drill with bits | For pilot holes and hook installation | Own or borrow |
| Hand saw or circular saw | For trimming post to length | Own or borrow |
| Level (any size) | Essential for getting the post plumb | Own or borrow |
| Shovel or post-hole digger | Post-hole digger is much faster | $0 if rented or borrowed |
| Bucket and water | For mixing concrete | Free |
If you want to hang multiple feeders or add a squirrel baffle (more on that later), grab an 18-inch metal shepherd's hook arm and a length of galvanized steel wire or chain rated for outdoor use. These small extras make the final setup a lot more functional.
Step-by-step: building a sturdy bird feeder post
Set aside about two to three hours for the build and installation, including drying time for the concrete. Fast-setting concrete (like Quikrete Fast-Setting) is ready to bear weight in 20 to 40 minutes, so you won't be waiting around all day.
- Cut your post to length. A finished height of 5 to 6 feet above ground is the sweet spot. Too short and the feeder is easy for cats to reach; too tall and refilling becomes a chore. Add your burial depth (24 inches minimum, or 1/3 of total post length for extra stability) to get your cut length. An 8-foot post usually gives you exactly what you need.
- Dig the hole. Use a post-hole digger rather than a standard shovel. You want the hole roughly 10 to 12 inches in diameter and 24 to 30 inches deep. A deeper hole matters more in regions with hard freezes, since frost heave can push a shallowly set post right out of the ground over winter.
- Add gravel drainage. Pour 3 to 4 inches of gravel into the bottom of the hole before setting the post. This keeps water from sitting against the buried end and dramatically extends the life of the wood.
- Set the post. Drop the post in, have someone hold it (or brace it with a couple of scrap boards), and use a level to check that it's plumb on at least two sides. Don't skip this step. A post that looks 'close enough' will look noticeably crooked once the feeder is hanging from it.
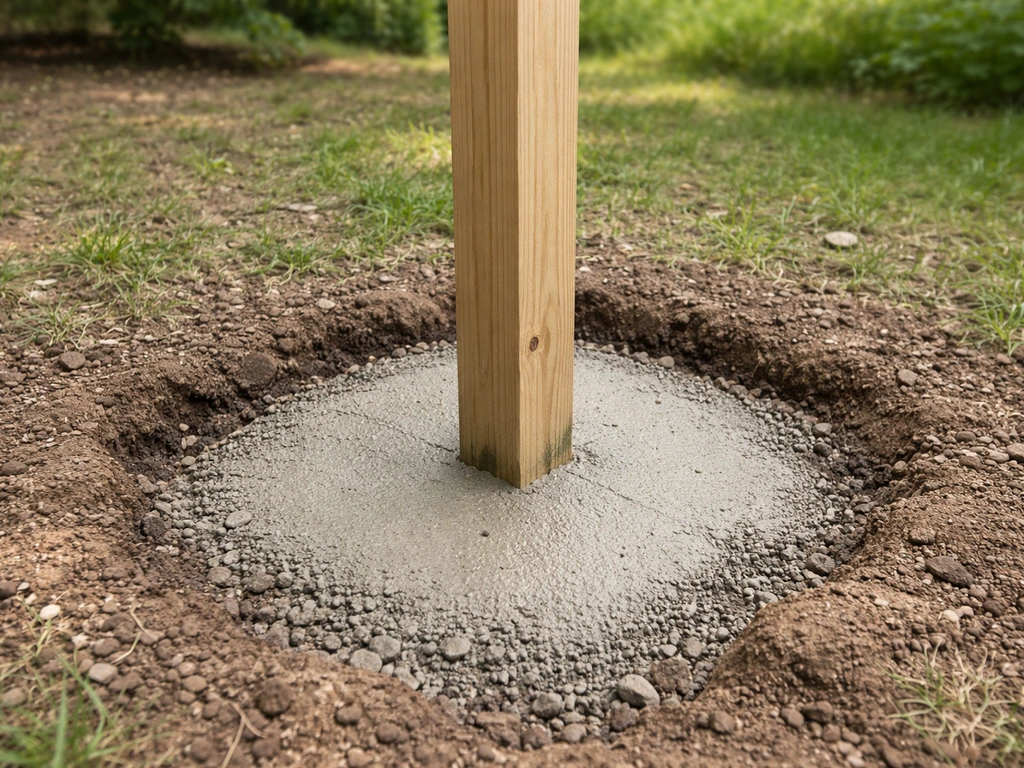
- Pour and mix the concrete. Follow the fast-setting instructions: pour the dry mix directly into the hole around the post, then slowly add water as directed (usually about a gallon per 50 lb bag). Don't mix it in a separate bucket. The dry-pour method means less fuss and a solid set.
- Slope the top of the concrete slightly away from the post on all sides. This sheds rain so water doesn't pool around the wood at ground level, which is where rot usually starts.
- Let it cure before loading any weight. With fast-setting concrete, 30 to 40 minutes gets you to working strength, but give it a full 24 hours before hanging a heavy feeder.
- Trim or shape the top of the post. A flat top works, but a 45-degree angled cut or a fitted post cap does a better job of shedding rain. If you're comfortable with a saw, a simple peaked cut takes about two minutes and makes a real difference in longevity.
- Pre-drill and install the hook or bracket. Use a drill bit slightly smaller than your screw hook's diameter, drill a pilot hole 2 inches deep into the center or side of the post top, then thread in the hook firmly by hand. For heavier setups (large hopper feeders, multiple feeders), use a through-bolt bracket instead of a screw hook.
If you'd rather work with a different material or style, you can adapt these steps for a wooden stand build using lumber scraps. If you want, you can also follow these ideas on how to build a bird feeder out of wood for the top section. Building the post out of full dimensional lumber, like a 4x4 with a cross-brace base, is a good freestanding option if you want something portable or if digging isn't practical. It's a similar approach to making a bird feeder stand out of wood, just without the concrete anchor.
Mounting the feeder and hanging accessories
How you attach the feeder to the post matters as much as the post itself. A poorly hung feeder swings in the wind, spills seed constantly, and can actually fall and crack. Here are the main mounting options and when to use each one.
| Mounting Method | Best For | Pros | Cons |
|---|---|---|---|
| Screw hook (J-hook) | Lightweight tube or mesh feeders | Easy to install, cheap | Feeder can swing and spin in wind |
| Shepherd's hook arm (bolted to post side) | Most feeder types, especially if you want multiple feeders | Stable, adjustable height, looks clean | Requires drilling into post side |
| Through-bolt bracket with chain | Heavy hopper or platform feeders | Very secure, minimal sway | More hardware, slightly harder install |
| Wood arm / side arm (built from scrap 2x4) | DIY builds, platform feeders | Customizable, free if you have scrap wood | Needs to be properly braced or it droops |
For most people, a shepherd's hook arm bolted to the side of the post is the best balance of stability and ease. Bolt it through the post using a 3/8-inch carriage bolt, washer, and nut rather than just screwing it in. This won't pull out even if a large bird (or a determined squirrel) swings on the feeder repeatedly. Use a locking carabiner or S-hook with the open end squeezed shut with pliers to attach the feeder itself, so it doesn't unhook during windy weather.
If you want to hang multiple feeders from one post, space the arms at different heights to reduce competition between bird species. Tube feeders work well higher up; platform or tray feeders can go lower. Keeping feeders at different heights also means spilled seed from an upper feeder lands on or near the lower one, reducing waste.
Weatherproofing, stability, and pest-proofing
A post that lasts one season isn't worth the effort. A few finishing steps will easily double or triple the lifespan of your setup, and a couple of smart choices will make your feeder a lot less appealing to squirrels.
Making the post weather-resistant
If you used cedar, apply a penetrating exterior oil or wood sealer after the concrete cures fully (usually 48 to 72 hours for full cure). This keeps the wood from graying out too fast and prevents checking (surface cracking). Reapply every two to three years. For pressure-treated pine, the wood already has preservative treatment, but a coat of exterior stain still helps it hold up better and look nicer. Don't use interior paint or varnish outdoors. They peel quickly and leave the wood underneath in worse shape than bare wood.
Keeping the post stable in wind and shifting ground

If your post wobbles after a few months, the most common causes are: a hole that was too shallow, concrete that wasn't given enough cure time before loading, or soil that shifts dramatically with moisture (clay-heavy soil is the worst offender). If you're in a wet or clay-heavy area, dig an extra 6 inches deeper than you think you need and use two bags of concrete instead of one. The extra cost (about $10) is worth it. In regions with hard winters, frost heave is a real problem. Setting the post below the local frost line, typically 30 to 48 inches in northern U.S. states, prevents the post from being pushed up each spring.
Basic squirrel and pest deterrence
The most effective single thing you can do is install a squirrel baffle on the post. A torpedo or cone-style baffle mounts on the post below the feeder, typically 4 to 5 feet off the ground. Squirrels that try to climb the post hit the baffle and can't get around it. Baffles cost $15 to $30 at most garden centers, or you can make a basic cone version from sheet metal or a large plastic bowl with a center hole drilled out. The baffle only works if the post is properly positioned (at least 10 feet from jumping-off points), so location and baffle work together. One without the other is only half a solution.
- Use a smooth metal or PVC pipe section at the base of the post below the baffle. Squirrels can't grip it to climb.
- Avoid placing the post under overhanging branches, even if they seem far away. Squirrels are better jumpers than most people expect.
- Keep spilled seed cleaned up below the feeder. Piles of seed on the ground attract rats and raccoons more than the feeder itself does.
- If raccoons are a problem in your area, remove or cover feeders at night. Raccoons are primarily nocturnal and most songbirds feed during the day anyway.
Safety checks, bird-friendly setup tips, and troubleshooting
Once your post is set and feeder is hung, do a quick walkthrough before you fill it with seed. Give the post a firm shake to check for wobble. Tug the feeder hook or bracket firmly. Check that the feeder opening is not obstructed and that the drainage holes at the bottom (if it has them) are clear. These take about two minutes and catch problems before birds (and weather) start stressing the setup.
Bird-friendly placement reminders
Keep the feeder at least 10 feet from your nearest window to give birds enough space to change course if startled. Closer than 3 feet, birds that flush from the feeder can hit the glass at high speed. At 10 to 20 feet, they have room to react. If your only good location is right next to a window, apply window collision tape or bird-safe film to break up the reflection. It's a cheap fix that makes a real difference. Michigan DNR bird feeding guidance also recommends thinking about what your feeder activity might attract, so consider your neighborhood and the wildlife already present when you choose your location. The Michigan DNR bird feeding guidance also suggests considering what your feeder activity may attract when choosing a location.
Common problems and quick fixes
- Post is leaning after a week: The hole was too shallow or the concrete wasn't given enough cure time. Dig out and reset with a deeper hole and two bags of concrete.
- Feeder spins and dumps seed in wind: Switch from a simple hook to a bracketed arm with a locking carabiner. You can also add a wire tether from the bottom of the feeder to the post side.
- Birds aren't coming after two weeks: Be patient, it often takes 2 to 4 weeks for local birds to discover a new feeder. Check that the seed is fresh (old or moldy seed is ignored). Try adding a birdbath nearby to attract initial visitors.
- Squirrels are getting past the baffle: The post is too close to a jumping-off point, or the baffle is mounted too high (it should be no higher than 5 feet off the ground). Reposition the post or lower the baffle.
- Post base is rotting after one season: Bare wood was in direct contact with wet soil. Going forward, char the buried section lightly with a torch (an old technique that carbonizes the surface and resists rot), or wrap it with roofing felt before setting in concrete.
- Hook is pulling out of the wood: Upgrade to a through-bolt bracket. Screw hooks can strip out of end-grain wood over time, especially with heavy feeders or persistent wildlife activity.
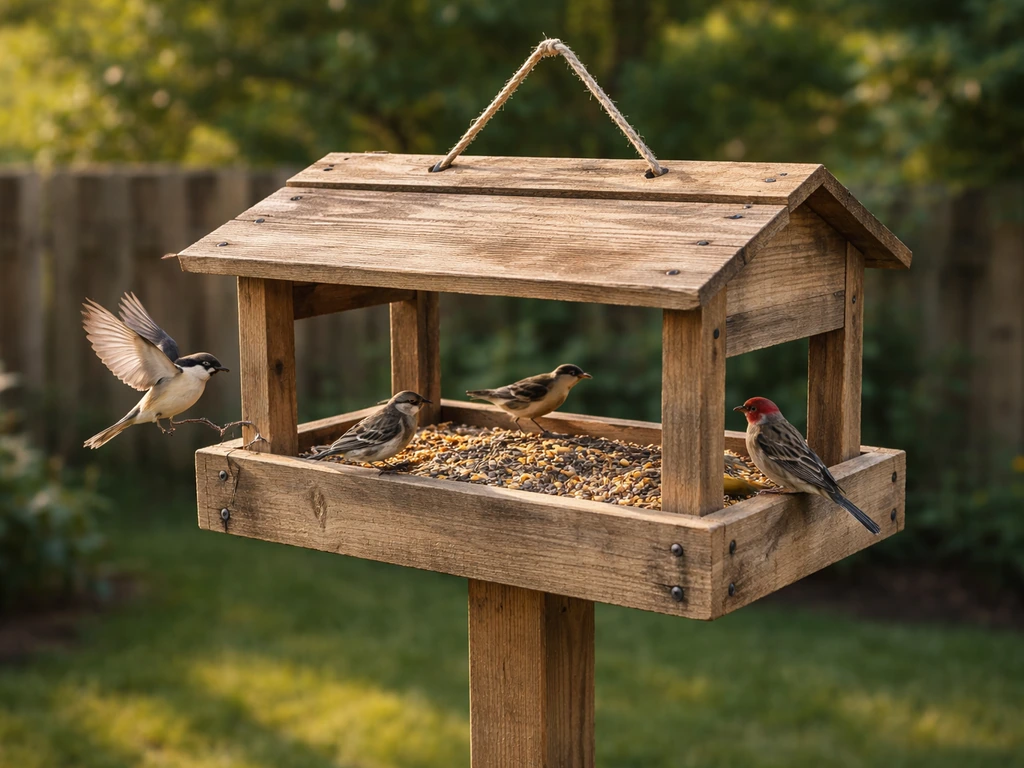
Once you've got the post sorted, you might want to think about what feeder goes on top. A simple wooden feeder built from cedar scraps pairs perfectly with a cedar post and keeps the whole setup looking cohesive. You can even use twigs to create a small bird feeder that matches the natural look of a homemade post twigs bird feeder. If you want an easy DIY option, you can also learn how to make bird feeder with paper for a fun, beginner-friendly project building feeders. If you're interested in building feeders from reclaimed or waste materials to match a budget-friendly post build, there are some genuinely clever approaches worth exploring. You can even learn how to make a bird feeder out of pallets using reclaimed wood while keeping it weatherproof and safe for backyard birds building feeders from reclaimed or waste materials. If you want a quick, low-cost option, learn how to make bird feeders out of toilet paper rolls too. The post is the foundation, but the feeder itself is what brings the birds. If you want to go one step further, learn how to make a bird feeder with waste material so you can reduce scraps while still feeding your local birds how to make bird feeder with waste material.
FAQ
How do I know how high to mount the feeder on the post?
Aim for a height that fits both bird access and squirrel control, typically with the feeder opening around 5 to 6 feet off the ground when using a baffle. If you use multiple feeder arms, keep tube feeders higher and tray or platform feeders lower so lower feeders are less likely to be buried under falling seed.
What if my yard has uneven ground or a slope where I want the post?
Level your layout before digging, then keep the post vertical after it’s set, even if the ground is sloped. Measure depth from the uphill side and double-check that the concrete hole is deep enough everywhere, because sloped soil can expose part of the post if you only measure one side.
Can I reuse leftover concrete or use too little concrete to save money?
Avoid using leftover dry mix or reducing the amount too far, because thin concrete collars crack and allow wobble. For stability, fill the hole so concrete reaches below the frost line where applicable and surrounds the full base area, then let it cure fully before loading the feeder.
Do I need to drill holes for drainage in the feeder, and what happens if I don’t?
Yes, drainage holes matter for seed quality. Without them, wet seed clumps, molds, and can attract more pests. If your feeder doesn’t have holes, add them (or swap to a feeder that does) and keep an eye on seed that stays damp after rain.
How can I prevent the post from splitting or swelling near the mounting bolts?
Pre-drill holes for carriage bolts and use washers under the bolt head and nut to spread force. If cedar is new, let the wood dry naturally for a short time before bolting, and do not over-tighten, which can compress the wood fibers and encourage splitting.
What type of wood sealant should I use so it doesn’t affect birds?
Use a penetrating exterior sealer or exterior oil made for outdoor wood, let it cure completely, and avoid applying thick coatings around the feeder arm area where birds may peck. Reapply on schedule, especially after winter, because coatings that wear thin expose the base to moisture cycling.
What should I do if squirrels still get to the feeder even with a baffle?
Check that the baffle is the correct diameter and mounted at the right height (about 4 to 5 feet) and confirm there are no nearby jump-off points within the recommended distance. Also inspect the gap between the baffle and the post, if there is a large gap squirrels can sometimes wedge claws in and bypass the barrier.
How do I stop seed waste and keep the area under the feeder cleaner?
Choose a feeder style that matches your local birds, tray feeders spill more than tube feeders. Position the feeder so falling seed lands on grass or a contained area you can clean, and use seed that fits your feeders (for example, mix-compatibility for tube openings) rather than overfilling.
Is it safe to put the feeder closer to a window if I use bird collision tape?
It can help, but it doesn’t replace distance. If possible, keep the post in the 10 to 20 foot range from windows, because tape only reduces collisions related to reflections and may not eliminate strikes from startled takeoffs.
How often should I inspect and tighten everything after installation?
Do a quick check monthly during high wind seasons and after storms, tug the feeder arm and confirm the hanger hardware stays snug. If you’re in a freeze-thaw area, inspect earlier in spring because soil movement can subtly shift alignment and create wobble.