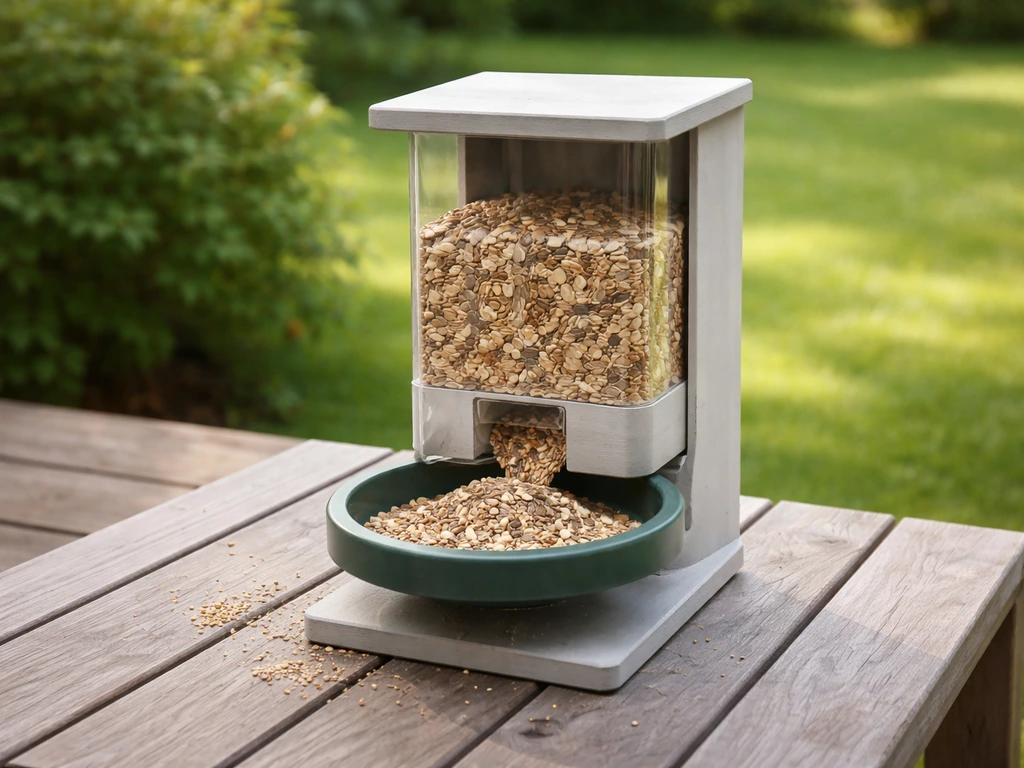
The most reliable way to make an automatic bird feeder at home is to build a gravity-fed or timed-dispensing feeder using wood, a plastic bottle, or a milk jug. Gravity designs are the easiest starting point: seed flows down from a reservoir into a small tray as birds eat, refilling itself until the reservoir runs out. If you want a hopper-style feeder, follow the hopper build steps later in this guide and focus on keeping the seed flowing smoothly. If you want a true timed feeder that dispenses on a schedule, you can add a battery-powered auger or modified pet-feeder motor to a wooden box feeder. Either way, you can have a working feeder built, hung, and stocked in an afternoon.
How to Make an Automatic Bird Feeder: Step by Step

Marcus Brennan
3 Jun 2026
First, decide what 'automatic' actually means for your build
People search for 'automatic bird feeder' and mean three very different things. Before you cut a single piece of wood or drill a single hole, pick your type, because each one uses different parts and has a different level of complexity.
| Type | How it works | DIY difficulty | Best for |
|---|---|---|---|
| Gravity/level-refill | Seed falls by gravity from a sealed reservoir as the tray empties | Beginner | Daily passive feeding, low maintenance |
| Timed dispenser | A battery-powered motor or auger releases a set amount of seed on a timer | Intermediate | Controlling feed quantity, reducing waste |
| Sensor-triggered | A motion or weight sensor opens a port when a bird lands | Advanced (electronics needed) | Deterring squirrels, selective feeding |
Most backyard DIYers are happiest with gravity-fed or timed builds. Sensor-triggered feeders require soldering and microcontroller work (think Arduino or Raspberry Pi), which is a full separate project. This guide focuses on gravity-fed and timed options because they're genuinely buildable in a few hours with hardware-store parts.
Parts list and tool checklist
What you need depends on the build you choose. Here's what to gather before you start. I've listed the free/recycled options first because most people already have them.
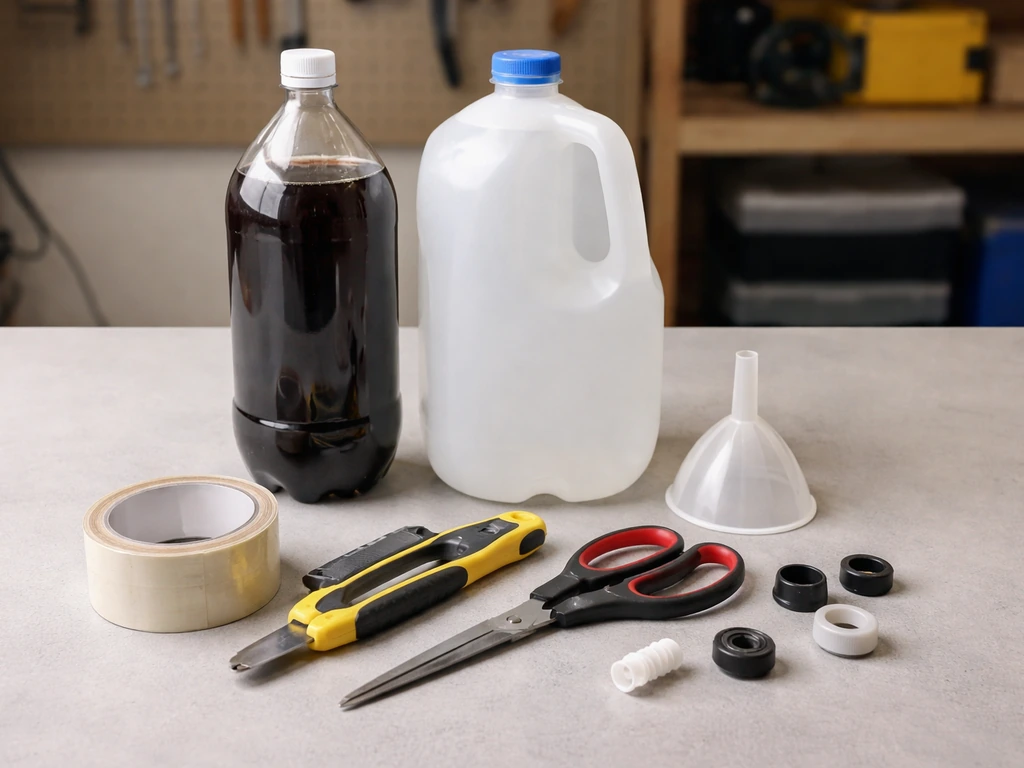
Gravity-fed bottle or jug feeder
- 1 large plastic bottle (2-liter soda bottle) or 1-gallon milk jug, cleaned and dried
- 1 wooden dowel or pencil (6 to 8 inches) for the perch
- Waterproof craft glue or hot glue gun
- Paracord or wire (18 to 24 inches) for hanging
- A sharp knife or scissors
- Awl, nail, or drill with a 1/4-inch bit for port holes
- Optional: spray paint rated for plastic (avoids peeling)
Wooden gravity hopper feeder
- Cedar or pine board, 1x6 inch, cut into: two 10-inch side panels, one 8-inch back, one 6-inch bottom tray, one angled roof piece
- Plexiglass or clear acrylic sheet (6x8 inches) for the seed-visible front panel
- 1.5-inch exterior wood screws (box of 20)
- Wood glue
- Waterproof sealant or exterior wood stain
- Screw eyes and a length of chain or wire for hanging
- Drill with 1/8-inch and 1/4-inch bits
- Saw (hand saw or circular saw)
- Sandpaper (80 and 120 grit)
- Measuring tape and pencil
Timed dispenser add-on
- Battery-powered pet feeder motor unit (available online for $10 to $20, designed for small auger-style dispensing)
- 4 AA batteries
- A wooden or plastic housing box (can reuse a wooden hopper base)
- Zip ties or mounting screws to secure the motor unit
- Programmable timer dial (usually built into the motor unit)
Step-by-step build options
Option 1: Gravity-fed plastic bottle feeder (30 to 45 minutes)
- Wash and fully dry your 2-liter bottle or milk jug. Any moisture left inside will clump seed.
- Mark two feed ports about 2 inches up from the base on opposite sides. Each port should be roughly 3/4 inch in diameter, just big enough for seeds to trickle out without pouring freely.
- Use a heated nail, awl, or drill bit to make the ports. A heated nail melts cleanly through plastic without cracking it.
- Directly below each port, poke a smaller hole (about 1/4 inch) and push a wooden dowel or pencil all the way through so it exits both sides. This is the perch. Secure it with a dab of hot glue.
- Fill the bottle with dry seed. Sunflower seeds and safflower seeds work best because they're large enough not to pour uncontrolled through the ports.
- Seal the cap tightly. Poke two small holes through the cap neck area or use wire around the bottle neck to create a hanging loop.
- Test the flow: hold it upright and give a gentle shake. Seed should trickle to the port edge but not pour out freely. If it pours too fast, reduce the port size with a strip of tape temporarily until you reshape with a knife.
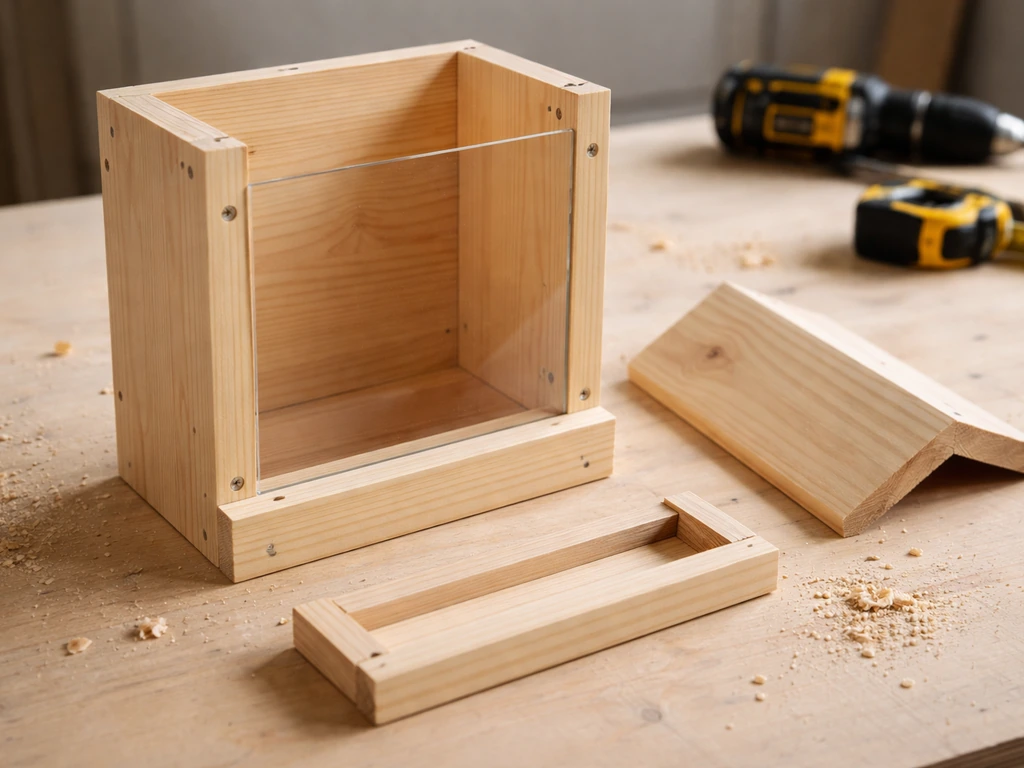
Option 2: Gravity hopper feeder from wood (2 to 3 hours)
- Cut your cedar or pine board to the dimensions listed above. Sand all cut edges to 120 grit so there are no splinters and the fit is tight.
- Assemble the side panels, back, and bottom tray with wood glue and screws. Pre-drill pilot holes to avoid splitting the wood.
- Cut the acrylic front panel to fit between the two sides, leaving a 1/2-inch gap at the bottom. This gap is the seed outlet: seed gravity-feeds through it onto the tray as birds eat.
- Slide the acrylic panel into grooves cut or routed into the inner edges of the side panels, or hold it in place with small wood strips glued inside. The panel should be removable for cleaning.
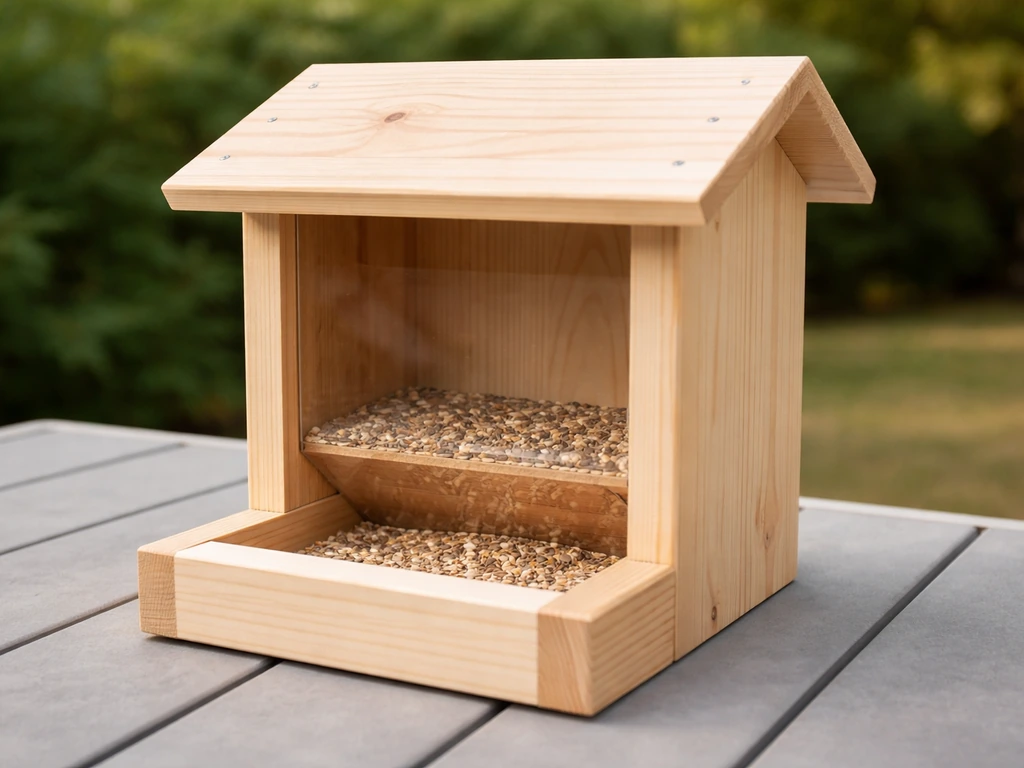
- Attach the angled roof panel to the top with screws and seal the joint with waterproof sealant. The roof should overhang the front by at least 2 inches to keep rain off the seed.
- Apply exterior wood stain or sealant to all outside surfaces. Let it dry completely (at least 4 hours) before adding seed.
- Add screw eyes to the top center of the roof and attach your hanging wire or chain.
Option 3: Pinecone or milk-jug feeder (20 minutes, beginner-friendly)
For a quick gravity-style feeder, a clean milk jug works almost identically to the bottle method above. Cut two or four rectangular windows about 1.5 inches wide by 1 inch tall about 2 inches from the bottom on each side panel of the jug, leaving the base intact as a small tray. Seed settles in the bottom and birds eat through the windows. Cap the top and hang from the handle. For a pinecone feeder, roll a large dry pinecone in peanut butter, then in mixed seed, and hang it with twine. For a simple jelly option, you can follow the same build principles to make a jelly bird feeder that dispenses mess-free food how to make a jelly bird feeder. This isn't truly 'automatic' in a mechanical sense but it does self-present seed as the cone is pecked, and it's a great entry project before moving on to a gravity build. If you want a true nectar setup instead, you can build a nectar feeder with a simple reservoir and frequent cleanings.
Option 4: Timed dispenser build
- Build or repurpose a wooden hopper box (follow the wood hopper steps above, but skip the acrylic front panel).
- Mount the battery-powered auger motor unit inside the base of the box so the auger opening faces the front or bottom exit port.
- Secure the motor unit with zip ties or screws through its mounting flanges.
- Route the exit chute to direct seed into a small tray below.
- Program the timer dial to dispense 1 to 2 servings per day (morning and late afternoon work well). Most units let you set the amount per serving by running a calibration cycle.
- Install batteries and run one test cycle before mounting the feeder to confirm the flow rate is correct.
- Seal the wood box with waterproof stain and close off any gaps where rain could reach the motor unit.
How to hang and where to put it
Where you put the feeder matters as much as how you build it. One thing I always tell people: keep feeders either very close to windows (under 3 feet away) or well beyond 30 feet. The U.S. Fish and Wildlife Service has noted that feeders placed between 3 and 30 feet from a window are the danger zone, because a startled bird can build enough speed in that distance to cause a fatal collision with the glass. Right up against the window is actually safer, because a bird flushed at that range can't accelerate. Beyond 30 feet gives birds room to orient away from the house entirely.
- Hang from a shepherd's hook pole at least 5 feet off the ground to keep it away from ground predators
- Choose a spot with partial shade: full sun can overheat seed and degrade it faster
- Position within 10 to 15 feet of trees or shrubs so birds have a safe approach and escape route
- Keep it at least 10 feet from a fence or structure that squirrels can jump from
- Make sure it's accessible for you to refill easily without needing a ladder every time
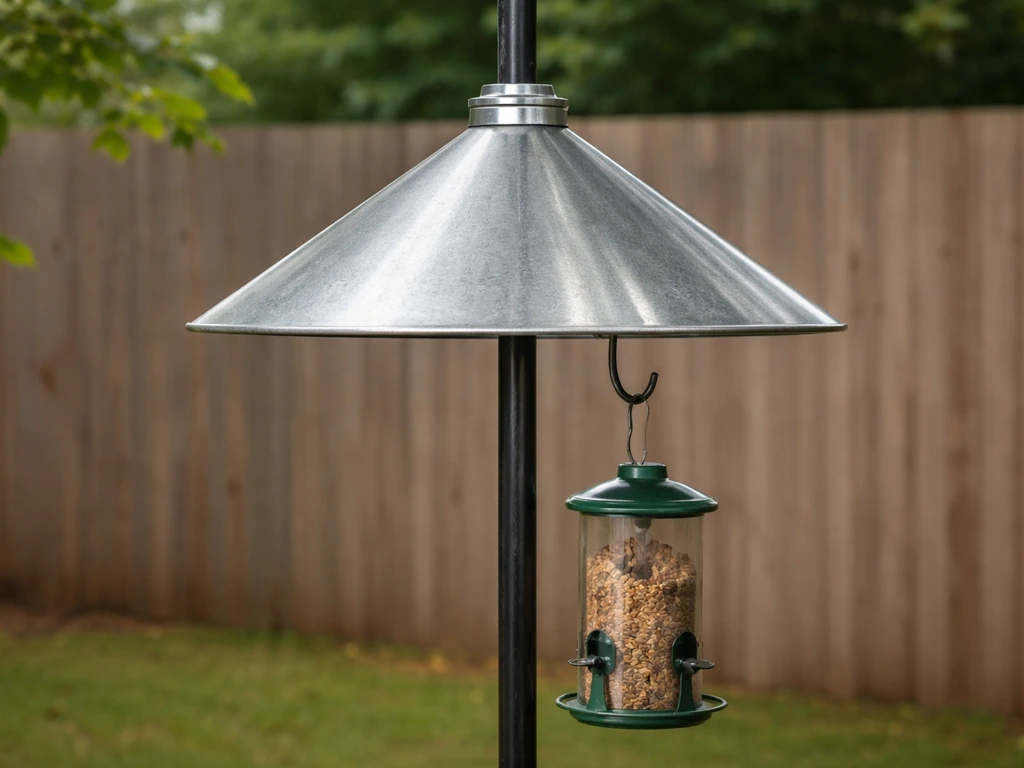
For mounting, a shepherd's hook with a baffle is the most versatile option. If you're attaching to a deck or fence post, use a mounting bracket and add a pole-mounted squirrel baffle below the feeder. Avoid hanging from a tree branch if squirrels are a problem in your yard, because they'll just climb down the wire.
Refilling, cleaning, and keeping it reliable
An automatic feeder still needs your attention. The 'automatic' part just means birds get fed between your visits, not that you never have to show up. Here's the routine that keeps things running smoothly.
Refilling
Check the seed level every 3 to 5 days in active feeding seasons (spring and fall migration especially). In summer, seed can go rancid faster in heat, so checking every 2 to 3 days is smarter. Only refill with dry seed. If you see clumped, wet, or mold-darkened seed at the bottom of the reservoir, empty it completely before adding fresh seed on top.
Cleaning schedule
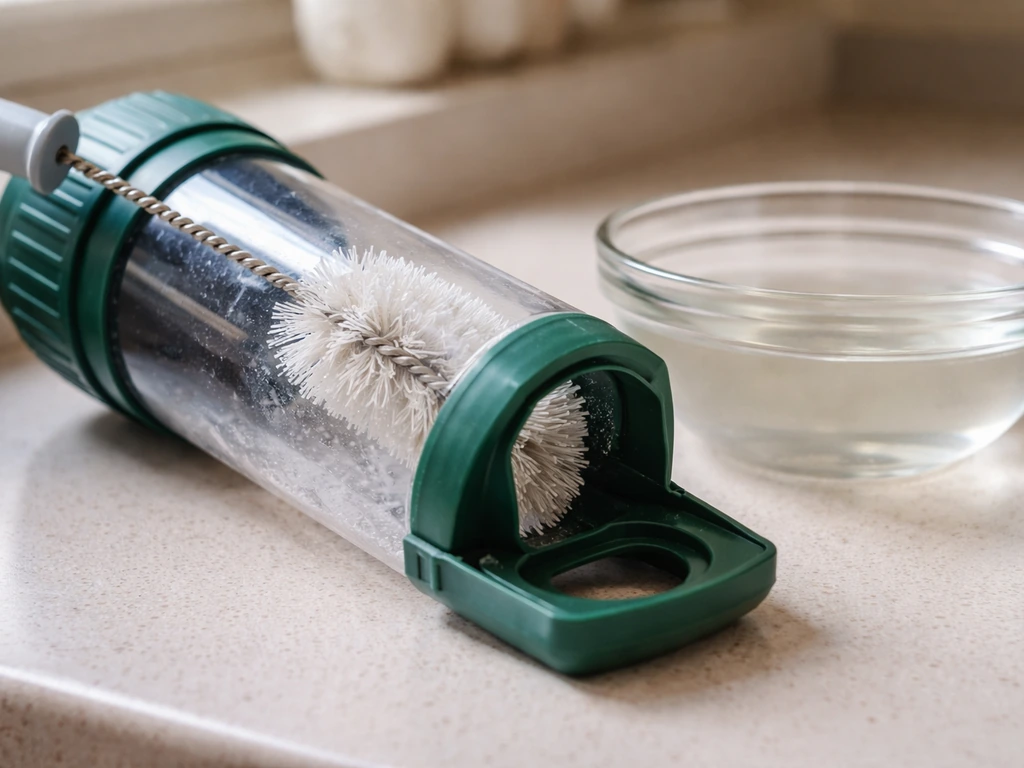
- Every 2 weeks: Empty any leftover seed, rinse all surfaces with a 1-part white vinegar to 9-parts water solution, scrub with a bottle brush, rinse thoroughly with clean water, and let it air dry completely before refilling
- Monthly: Disassemble any removable parts (acrylic panel on the hopper, perch dowels on bottle feeders) and soak them in the vinegar solution for 15 minutes
- After rain: Check ports and tray for clumped or wet seed and remove it immediately to prevent mold
For timed dispenser feeders, wipe down the auger mechanism with a dry cloth monthly. Don't submerge the motor unit in water. Check battery levels every 4 to 6 weeks and replace them before they fully discharge, because low-battery conditions cause inconsistent dispensing.
Troubleshooting what goes wrong
Even a well-built feeder runs into problems. Here's what I've seen go wrong most often and how to fix it.
Seed clogging at the port
This is the most common problem with bottle and hopper feeders. Seed clumps when moisture gets in, usually from condensation or rain sneaking through the opening. Fix it by enlarging the port very slightly (an extra 1/8 inch often clears recurring jams), switching to a seed mix with fewer small particles like millet (which clumps faster than sunflower chips), and making sure your roof overhang is at least 2 inches.
Jammed auger on timed feeders
Sunflower seeds with shells are the main culprit for auger jams because their hulls can wedge sideways. Switch to hulled sunflower seeds (chips) or safflower to reduce this significantly. If the auger is already jammed, remove all seed, run the motor empty for one full cycle to clear the jam, then reload with smaller seed.
Leaks and drips
On wooden feeders, leaks usually mean the roof joint or a screw gap has opened up after weathering. Re-seal those joints with exterior waterproof caulk. On bottle feeders, check that the cap is fully closed and the port holes aren't oversized. If a port is too large, cover half of it temporarily with weatherproof tape and adjust from there.
Uneven dispensing
If seed comes out in bursts rather than a steady trickle (on gravity feeders), the reservoir is bridging: seed is arching across the top of the port and then suddenly dropping. You can break the bridge by making the port slightly wider at the top, or by adding a short vertical baffle inside the reservoir that forces seed to fall in a narrower column. On timed feeders, uneven portions are almost always caused by low batteries or a seed mix that includes pieces too large for the auger setting.
Pest-proofing and keeping birds safe
Squirrels and raccoons
Squirrels are persistent and creative. The most effective combination I've used is a pole-mounted metal baffle (a cone or cylinder, at least 17 inches in diameter, placed 4 to 5 feet off the ground) plus a weight-sensitive perch ring on the feeder itself. Weight-sensitive perch rings close the feed port when anything heavier than a songbird lands on them. You can buy these ready-made or build a version by mounting a spring-loaded door over each port that closes under the weight of a squirrel but stays open for lighter birds. Raccoons are deterred by the same pole baffle setup, provided the pole is at least 10 feet from anything they can climb or jump from.
Rain and moisture protection
Wet seed grows mold fast and can make birds sick. Beyond the roof overhang, add drainage holes in the tray of any hopper or bottle feeder: a few 1/8-inch holes in the tray floor let water drain before it soaks into the seed. Store your bulk seed supply in a sealed, airtight container (a metal trash can with a locking lid works well and is also raccoon-resistant).
Choosing the right seed
Black oil sunflower seed is the single best all-around choice for most North American backyard birds. Hulled sunflower chips reduce shell debris and clog risk. Safflower seed is naturally bitter to squirrels but attractive to cardinals, chickadees, and doves. Avoid cheap filler mixes heavy in milo or red millet, because most songbirds reject them and the waste creates a wet, moldy mess under the feeder that attracts rats and mice.
Window collision safety
If your setup is near the house, take the window placement seriously. Homes with bird feeders are at blank" rel="noopener noreferrer">double the risk for bird-window collisions, according to the U.S. Fish & Wildlife Service’s “Learn More About Bird Window Collisions” PDF handout. blank" rel="noopener noreferrer">Feeders hung within 3 feet of a window or beyond 30 feet are both safer than anything in between. In that middle zone (3 to 30 feet), flushed birds can hit the glass hard enough to be fatal. If you love the idea of birds visible from indoors, look into a window-mounted feeder design, which keeps the feeder right at the glass and eliminates the problem distance entirely.
Your next steps
If this is your first build, start with the gravity-fed bottle feeder. It takes under an hour, uses materials you probably have already, and teaches you exactly how seed flow works before you invest in wood or a motor unit. Once that's running reliably for a few weeks, you'll know whether you want to scale up to a hopper design or add a timed dispenser. A willow bird feeder is a great upgrade too, since the woven willow basket can hold seed and also adds natural shelter for birds. The core principle stays the same across all automatic feeder types: control the flow rate, keep moisture out, and make it easy to clean. If you want a clear look, a glass bird feeder uses the same gravity principles, just with a glass reservoir and careful sealing to keep moisture out. If you want a different approach, you can also make a ceramic bird feeder by shaping and firing clay, then sealing it so it holds up outdoors. Once you have the basic parts, you can follow these steps to make a bird water feeder as well as an automatic seed feeder. Get those three things right and you'll have birds coming back every day.
FAQ
Is a DIY automatic bird feeder truly hands-off, or will I still need to maintain it?
It usually is not, because most DIY “automatic” feeders still depend on gravity or a motor powered by batteries. For true scheduling, plan for battery replacement and occasional jams, and consider adding a manual access lid so you can clear the auger or seed ports quickly without dismantling the whole feeder.
What seed types work best with gravity or timed DIY feeders?
Use a dry-seed approach, not a wet-food approach. If you use a timed auger, avoid seeds that expand, are sticky, or contain a lot of small fragments (they can bridge or clog). Also keep the ports sized for your chosen seed type, because one set of holes rarely works well for both hulled sunflower and small millet.
Can I install an automatic bird feeder on a balcony or deck?
Yes, but only with the right mounting and clearance. Avoid a feeder right over a walkway where falling seed can collect and mold, and keep it away from places cats can ambush. If you use the pole-baffle setup, mount the feeder at a height that keeps the baffle between squirrels and the feed ports (low enough that they cannot reach over it, high enough that birds still access comfortably).
How can I prevent condensation or rain from ruining the seed in a bottle-style feeder?
If you use a bottle or jug, don’t assume the “handle cap” is enough to keep the port dry. Make sure the top closure seals tightly, and keep the opening facing downward or sideways so rain can’t enter directly. A small roof overhang (at least 2 inches) and a tight cap prevent most recurring wet-seed problems.
My feeder is built, but birds won’t use it. What should I check first?
If birds stop visiting, the feeder may be empty, jammed, or the seed mix may be off for your local species. First check for bridging or clumping, then confirm the seed type matches common local diets (black oil sunflower is a safe default). Finally, ensure the placement is either very close to a window or beyond 30 feet, avoiding the 3 to 30 foot danger zone.
What does it mean if seed comes out in bursts instead of a steady flow?
If you see bursts, bridging is common in gravity feeders. Widening the port slightly at the top can help, or adding an internal vertical baffle can force a narrower feed column. If it’s a timed model and bursts start after a few weeks, check battery voltage first because low power can stall the auger.
Should I start with a gravity bottle feeder or a timed dispenser for my first automatic build?
For starter builds, gravity bottle feeders are easiest, but the best “first” choice depends on your goal. If you want to feed at specific times, choose the timed auger approach early so you can test dispensing schedule immediately. If you just want consistent filling between visits, gravity is less failure-prone and teaches you how to tune port size for your seed.
What’s the most reliable squirrel-proofing strategy for DIY automatic feeders?
If squirrels are climbing your line or wire, add a pole-mounted metal baffle and reduce access points. Keep the baffle at least 4 to 5 feet off the ground and at least 10 feet away from anything they can jump from (like fences, tree limbs, or structures). A weight-sensitive perch can further stop squirrels at the moment they try to reach the ports.
How do I stop mold from forming in a reservoir or tray after humid or rainy weather?
A “drain in the tray” upgrade matters most for hopper and bottle styles. Add small drainage holes so water can escape before seed saturates, and only use dry seed. If the seed has already gotten wet or moldy, empty and replace it rather than trying to mix fresh seed on top.
If I want birds visible indoors, can I mount the feeder near a window without increasing collision risk?
Yes, but it changes the safety and cleaning routine. If the feeder is near a window, right-at-the-glass mounting reduces collision risk compared with the mid-range zone. Also plan for more frequent cleaning because more debris can collect beneath a window-mounted design.
Why does my timed feeder clog, and how do I adjust without rebuilding everything?
Timed models require the auger to clear the exact seed size you choose. Before buying a seed mix, compare grain size to your auger setting or port opening, and avoid mixes with a lot of large pieces. If clogs happen, run the auger empty for one full cycle after clearing and switch to a smaller, more consistent seed.
Next Articles
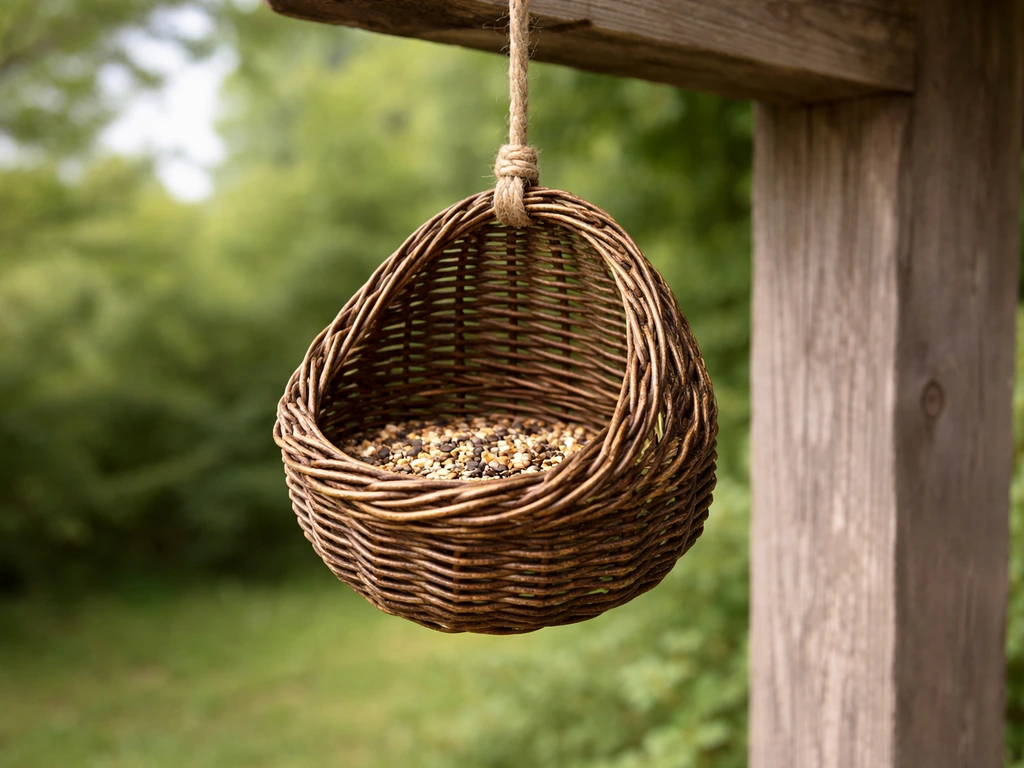
How to Make a Willow Bird Feeder Step by Step
Step-by-step willow bird feeder build: materials, branch prep, secure construction, safe hanging, cleaning, and pest-pro

How to Make a Jelly Bird Feeder: Step-by-Step Guide
Step-by-step jelly bird feeder DIY: materials, secure hanging, stop leaks and mold, prevent pests, and keep birds coming
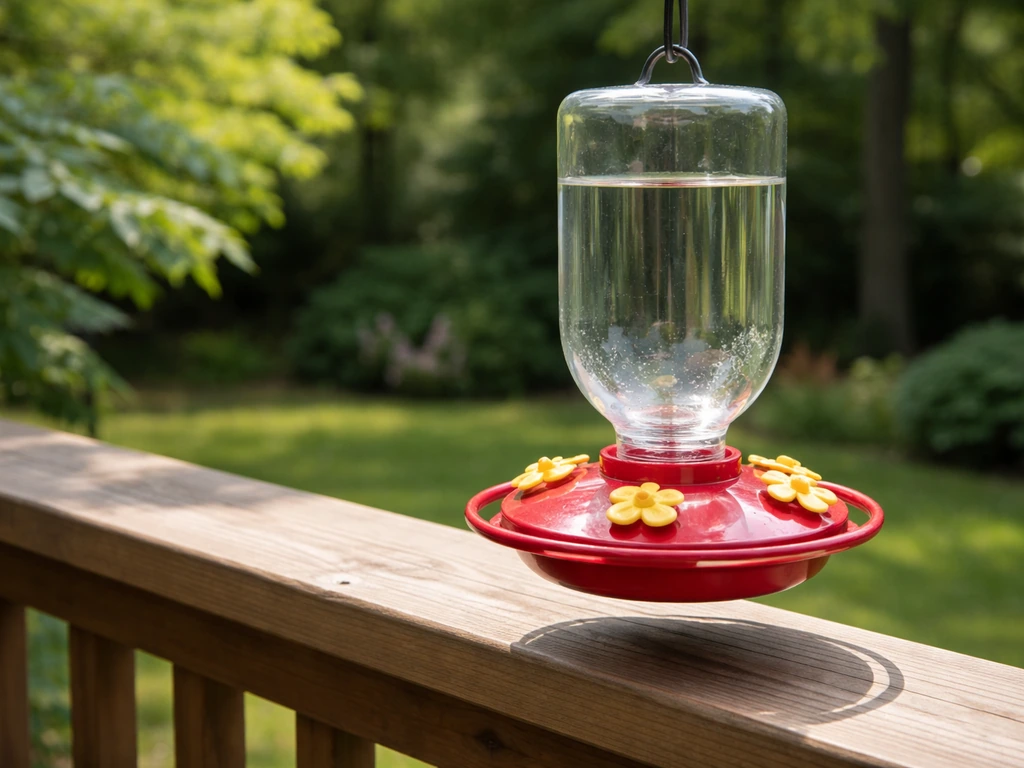
How to Make a Nectar Bird Feeder Step by Step
Step-by-step guide to build a nectar bird feeder, mix safe nectar, mount it, and troubleshoot leaks, clogs, and fermenta